


Click Here if you listened. We’d love to know what you think. There is even a spot for feedback!
Read along below!
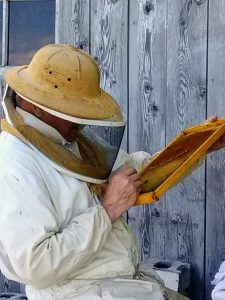
Richard Wahl began learning beekeeping the hard way starting in 2010 with no mentor or club association and a swarm catch. He is now a self-sustainable hobby beekeeper since 2018, writing articles, giving lectures and teaching beginning honey bee husbandry and hive management.
Off the Wahl Beekeeping
New(ish) Beekeeper Column
Rendering Beeswax, Plus Other Hive Products
By: Richard Wahl
Beeswax
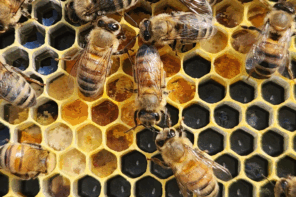
Beeswax is a chemically complex mixture that can range in color from almost white to a deep golden yellow or even brown depending on its age and the pollen, propolis and honey sources with which it has come in contact. Young worker bees, normally in the age range from twelve to eighteen days, have had their wax glands mature on the underside of their abdomen in order to secrete the wax. Wax production by bees is an energy intensive and intricate process. Worker bees consume honey and through metabolic processes, much like digestion, they secrete small clear liquid wax flakes through eight abdominal glands. Upon exposure to the air the liquid wax flakes harden and appear as white scales. Other worker bees collect the wax flakes, chew, mold and manipulate them to a soft consistency to be used for comb building. Bees use the hexagon pattern which maximizes space while minimizing wax quantity to build comb to store pollen, nectar for honey production and cells for brood rearing. It is estimated that bees consume approximately eight pounds of honey to build one pound of wax. A pound of wax will be enough for bees to draw out just over ten deep frames of comb when using plasticell foundation, a bit less if bees are drawing out their own foundation on starter strips.
Starting with Beeswax
The process of working with beeswax in small amounts seemed a bit intimidating at first. It was after my second year of working with bees when I finally had collected some wax from uncapping honey filled frames. It took me several more years of collecting uncappings before I felt the need to try to clean the wax, commonly called rendering or purification. My initial attempts at melting and separating the impurities were somewhat clumsy and time consuming at best. However I have developed a system that seems to be more efficient and less time consuming that works for me on a small scale. One of the first things I discovered is that the scrapings from old brood wax frames intended for reuse are generally not worth the effort. The brood frames contain layers of pupa cocoons along with larva and pupa waste that result in darkening and more debris for the small amount of wax retrieved. Any collected brood wax is best used as fire starters or tool lubricants. Or it can be melted, soaked in an old rag and placed in the bottom of a swarm trap to make it more attractive to swarms.
Melting the Beeswax
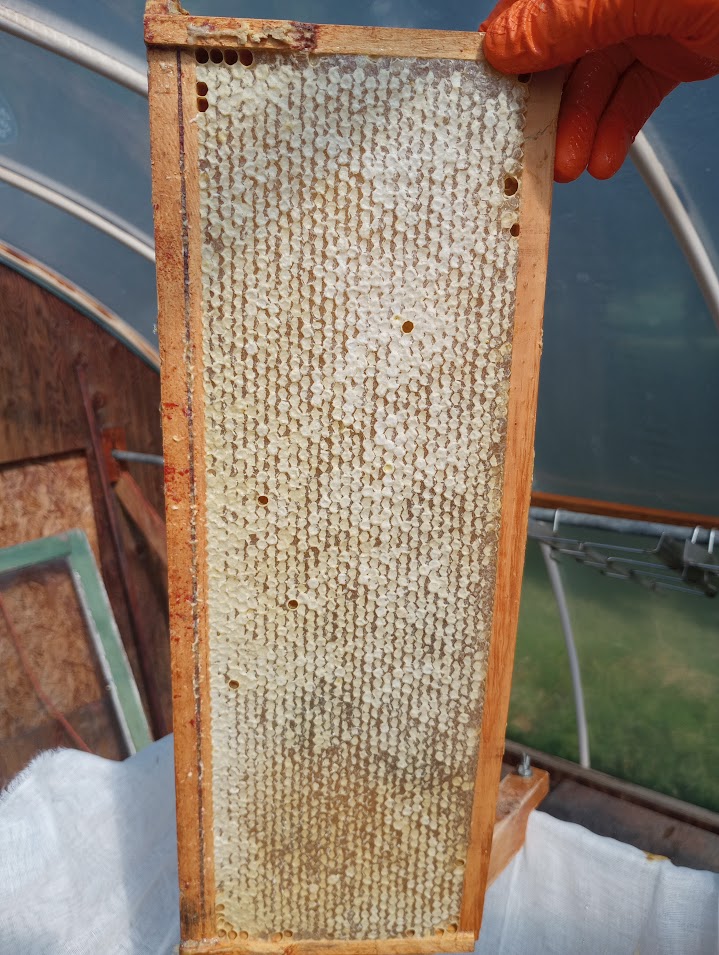
The first step in rendering wax is to collect the wax cappings remaining in the two layered uncapping tray. I find that lining the tray with a double layer of 60 count cheesecloth, and letting the uncappings set for a day or two, allows most of the uncappings honey to drain into the bottom tray. After gathering the cheesecloth at the four corners and hanging it over a container for another day or so additional pounds of honey may be drained from the uncappings. At this point a rounded ball of wax is all that remains in the cheesecloth. The cheesecloth can be peeled away from the wax and if rinsed in boiling water, reused in future uncappings. Once several clumps of uncapping wax have been collected the clumps can be placed in a large cooking pot or stainless steel container. I then place any burr comb or stray bits of collected wax in the container and add about two inches of water to the bottom of the pot. I then use a hot plate with a medium temperature setting to warm the container to around 150°F (77°C). Since wax melts at a temperature from 144-149°F (62-65°C) and water boils at 212°F (100°C), the heat is enough to melt the wax without the water boiling. Temperatures above 150°F or boiling water may discolor the wax and can also bring about a change in its natural smell. Wax is a very flammable substance with a flash point around 400°F (204.4°C), the very property that makes it good for burning in candles. Care needs to be taken that any spilled wax does not get in touch with the heating element for this same reason. Since there is an odor involved with melting wax I have my hotplate set up in an out building that has power to preclude unwanted odors in the kitchen or house. Portions of wax that has not yet melted will float to the top. A bit of stirring with a wooden spoon or stick will hasten the melting. In addition some of the debris will also float to the top and will be a dark blackish color. Much of this can be scooped out with a fine mesh kitchen flour strainer and discarded or used as a fire starter. Once all the wax has melted the heat source can be turned off and the wax left to cool overnight. The next day there will be a layer of wax floating on the surface of the water. As the wax cools it will decrease slightly in diameter and pull away from the sides of the container. There will be a layer of debris and slumgum that sinks to the bottom of the container or adheres to the bottom of the wax. Before the final rendering, most of the wax bottom residue can be scraped or hosed off. Another way that I found to get rid of even more of the debris is to pour the hot melted wax through a very fine paint strainer mesh into a five gallon bucket. The mesh will need to be anchored to the top of the bucket. I use old wooden clothes pins to do this. Again I make sure the bottom of the bucket has about two inches of very hot water in it so the wax will float and any slumgum will sink to the bottom. When left to sit overnight the wax will float and release from the bucket sides to be ready for the next step to remove any remaining impurities or residue.
Final Refinement of Wax
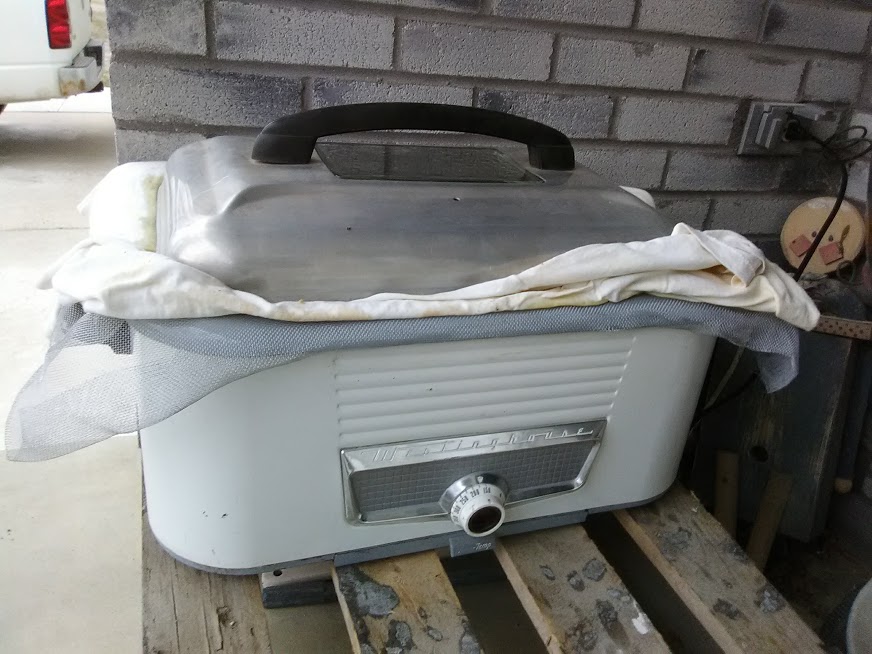
For the final refinement of the wax I use an old turkey roaster that I picked up at a garage sale. Most of my pots and wax rendering equipment was acquired that way since once used for this purpose it is almost impossible to remove wax stains and bits from rendering equipment. Boiling water works best for any wax cleaning but there seems no way to remove all evidence of the beeswax. For this reason any pots or implements used while melting wax will most likely not be usable for other household cooking purposes in the future. To continue, several inches of water is placed in the turkey roaster pan which is then covered with a layer of wire mesh window screen. I use a piece of window screen several inches longer and wider than the roaster so that the edges can be folded and trapped between the edges of the roaster pot and the heating section below. The screen keeps the wax circles reclaimed from the initial pot or bucket melt from sinking into the roaster. Over the screen I lay a clean, white t-shirt that has seen better days. When the roaster is set to just over 150°F (77°C), it can be left over night on that setting and the wax will melt through the double layer of T-shirt catching any debris that remained in the wax.
Left to cool for another day, the result is a very clean sheet of wax floating on the water that was placed in the roaster. The wax can be used for any purpose such as candles, lotions, cosmetics or soaps.
If during this roaster refinement the wax still appears to not be fully pure it can be melted in the roaster a second time again over a second clean t-shirt layer. Always use white t-shirts as any colored t-shirts may transfer the color into the melted wax. Do not ask how I know this. Another use of not quite pure wax is to coat new or cleaned plasticell foundation with a coating of wax with foam or paint brush to make the foundation more appealing to the bees to start forming comb cells. A pound of pure rendered beeswax can often be sold for an equivalent or even higher price than a pound of honey.
Additional Hive Products/Cut Comb Honey
Another hive product that some beekeepers like to sell is cut comb honey. Some older customers asked about cut comb honey when I first began selling honey at local markets and craft shows. Since it requires additional equipment and steps to process I have yet to delve into the cut comb honey market. Cut comb honey, as the name implies, is capped honey cut directly from the honeycomb, wax and all. Both the honey and comb are edible and many believe the comb has additional health benefits. The best cut comb is normally produced early in the nectar season on comb with pure wax foundation or on simple wax starter strips. When bees start drawing bright white comb, it’s a good time to add cut comb frames. Deep supers are usually avoided due to the fragility of comb on larger frames. Strong hives draw out comb more quickly making them a prime cut comb honey resource. Plasticell or wired foundation cannot be used due to the necessity to cut squares of honeycomb directly out of the frames. I do know of a beekeeper that uses plastic fish line to hold wax foundation in place. Before cutting the comb the fish line can be cut and pulled out of the wax foundation. When cutting the comb use a very sharp, heated knife to minimize cell damage. Clean the knife after every cut for neatly cut squares. The honey that drips from open cut cells can be collected on an underlying tray or cookie sheet lined with aluminum foil. Cut comb is normally placed in clear plastic containers that may or may not be filled with additional honey. I have also seen a slab of cut comb placed in standard pint or honey jars to be sold in that fashion. If there is no backfill of honey the combs require gentle handling so as to not damage the fragile comb. It is also advised to freeze frames overnight if wax moths or hive beetles have been present in the beeyard to avoid contamination with their pest larva. If freezing frames cover them in plastic wrap to avoid water condensation during thawing.
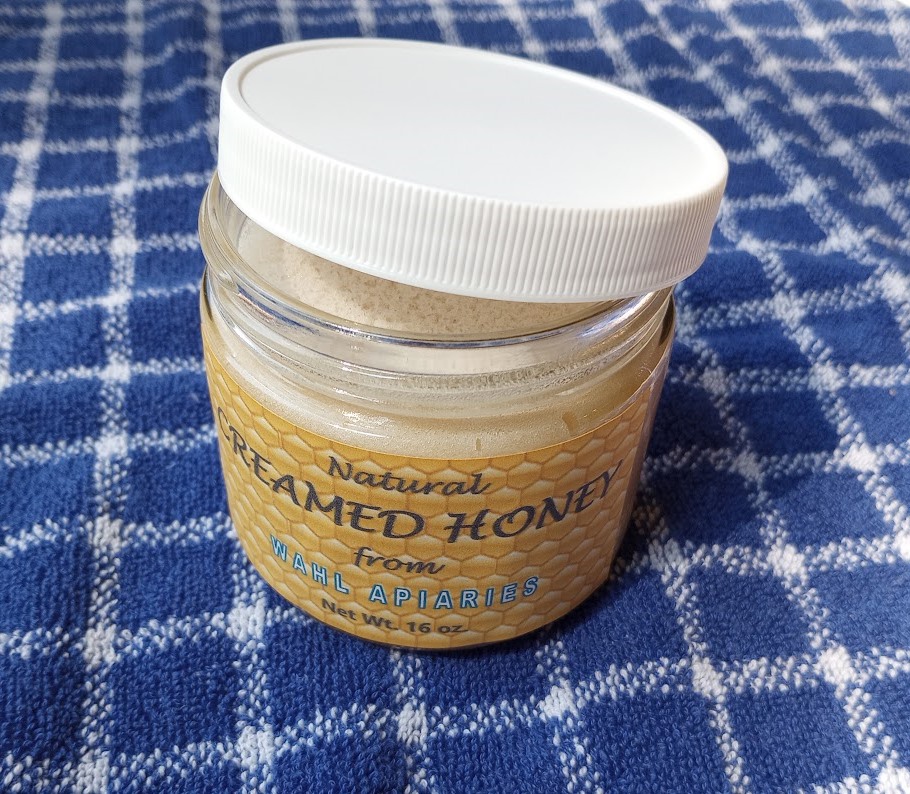
Creamed Honey
One form of honey that I have gotten into is the processing and sale of creamed honey. Once again this was the result of customer inquiries about whether I sold creamed honey. This also seemed to be a favorite of some of the boomer generation to whom I was selling my honey. Creamed honey often has a number of different names given to it including whipped, spun, churned honey or simply a honey spread. The process of making creamed honey is much the same as turning high butterfat milk into butter. The one difference is that with the churning of honey, one part of seed creamed honey is needed for seven to ten parts of natural honey. This will not work with store bought honey, as store bought is usually pasteurized. In addition to destroying or degrading beneficial enzymes, antioxidants, and other natural compounds, pasteurization negates the tendency of honey to crystallize. It is the larger rough crystals that are turned into smaller, smooth rounded surfaces that give the honey a smooth creamy whitish consistency. The resultant consistency is often compared to a butter, mayonnaise or peanut butter spread. Once the seed creamed honey is added to natural honey, stir it continually for twenty to thirty minutes. Then let it sit for about the same amount of time and then come back and stir it again for a similar period of time. After several stirs and rests, the creamed honey will lighten in color and take on a thicker consistency. Left to sit in a 50°F to 57°F (10°C–14°C) area for a few days, the creamed honey develops a spreadable texture. It is popular as a spread for toast, bagels, and muffins or added to tea, oatmeal, or granola. Because of the extra processing, it often sells for one and a half or more than the price of the same amount of regular honey.
More Products of the Hive
As noted there are more uses for products of the hive than just the honey for the adventurist beekeeper. Here are a few more suggested options. After freezing propolis, it can be ground into fine particles, soaked in a high proof alcohol solution, filtered and used as a tincture. Numerous internet sites and videos can be referenced explaining how to do this. Pollen is another resource that can be collected with pollen traps. Once it is cleaned and dried, it can be placed in jars for sale the same as honey. Bee bread is made when honey bees mix collected pollen with their saliva and honey or nectar, and then store it in honeycomb cells. This mixture undergoes lactic acid fermentation which preserves the bee bread and makes it more digestible for bees and humans alike. Some beekeepers harvest excess bee bread from the frames, after the bees themselves have created it. The process of extracting it from the honeycomb cells where bees store it, typically after it’s been fermented with honey and enzymes, is a delicate process. Bee bread is firmly embedded in wax cells and requires careful handling to preserve its nutritional value. Again there are websites and videos available that explain the bee bread extraction process. Another use I have found for honey in its pure form is as an antiseptic. Placed under a bandage on a cut or wound, honey possesses potent antiseptic properties due to its high sugar content, acidity, and enzymatic production of hydrogen peroxide. For me it works as swell as any manufactured product inhibiting bacterial growth, drawing out moisture, and even restoring antibiotic sensitivity. In short honey seems to aid in tissue regeneration and wound healing. Although each of the additional hive products mentioned require more processing and steps to reach the point of sale, they provide a myriad of options for the innovative beekeeper. Any such products need to meet small cottage industry requirements to ensure the safety and legality of your business. Check with state and federal small cottage industry agencies to ensure rules and best practices are followed.