
Click Here if you listened. We’d love to know what you think. There is even a spot for feedback! Read along below!
New(ish) Beekeeper Column
Beneath the Bottom Board
By: Richard Wahl


Two Types of Bottom Boards
It goes without saying that one of the basic components of a beehive is a bottom board. Bottom boards for Langstroth hives come in two basic types. The standard is a 16¼ inch wide by 22 +/- inch long piece of plywood or a set of shiplapped boards, with the ¾ inch risers along three sides. The length dimension depends on how much space is allowed for the extended porch where the bees land. Commercially made bottom boards typically have a reverse side with a ⅜ inch riser, normally placed on the bottom. The purpose of this design is to provide greater flexibility in managing hive ventilation and moisture control. While most beekeepers I know in SE Michigan use the ¾ inch side year round to allow for more ventilation and humidity control, there are some who may opt to use the ⅜ inch side in even cooler or much more humid climates. As with nearly everything in beekeeping there are differing philosophies on this. In short, the different riser heights offer an adjustable solution to optimize hive conditions based on environmental factors. The ¾ inch side is typically used in warmer Summer months, where if used in Winter it could result in harmful temperature fluctuations. On the other hand, the ⅜ inch restriction during Winter may not provide enough room for bees to drag dead bodies out of the hive on those occasional warmer Winter days. To avoid needing to flip the bottom board according to the season, beekeepers often use an entrance reducer. The entrance reducer is normally a ¾ by ¾ inch piece of wood that spans the bottom board front opening. It features two different ⅜ inch deep cuts: one is about 1 inch long, and the other is roughly 3 inches long. The reducer can be entirely removed or rotated to minimize the entrance during Winter or, in the case of potential robbing, to reduce the area the guard bees need to protect. In my experience, leaving the ¾ inch riser side of the bottom board facing up, while using the entrance reducer with the approximate 3 by ⅜ inch opening down year round, seems to be my best option. I have found my bees in numerous hives have no problem carrying out dead bodies through the 3 by ⅜ inch opening, provided that certain conditions, which I explain later in this article, are met.
The second type of bottom board is the screened bottom board. This design has the bees walking into the hive on a ⅛ inch wire mesh, called hardware cloth, which rests on top of the basic ¾ inch bottom board risers which are now about 1½ inches wide to accommodate a the thin bottom board shelf that the tray sits on. These risers are now on all four sides of the bottom. An additional set of ¾ inch risers sits over the screen on three sides, creating a ¾ inch entrance opening at the front, above the screen. At the back of the hive, sitting about ¾ inches below the screen, is a removable ⅛ inch thick piece of plastic or thin hardboard tray. That tray can be removed from the back to display any varroa mites, dead and live hive beetles or wax moth larva that have fallen through the screen. Other debris will also fall through the screen which should be cleaned on a regular basis. Spraying the removable tray with a light coat of a non-stick cooking spray will cause any mites that fall through to get stuck in the non-stick spray coating. I have found that an olive oil-based spray is less likely to result in mold or fungus growth compared to using a cheaper, non-olive oil-based spray. With greater experience, counting the number of mites on the bottom board can help determine if mite treatment is necessary. However, this method should never fully replace regular mite tests using the powdered sugar or alcohol wash testing methods, as it is not nearly as accurate. My screened bottom boards have a near ⅜ inch tall wood slat across the back side, allowing them to fit very snugly in the rear, ¾ inch opening. As a result, I have been able to leave the screened bottom boards in place year-round provided conditions explained later in the article are met. After a few years of use I found it necessary to replace the ⅛ inch hardboard with a carefully sized thin plastic piece of shower surround due to deterioration of the hardboard. Shower surround comes in thin plastic sheets that remain usable for many years. A screened bottom board is primarily used for enhancing ventilation, controlling pests, and aiding in varroa mite management. However, as explained later, it may need to be removed and replaced with the standard bottom board depending on the hive location’s seasonal climate and environmental conditions.
Top Insulation Hints at Bottom Treatment
Being fortunate enough to have a hive or two survive my first through third Winters of beekeeping, I noticed that condensation built up under the outer covers forming small puddles of water on the top of the inner covers. Additionally, the moisture was fostering mold and/or fungus growth on the outer cover inner sides. I realized I needed a way to correct this. I had a 1 inch thick, 4 by 8 foot piece of foam insulation board sitting in my garage, so I cut pieces that would just fit inside the telescoping sides of my outer covers. After using the insulation during the first Winter, I saw that it significantly reduced Winter condensation under outer covers. For the next two Winters, I would remove the insulation when outside temperatures routinely stayed above freezing and then replace them in late Fall when temperatures would soon consistently drop below freezing. Then, one Spring, I had the realization that my home attic insulation does not get removed and replaced seasonally. So, I decided to leave the insulation in place over the Summer to see what would happen. It still puzzles me as to why it took two years to figure this out; perhaps I am just a little slow in putting two and two together. Just as the insulation prevented some cold from penetrating outer covers in the Winter, it also helped reduce the heat from the hot sun radiating through the metal covered and thin plywood outer covers in the Summer. I noticed that the bee’s bearding outside hive entrances on hot Summer days decreased considerably when I left the insulation in place year-round. Although this helped reduce Summer bearding, I still place a stick over the very front of the inner cover to hold the front of the outer cover up, for better ventilation during the hottest Summer days.
Bottom Board Insulation Condition Explained
My bottom boards rest on old silo doors that were salvaged after we dismantled two cement silos that were no longer in use. The silo doors have ¾ inch boards laid in an east-west direction, with a second layer nailed across them in a north-south direction. This configuration provides an additional 1½ inches of insulation beneath the bottom boards. With this setup, I can leave my regular or screened bottom boards sitting on them all Winter without the concern of excessive cold penetrating from below. This became particularly apparent when I lost two hives during a recent mild Winter. These two hive bottom boards were not sitting on silo doors but were placed directly on the 10 foot, 4 x 4 beams stretched across cement blocks. The two hives had been doing well for most of the Winter, but in late February or early March, after a cold snap I noticed no activity in those two hives. Upon later inspection, both hives were dead, with piles of bees on the screened or bottom board base. The only difference was that these hives were not placed on a silo door. Since there were no signs of disease or starvation, and mite counts had been very low in all eight of my hives the previous Fall, I could only assume that it got too cold at the bottom board entrance for bees to drag out dead bodies in these two hives. In a previous colder Winter, all eight hives sitting on silo doors survived as did all eleven hives on silo doors this past Winter which was one with longer, colder stretches with more days below freezing than we have had in a number of years. This suggests that a few planks or a layer of insulation under the bottom board helps maintain slightly warmer temperatures, which would better facilitate the bee’s ability to drag out dead bodies without becoming chilled. This is the only conclusion I could come to, based on two years of 100% survival during longer, colder Winters, as compared to the Winter in between, which was the mildest Winter in a long time, where I lost the only two hives not sitting on old silo doors. I am aware that good research would not draw conclusions from a single exceptional event, but I can find no other evidence to refute my conclusion. Feral bees in trees nearly always had more than ¾ inch wood insulation between the hive body and outside air temperatures.
Other Considerations
As noted previously, I place my hives on top of old silo doors, which rest on top of 4 x 4 foot horizontal posts that sit atop cement blocks. This raises the hives ten to twelve inches above the cement pad where they are located. I found that elevation necessary after losing three hives one Spring to critters that feasted on my bees during the Winter. Around my fifth or sixth year with bees, I decided to set the bottom boards directly on the cement pad, without using the 4 x 4 posts or cement blocks. The following Spring, I noticed scratches on the sides of the lower deeps of the three westernmost hives. It did not take long to deduce that a skunk had visited that Winter, scratching the hives to provoke lethargic bees into exiting, after which the skunk regularly feasted on my bees. Once temperatures got warm enough for the bees to become active and to sting, the skunk learned to leave the hives alone, evidenced one morning by the resultant odor. I also know a neighboring beekeeper that set up a Go-Pro camera and captured pictures of a possum engorging on a similar banquet of bees on warmer Winter nights. Despite her hives being elevated the possum still feasted on lethargic bees. In her case, a chicken wire fence was necessary to keep the possums out. The conclusion is that when hives are elevated; critters need to stand on their hind legs to reach the hive entrance. In this posture the bees are better able to sting on the underside of the interlopers, where the fur is thinner and more easily penetrated. Since keeping my hives raised ten to twelve inches, I have not had any further issues with raccoons, skunks or possums.
Another pest that often invades hives is ants. While ants typically cause minimal damage and can usually be ignored, they may establish nests in the outer cover insulation or below the bottom board’s reduced space, becoming a nuisance. Once again, a bit of creative thinking provided a solution. I use a product called Terro Liquid Ant Bait, which comes in small 1-inch by 3-inch plastic containers. By clipping the very end of the small plastic opening, ants can access the bait, but I have never observed bees showing any interest in or even coming near the liquid bait which they cannot reach. Placing the bait near an ant trail at the base of the hive stand allows ants to carry portions of the liquid back to their nest, effectively eliminating the ant nest. Although I prefer to avoid the use of excessive chemical treatments, I have found this to be an effective solution when ants become pervasive, without negatively affecting my bees.
Concluding Ideas
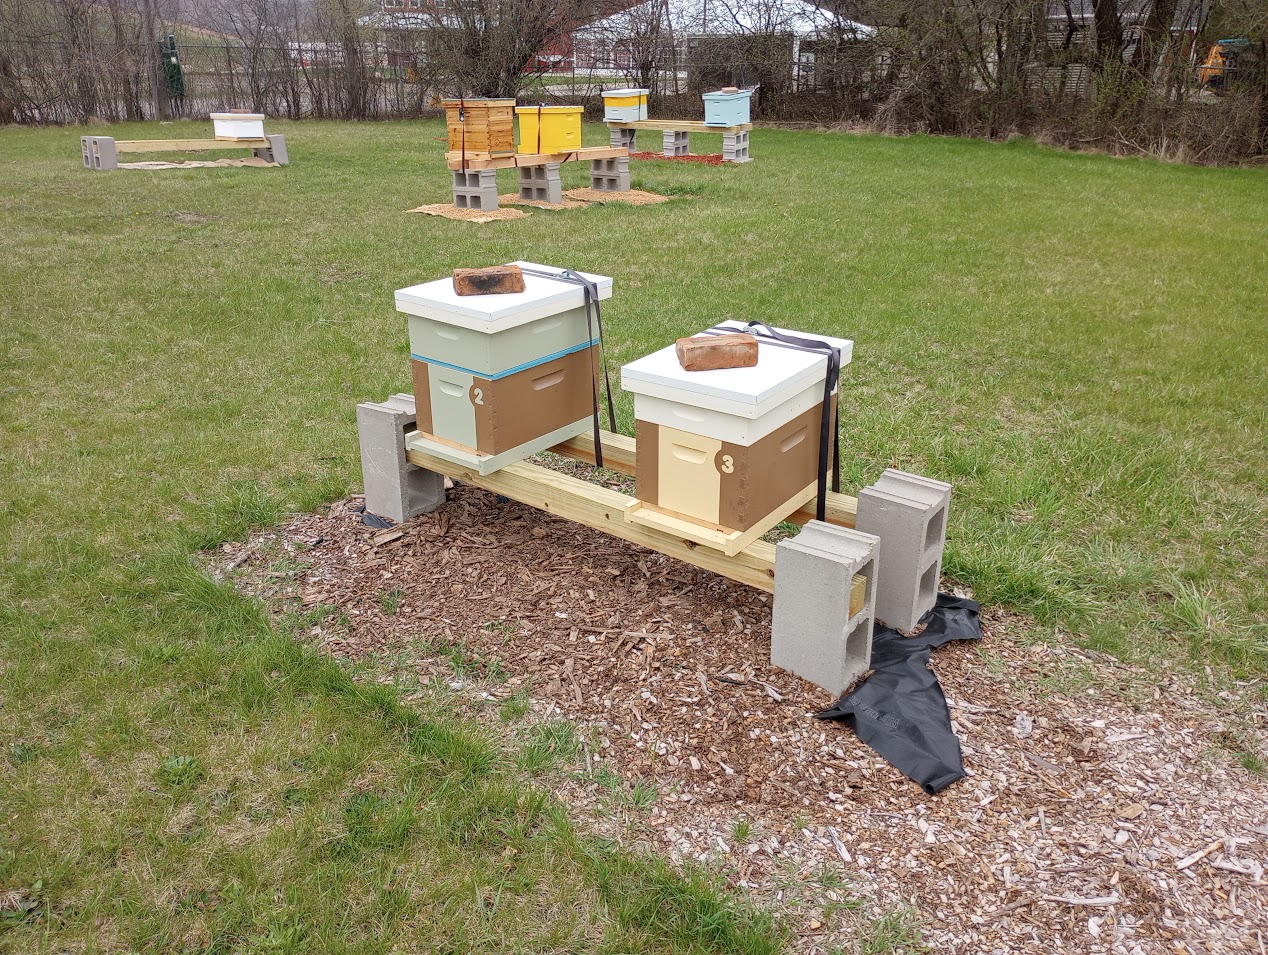
In addition to these hive management options I know of, beekeepers that put a layer of old cardboard box material or a tarp on grassy ground areas, cover the cardboard or tarp with a thick layer of wood mulch and then find no need to use a weed trimmer or to mow very near their hives (see picture near article’s beginning). Another caution is that when using cement blocks, lay them so the holes are horizontal and not vertical such as placed in a block wall. In the vertical position it is not unusual to have mice or voles decide to nest in the holes, particularly if the hole is mostly covered by a 4 x 4 timber or the bottom board above. Use the next opportunity when moving or inspecting hives to provide some type of grass inhibiting ground cover beneath them, elevate the bottom board ten to twelve inches and consider placing additional insulation below the bottom board. These steps can save time on weed trimming or mowing and may just be that extra step that keeps Wintertime undertaker bees from getting chilled from cold penetrating from beneath. By using the silo door insulating base I have found my bottom boards to be very clean and almost completely clear of dead bees when Spring inspections occur. The bee’s ability to clean bottom boards during those infrequent warmer Winter and Spring days, without becoming chilled, precludes a build-up of dead bodies and removes the potential moisture build-up and disease exposure from those dead bees accumulating on the bottom board.
