


Adding Bees to Your Hive
Richard Wahl
Pre-Bee Arrival Preparations
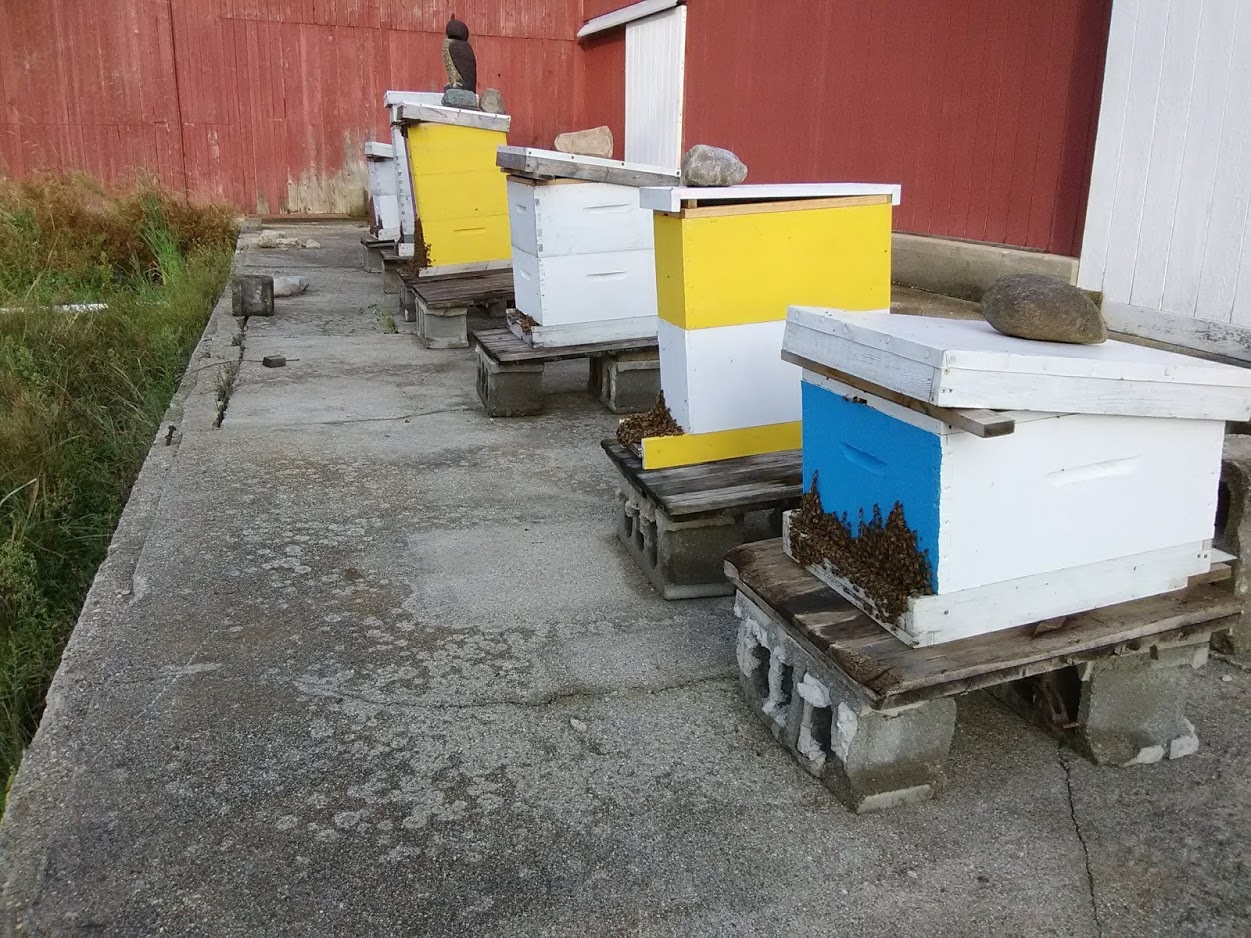
Whether it’s a purchased package, a swarm catch or a split, adding the bees to your hive can benefit from some pre-bee arrival preparations. Regardless of the source from which the bees come there are things that can be done to help your bees get off to a good start. As mentioned in a previous article siting the hive in a sunny location facing east or south with a windbreak on the west and north can be advantageous to later cold Winter wind concerns. A coat or two of paint can go a long way to preserving your hives as rain, sun and bad weather assault them through seasonal changes. I was once advised by an established beekeeper to only use a latex based paint and not an oil based paint due to the fumes that could be let off over time by oil based paint. I have not seen any studies that bees have a greater aversion to oil based paint, but why take the chance? Studies have shown that using varied paint colors on closely spaced hives can aid the bees in finding their way back to their own hive.
Another type protection advocated by some beekeepers is to use a penetrating wood sealer. The label may call it a penetrating wood stain. Make sure the label also lists it as being non-toxic. There should not be too great a worry about any wood sealer that is used since it is only applied on the outsides of the hive supers. There are also companies that advocate hive woodenware be dipped in wax for greater protection. An easier and less costly way is to just use a paint or foam brush to coat the insides of the hive boxes with melted beeswax. I have not done this but find the bees often coat scratches or internal imperfections with propolis. I have found it beneficial to give plastic foundation a good coat of wax. This is easily done with a foam brush and some melted wax. In an experiment some years ago I inserted every other plastic foundation frame with a coating of melted wax with those in between not pre-coated with wax. A second deep with this every other coated frame arrangement was added to a single deep loaded with bees. I found the bees almost immediately began drawing comb on the wax coated frames while leaving the uncoated plastic alone until the coated frames were near completely drawn out. Only then did they move to drawing out the uncoated plastic frames even though working every other frame.
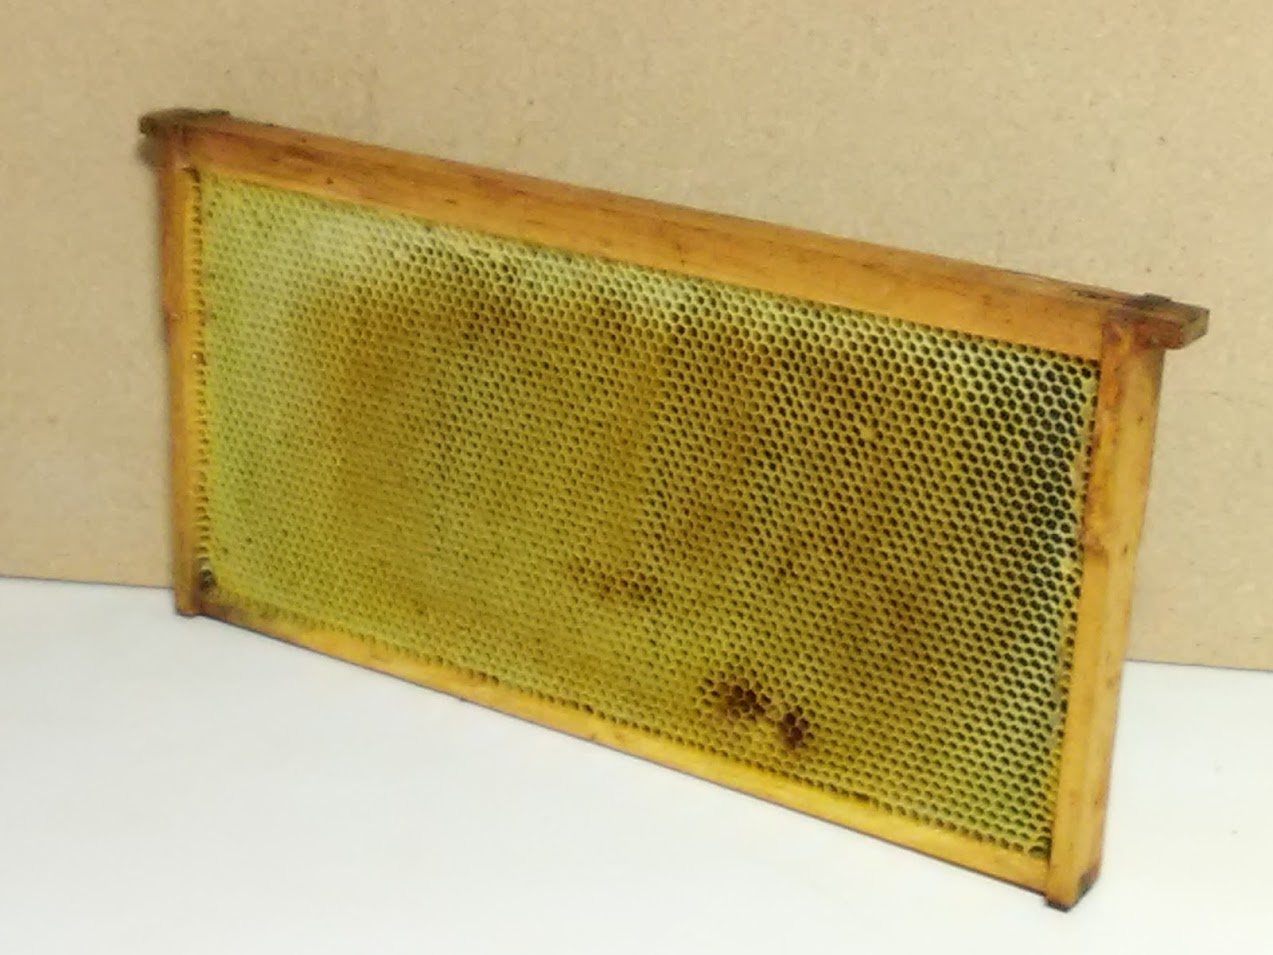
After a year or two of beekeeping there are usually drawn comb frames that had honey extracted from them or drawn frames from those emptied by the bees over winter. I have found it beneficial to the bees to reintroduce some of those frames to new hives early in the season. Giving bees a head start with previously drawn comb allows them to put more energy into brood rearing and pollen or nectar collection rather than comb building.
I mark my frames with the last number of the year in which they were filled out with comb. After four or five years I replace the oldest frames with freshly waxed foundation frames. Including at least one newly waxed foundation frame in five frame nucs and two or three in a new hive seems to encourage the bees to gather pollen or nectar and get the queen off to a faster start laying eggs. I have seen queens lay eggs in partially new drawn comb that has not reached its full depth if no fully drawn out comb is available. One of the earliest jobs of newly hatched brood is to build out cells of wax comb after a short period of time working as nurse bees. Newly hatched brood need to have something to do after serving time as nurse bees although bees adjust to whatever hive jobs are needed.
Purchased Package Pointers
There are many sources from which one can purchase packages of bees. Numerous bee equipment companies or even local businesses can be found through the internet, social media or bee clubs. The three pound package is most common with a caged mated queen and a can of syrup for a food source during their transportation period whether by mail, truck or rail. (In the late 1800’s the A.I. Root company shipped entirely filled railroad boxcars of bee hives throughout the country.) The cost of a package will vary between $150 to $300 depending on the race, shipping method and quantity. I think it is best to find a distributor in your area since those bees will already have been acclimated to your seasonal climate changes. My experience is the closer to your area from which the bees are obtained the greater the chance of them more easily acclimating to their new home and the better the chance of over wintering success.
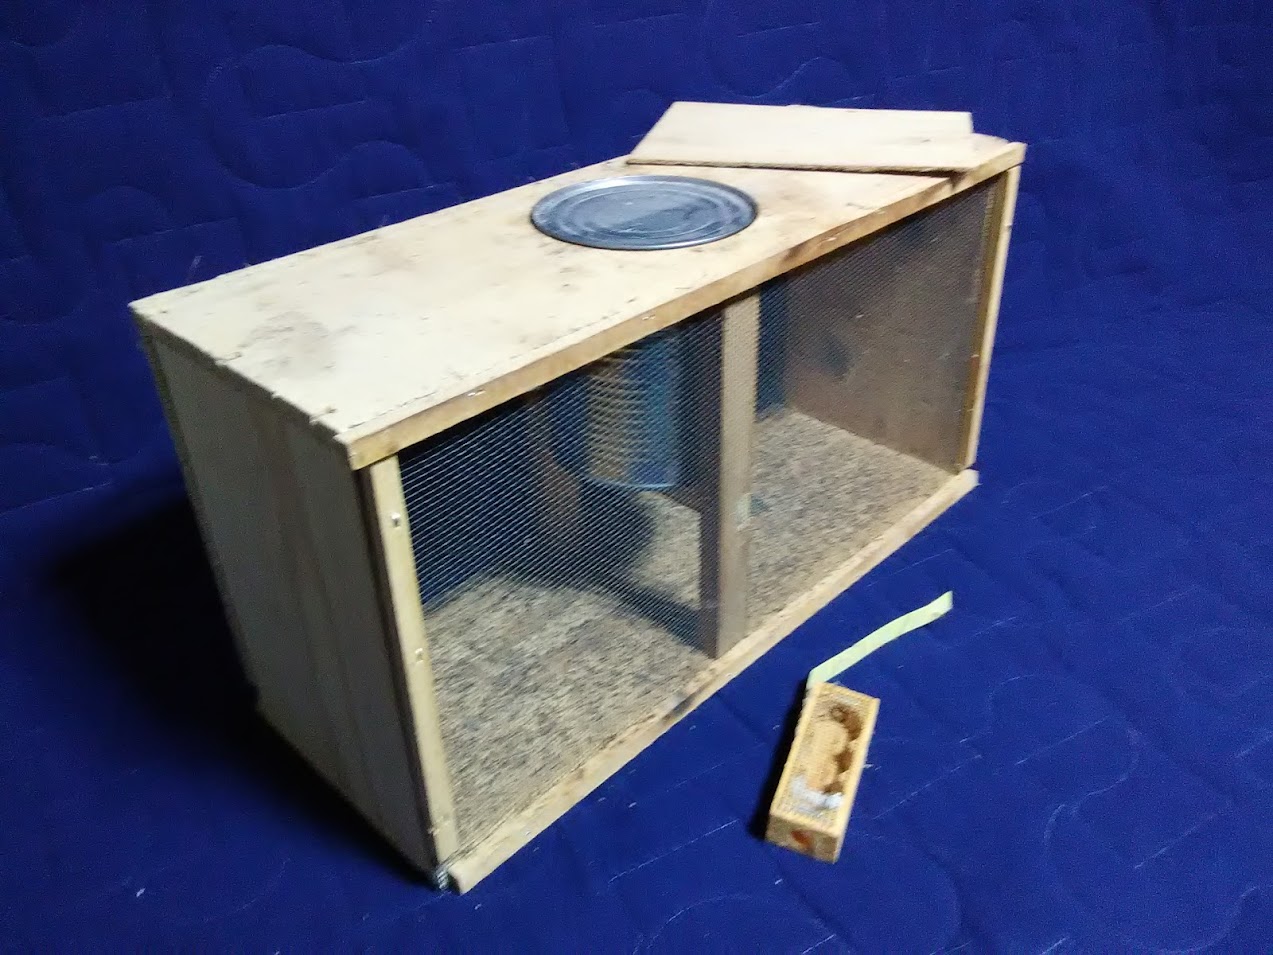
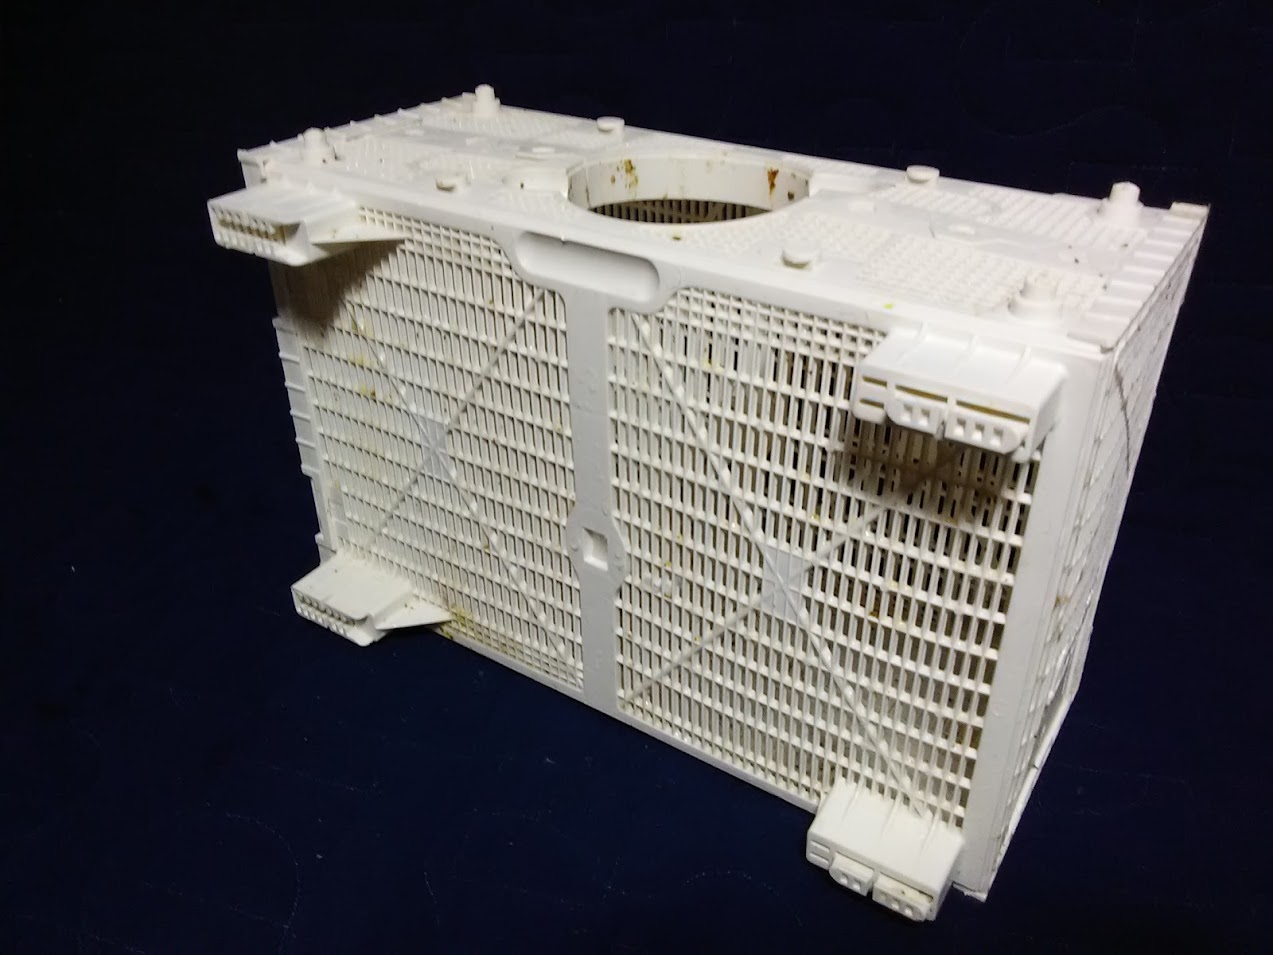
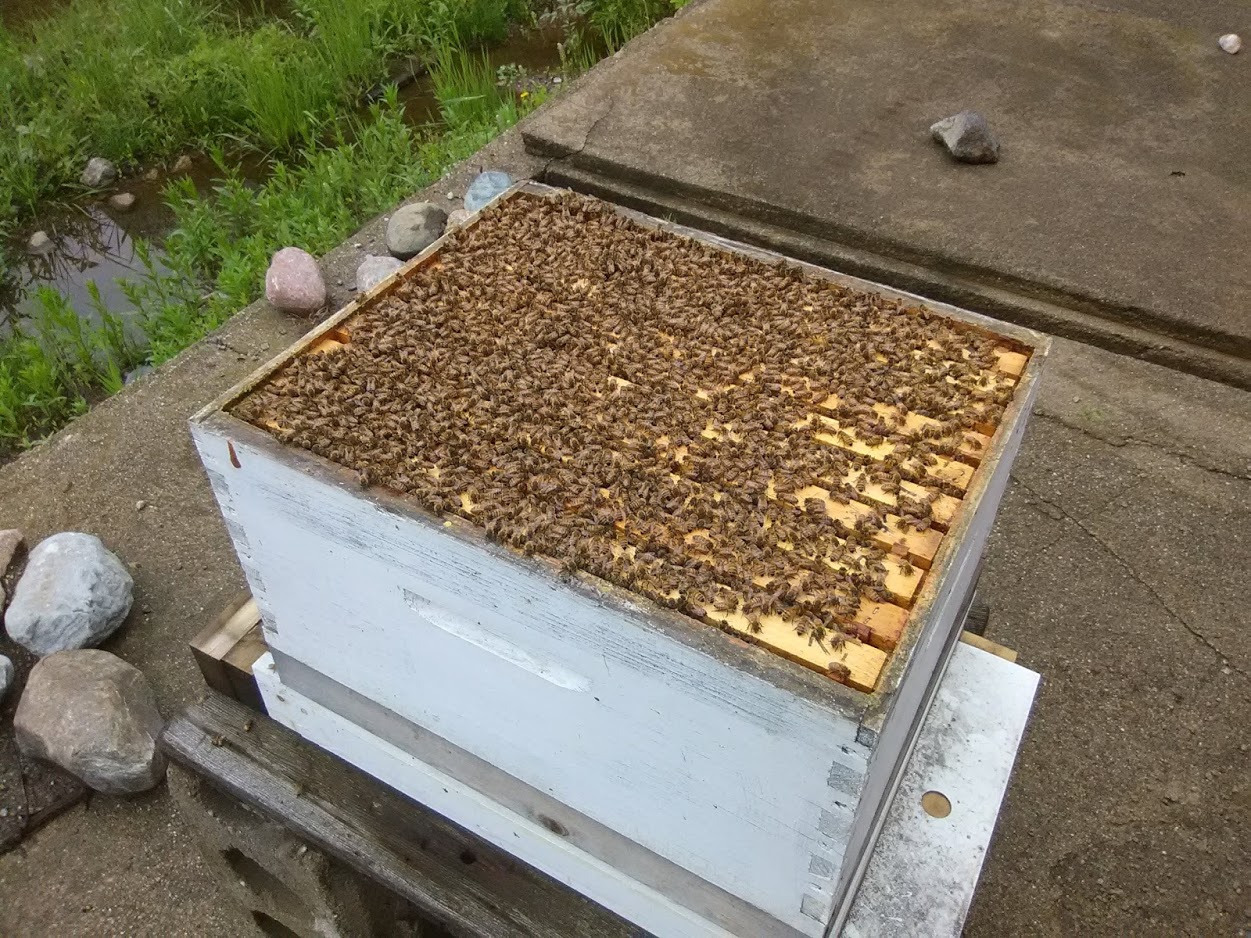
A three pound package will normally come in about a 16 x 6 x 8½ inch wood box that has screens on two sides or a plastic container that has perforations throughout. A hole in the top is just large enough for a quart tin can of sugar syrup. The bottom of the can has several small holes from which the bees can feed on the syrup during transportation. Along with the syrup a mated queen may be included in her own small cage normally screened on one side so outside bees can attend to her as well as the several bee attendants often included in the cage with her. As the bees cluster in the package it will look to be ½ to ¾ full of bees. After removing a thin wood cover from the wood box the syrup can may be hard to retrieve. A tap of the box on a hard surface will result in most bees dropping to the bottom and make the syrup can removal less damaging to bees clinging to the can. Needle nose pliers can aid in the syrup can removal after which the queen in her cage, usually attached to a ribbon or plastic strip, can be removed.
All this is done next to a hive set in place that has been readied with frames and covers. Three or four frames can be temporarily removed to make room for gently dumping the bees into the hive. It will only take twenty to thirty minutes for the bees to disperse through the present frames after which the remaining frames can be installed without crushing a pile of bees on the bottom. The queen cage can be sandwiched between two frames or a tack used in the attached strip to hold it in place dangling from a frame. Be sure the screened side of the queen cage is facing an open area and not against a frame’s comb so bees can continue to attend to her. It will normally take the bees three to five days to chew through the candy insert in the queen cage that is found below one end of a removed cork insert. Removing the cork from the non-candied end may result in the queen escaping prematurely. The time it takes bees to chew through the candied end allows bees to acclimate to their new queen if they have not already done so. On several occasions the candy was so hard I found it necessary to poke a small wire through it to give the bees a start. Be careful not to poke in too far and damage the queen.
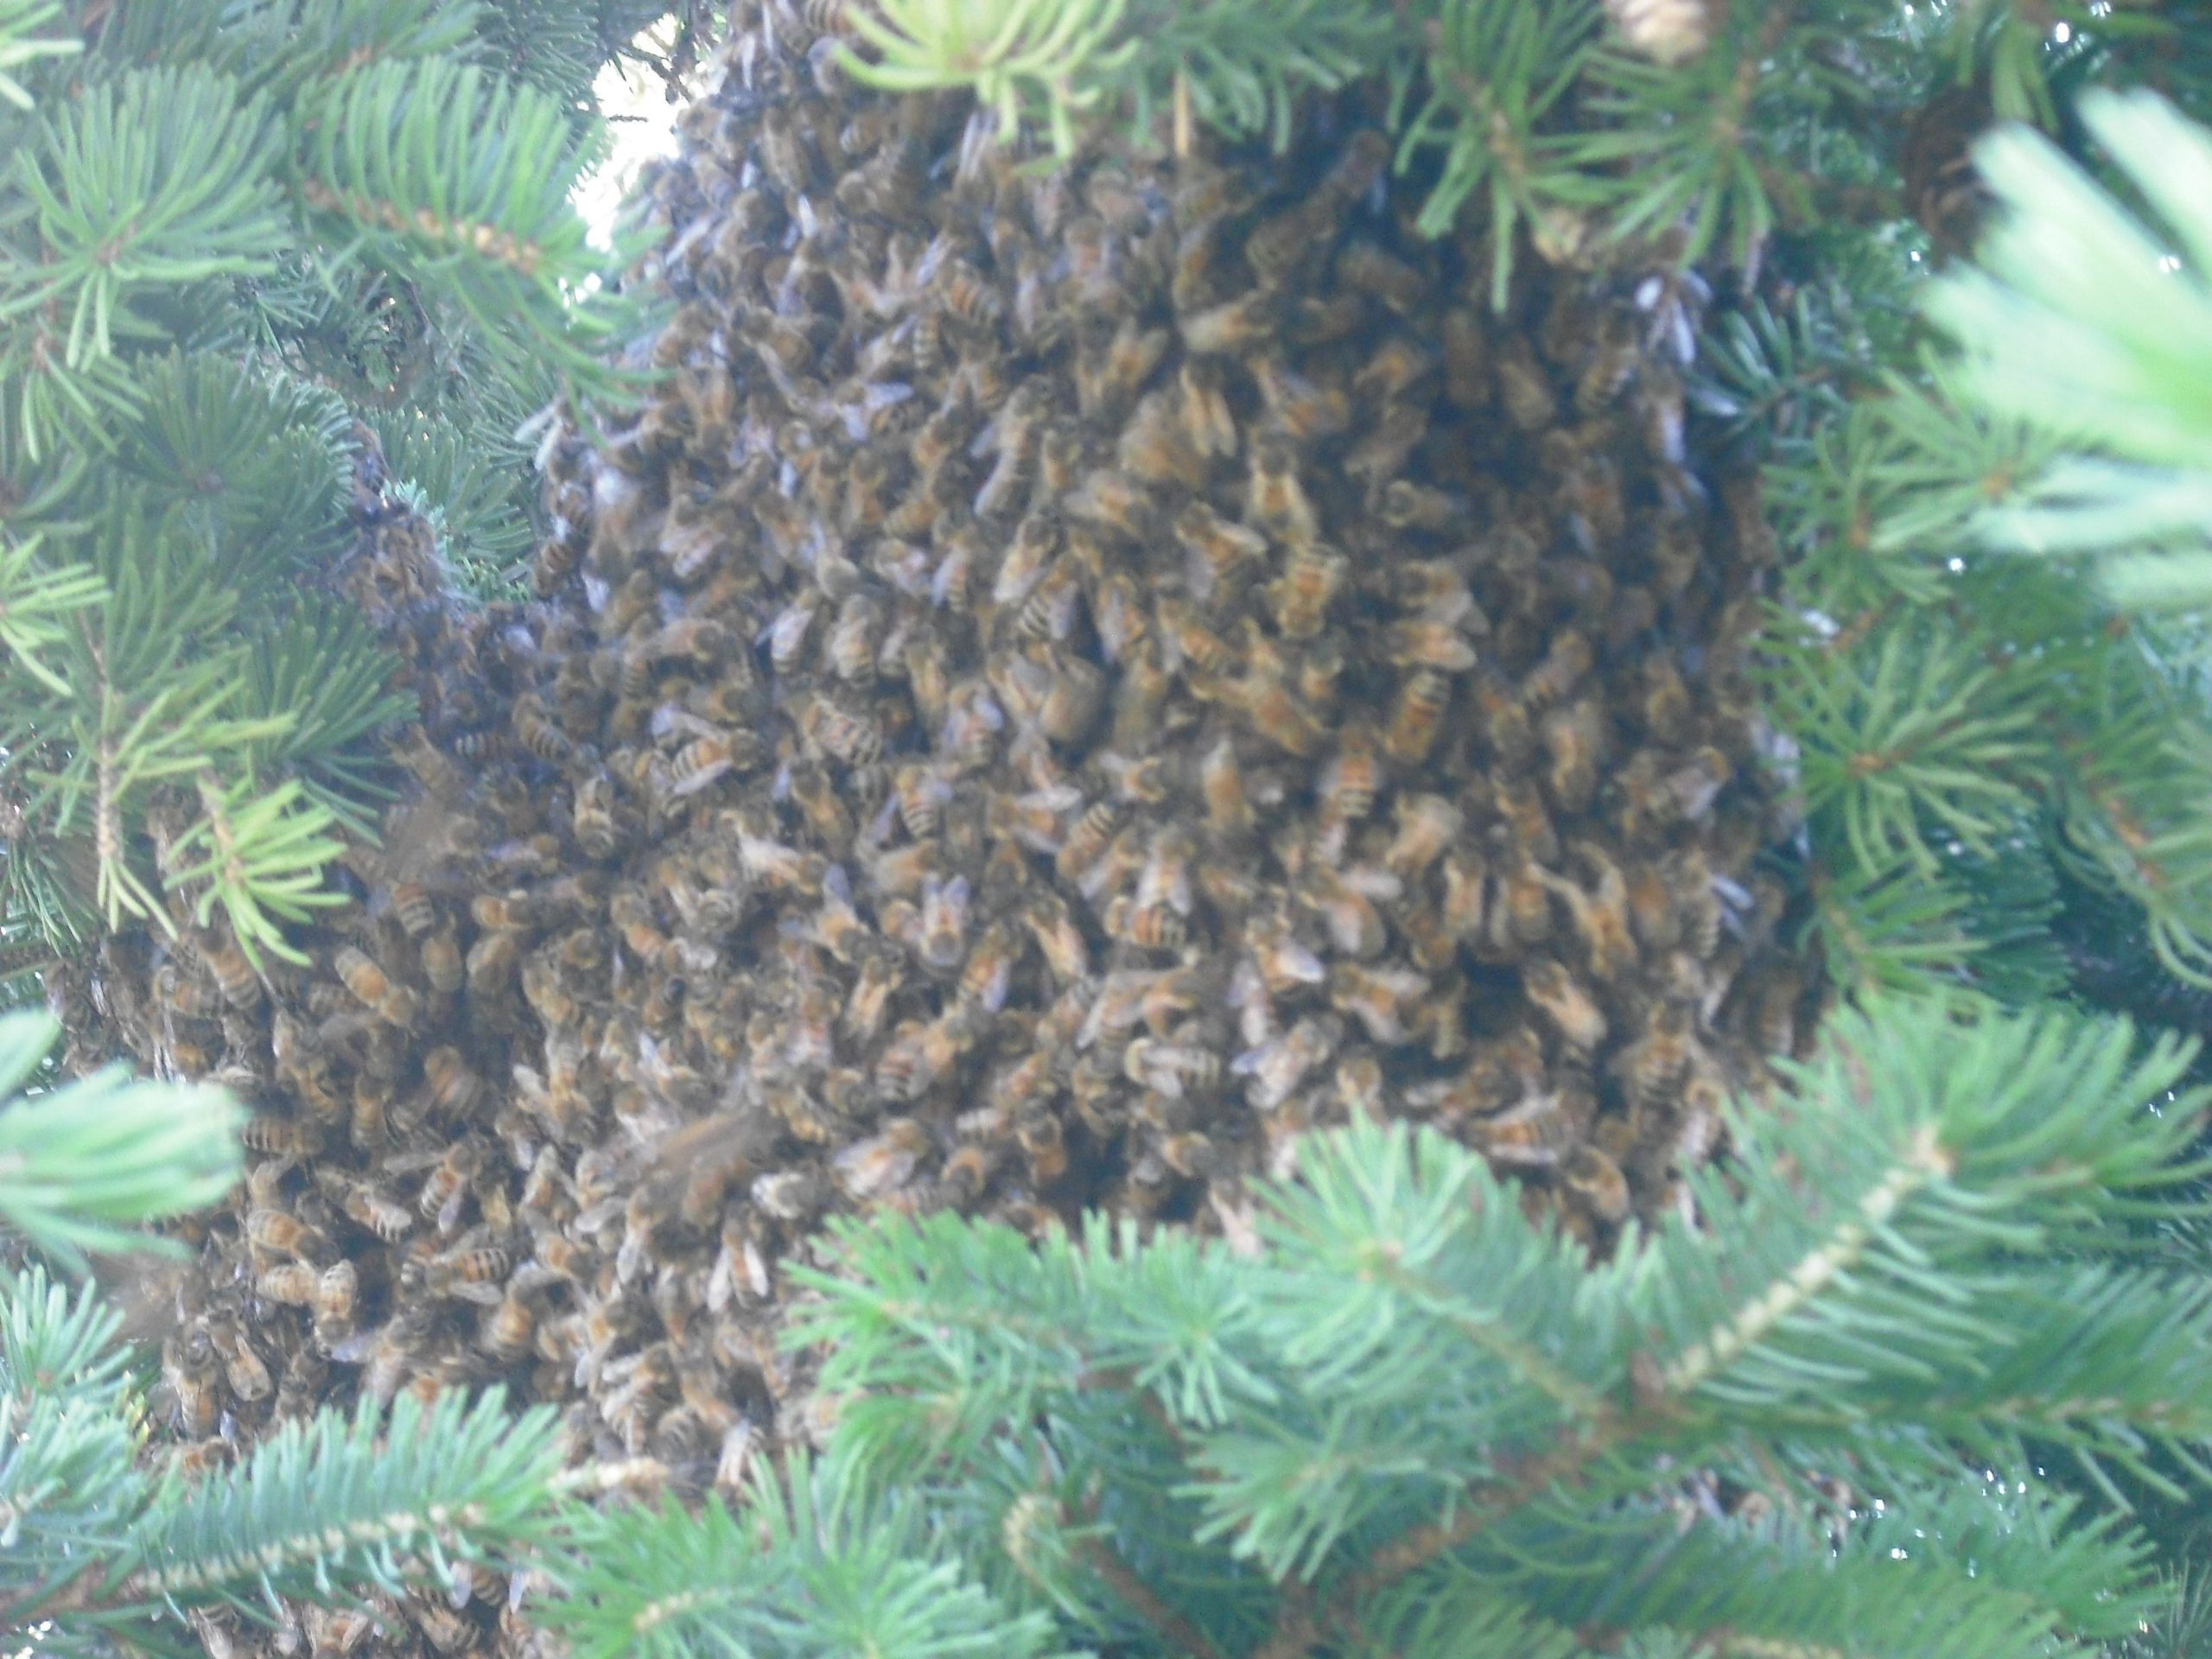
Swarms: Introducing a swarm to a hive follows much the same procedure as above. Most swarms I have caught were initially dropped into a five gallon bucket for transport to the hive’s temporary location. I found it best to set a hive super with a full set of frames in the bottom box with an empty super above it where the bees can be dumped into the empty top super and allowed to migrate into the lower fully framed super.
Place the inner and outer hive covers over the supers even if the top one has no frames. The only time I had a swarm catch leave the hive is when on a very hot day I left the top cover with an open crack for ventilation. The bees did not seem to appreciate my effort for heat mitigation and I assume departed the hive later in the afternoon because of too much open space at the top. Once they have settled in, which might take a half hour or so, the empty top box can be removed or if a very large swarm, then filled with frames and closed with properly set inner and outer covers. On occasion I have had a dumped swarm return to their initial swarm site and after letting them resettle for an hour or two a second attempt to capture them was successful. Later in the day after dark or early next morning the hive can be closed and moved to its permanent location without fear of losing too many bees.
Splits: If your first Spring inspection finds the vast majority of overwintered hive frames covered in bees it is time to think about doing a split.
A common practice in SE Michigan where I am located is to wait until the road side or country lawn dandelions are in full bloom before doing deep inspections or attempting a split. Inspecting or splitting before this natural event might not avoid an unexpected late Spring cold spell. This could preclude reformation of the bee cluster necessary for the required warmth to keep the cluster alive. A split can involve finding the existing queen and removing every other frame to the new hive and moving those frames to the center of both hives. The remainder of each hive can be filled with new frames on each side. Try to get a good mix of bees, brood, pollen and nectar frames into both hives so the returned queen and newly inserted queen get off to a strong start. I more often do a blind split not worrying about which hive has the queen. As long as there is a brood frame or two with eggs and newly hatched larva in both hives the bees in the queenless hive will form several cells to make a new queen. It will take about a month for the new queen to hatch, mate and start laying eggs. It is a quick way to make a split if time for finding the queen and/or time for the previously queenless hive to hatch, mate and start to lay eggs is not a concern. I like this method because it also provides a brood break which is a natural method to slow down the varroa mite life cycle. The mites will temporarily have no capped brood cells in which to reproduce as the new queen gets established.
Mites: After about a week, once the bees have settled into their new hive, it is a good time to think about that first mite treatment. Reputable companies selling bees make their best efforts to minimize any mite introduction with their bees. But especially with swarms, mites have become an ever present malady for nearly all bees in the U.S. It will take some time for the bees to increase their numbers and build up stores anyway, so mite treatments before honey supers are added will not hinder those treatments where it is recommended honey supers not be present on the hive during treatment. Always follow the package directions when treating for mites as there are required temperature ranges and time durations for best application efficacy. I like to replace one empty frame with a green drone frame at this time and I have treated with an oxalic dribble, or one of the newer common mite treatments such as Apivar or Formic Pro a week or so after adding bees to a new hive.
Each form of treatment has its specific time and temperature requirements and whether it can be done with or without honey supers on the hive. The oxalic dribble is a mild acid and special care must be taken with skin and eye protection with even greater cautions if the vaporization method is used. I have had best results when the dribble is applied in cooler temperatures, but not below 40 degrees fahrenheit. Apivar is a synthetic pesticide and requires honey supers not be on the hive during application and not be put on for a period of 14 days after application. Since it is recommended Apivar strips remain on the hive for 42 days, adding the 14 day post removed period totals a 56 day stretch without honey supers. Since it will take a new hive of bees this amount of time to build up through a second deep before adding a honey super, I find it better to be used early rather than later in the season when bees would be working honey supers that would need to be removed. Formic Pro on the other hand can be used with honey supers on the hive as the strips release an acid vapor in the hive that bees can tolerate but mites cannot. Formic Pro has a 14 or 20 day application option. However there is a daytime temperature window of 50 to 85 degrees fahrenheit that needs to be adhered to. Carefully follow the label directions with any mite treatment which may vary slightly depending on the manufacturer. I will discuss my preferences and experience with successes and shortcomings of various forms of treatments in a later article. These articles reflect my twelve year SE Michigan experience with bee management and yours may be different based on your conditions, experience or state of your hives.
*Note from the Editor* A great resource is Tools for Varroa Management from the Honey Bee Health Coalition. Google it up.