


By: Dick Vermeulen
I am a first year beekeeper addicted to watching my bees work. I think it is called “bee-fever”. I am also an avid woodworker. One of the most pleasant surprises of learning the bee craft has been the ability to build my own hive boxes and components. If I see an interesting new piece of bee equipment, I have to build it myself and add a few design modifications that I hope will improve its function for my bees. My wife hopes this frenzy of building bee equipment will subside soon and I can get back to finishing the doors for our kitchen cabinets.
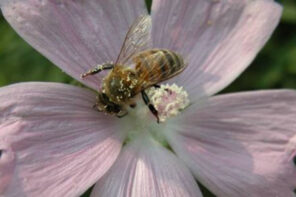
I live in mid-coast Maine, four miles inland from Penobscot Bay. The first half of the Summer was amazing with happy bees and a happy keeper. I added two supers to my two deeps the middle of July and by the first week in August the supers had over ten frames of capped honey. This beekeeping was easy. Experienced beekeepers know that’s a lie.
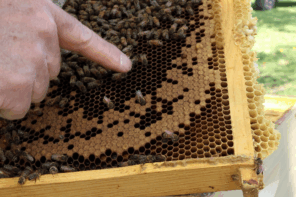
Reality hit when my queen died and the robbers showed up the third week of August. I bought a new queen and robber screen and the colony calmed. The end of August was time for my monthly mite check. Off came the outer and inner covers, then the two honey supers, which the bees defended with warning head bumps to my veil. I tilted the top deep on to a platform and that upset the bees even more. Finally, I got to the nurse bees in the bottom brood box to get my ½ cup sample of bees and all hell broke loose. I think I had more bees on my veil than in the cup. There has to be a better way to do this. I had seen the Ian Steppler video where he tilts the entire hive off the bottom board and holds it at 45 degree angle while shooting the video and collecting his mite sample off the bottoms of the frames. He makes it look easy but I know if I tried that, all four boxes would be on the ground.
Why do I have to take the entire hive apart and disturb every box of bees to get a frame with brood and nurse bees? When the roof comes off the hive the bees are stressed and stressed bees are not productive bees. How long does it take for the colony to settle and get back to being fully productive? I have read it might be a week or two.
Is there a better way? I believe there is. My goals are simple: more honey, less work for the beekeeper and less stress on the bees (and the keeper) during inspections. I also want all frames fitted with standard Langstroth deep 8½” by 16¾” foundation so I can move resources as needed to any area of the hive. If this new hive design could allow for storage of frames not needed by the colony during the Winter, it would be an added benefit.
Honey bees will make more honey if they are disturbed less, have a strong healthy population, extra storage space is provided when needed and ventilation can be increased during the honey flow. Our bees are disturbed by predators, disease, lack of good nutrition and their keepers. I believe a hybrid AZ hive mounted two feet off the ground and physically attached to the hive stand in a small shed provides maximum protection from four-legged vandals. Also robbing can be reduced if the hive never has to be taken apart during a nectar dearth.
This hive design provides easier access for mite checks which will help beekeepers perform this needed sampling even when hives are at their worst temper. A large protected top feeder provides carbohydrates and pollen substitutes when natural sources are not available, to encourage brood production and maintain strong populations. Extra space is easily added by moving the crown board up and installing another chamber of frames. Ventilation can be controlled providing good air circulation to help dehydrate the nectar into honey during the Summer. During the Winter, hive air is recirculated in the back chamber through moisture absorbent foam while conserving heat and reducing the amount of honey consumed by the cluster to stay warm.
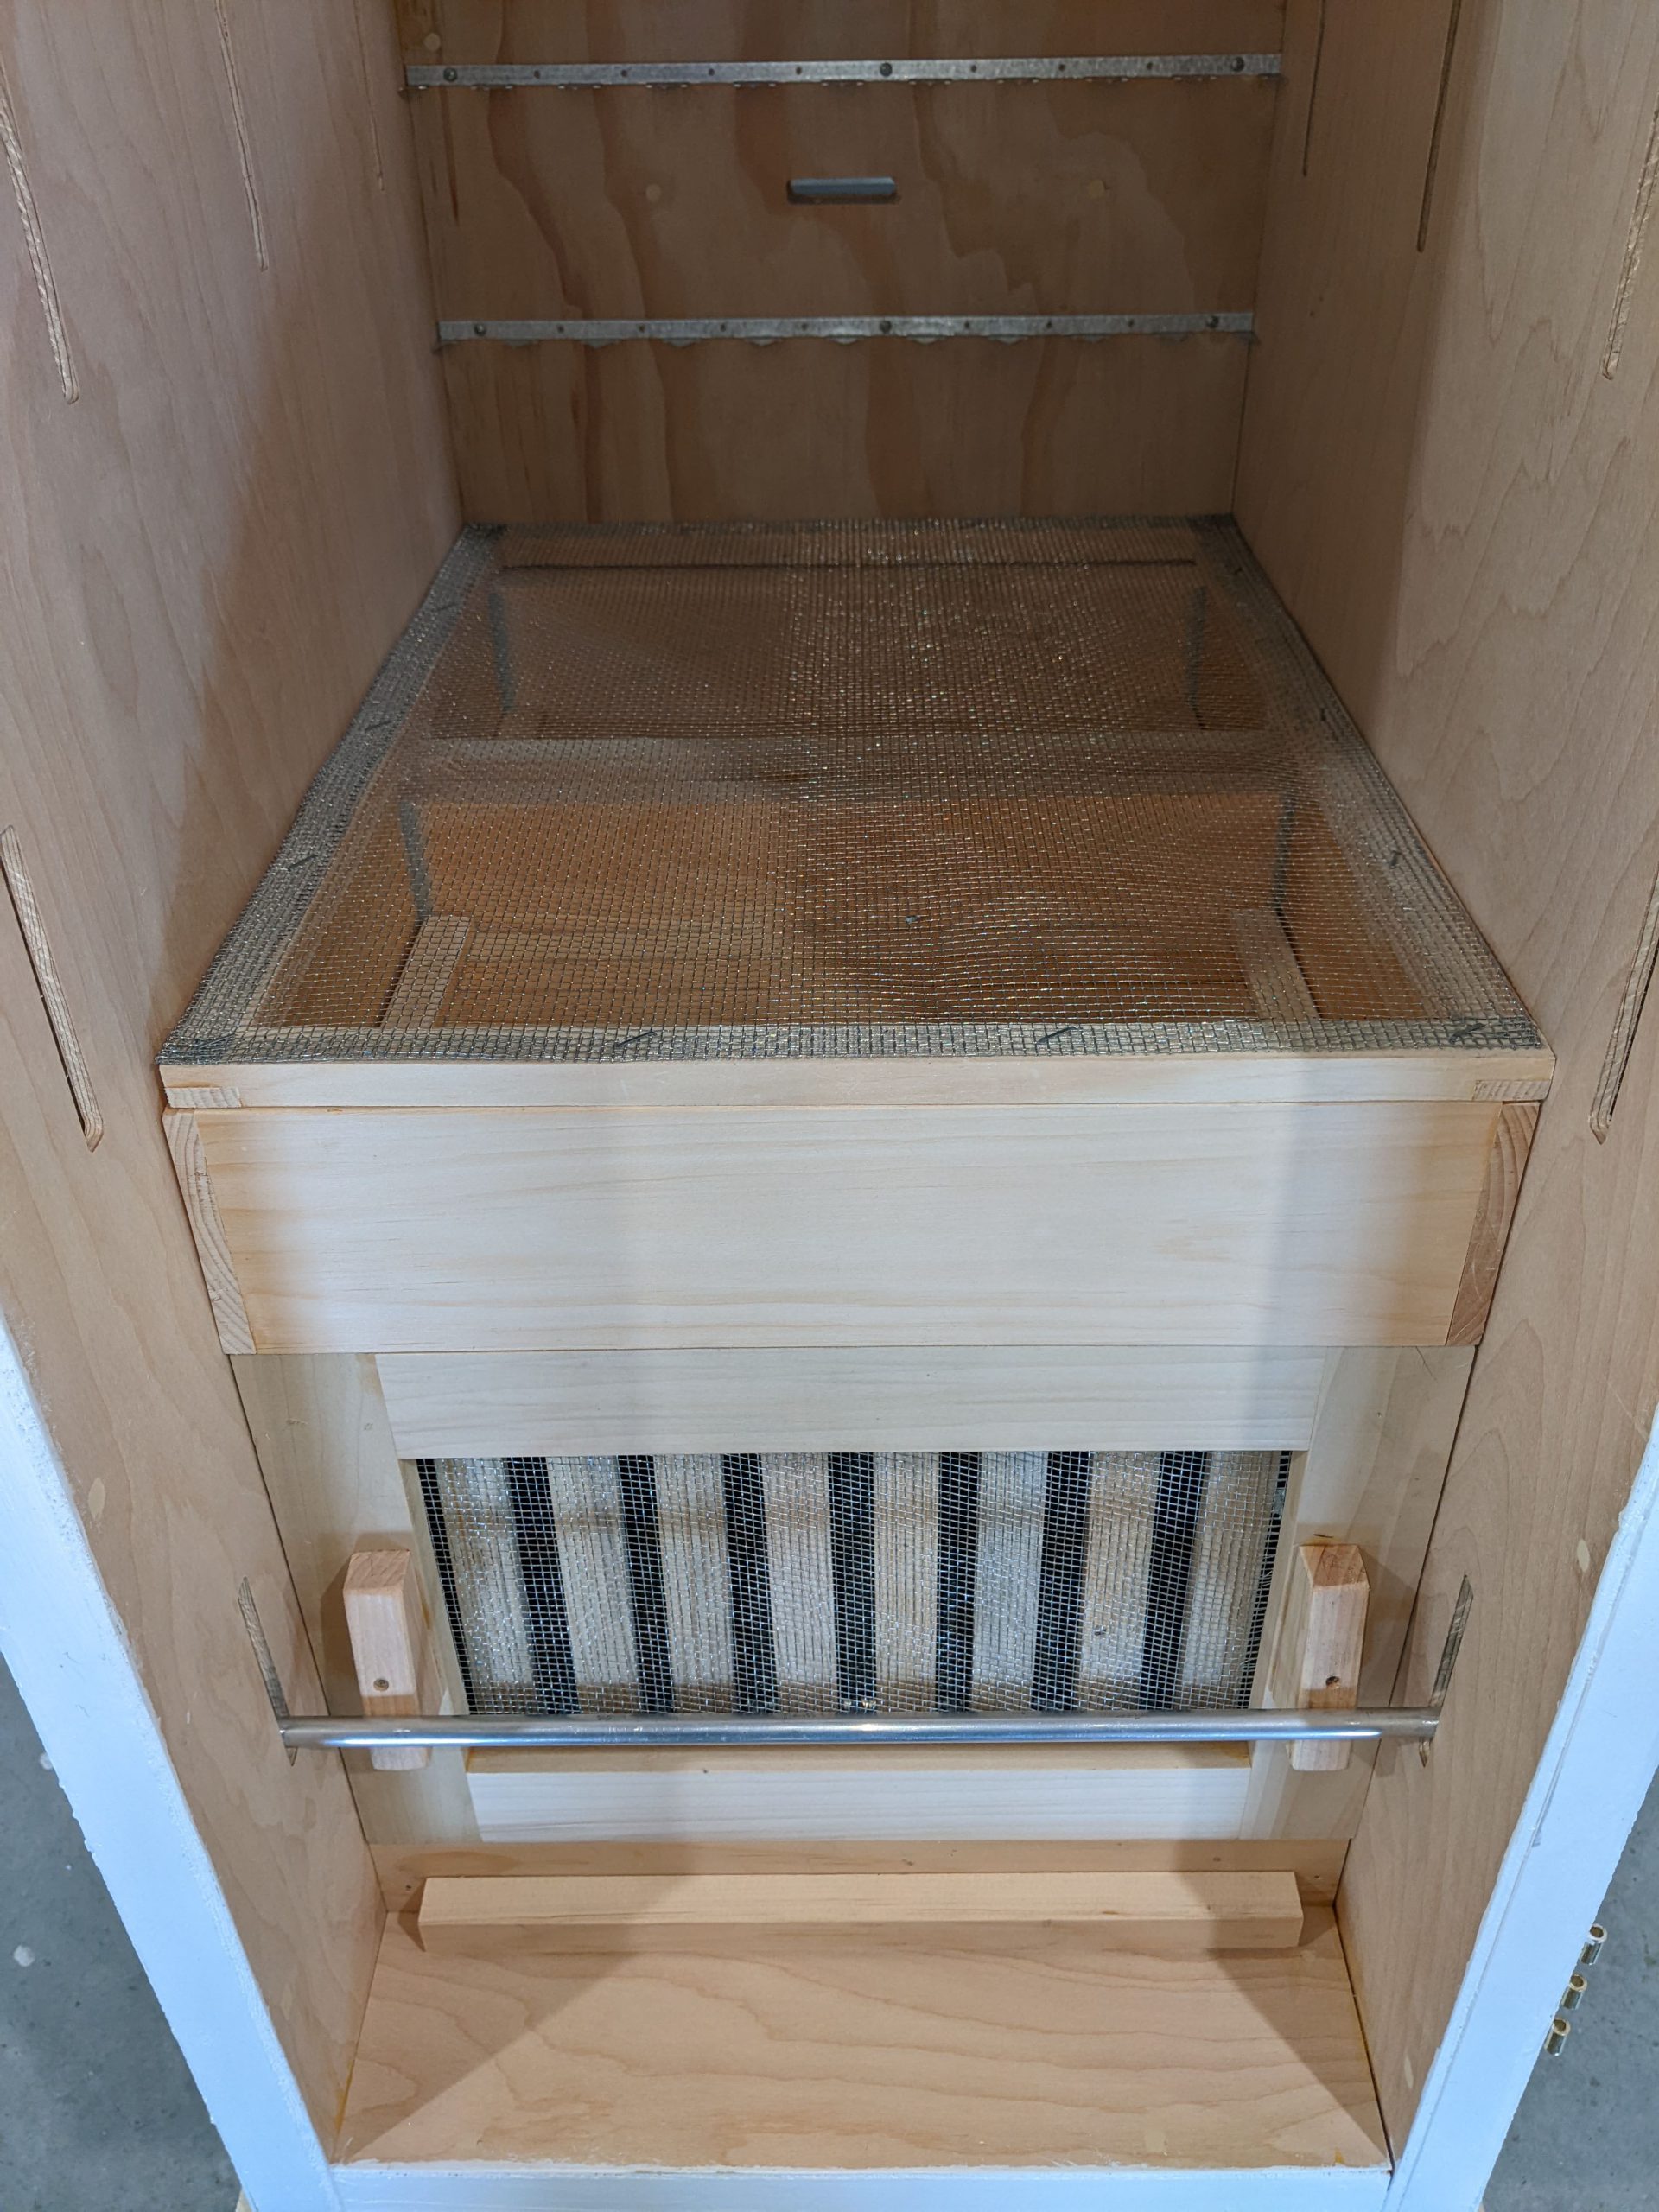
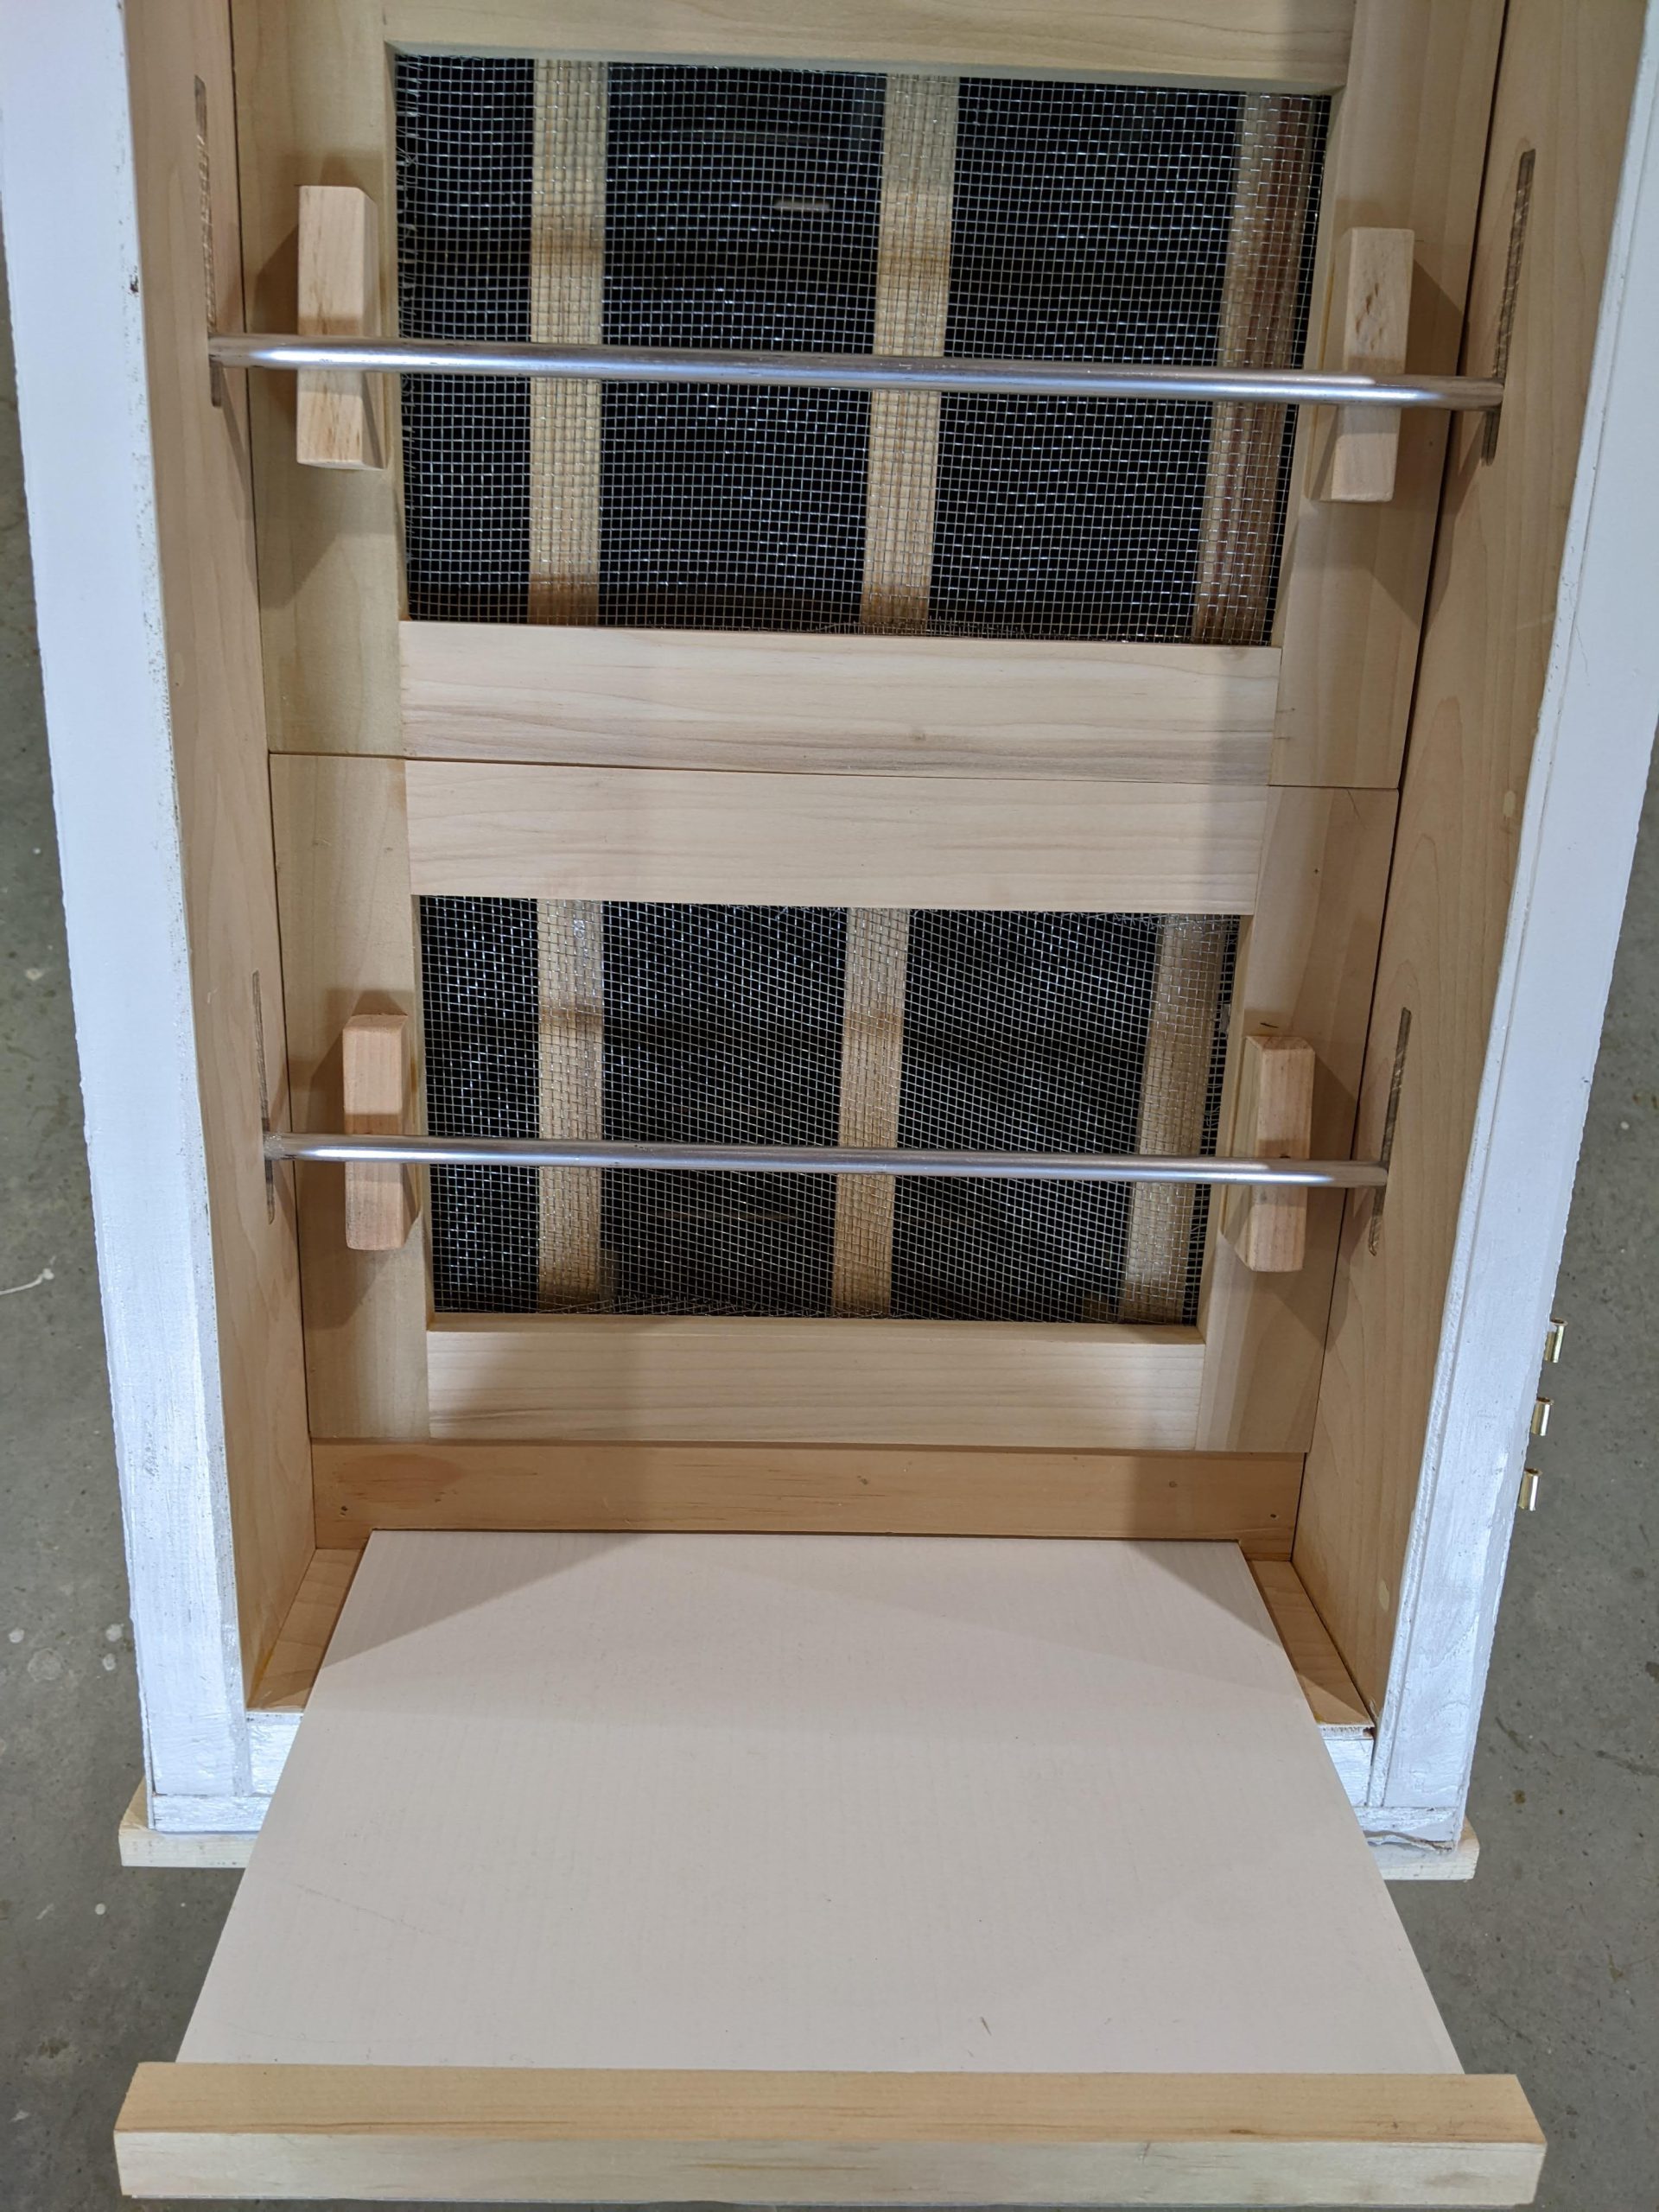
For the beekeeper, this type of hive will be easy to manage. Simply open the back screen door behind the comb you want to inspect and pull out frames like books off a shelf. Propolis is greatly reduced on the cove cut bottom frame bars resting on the ⅜” rods providing very little contact area. The frame spacers also provide little contact area and frames no longer have to be cracked apart or pushed against an adjacent frame, crushing bees. You can pull out a brood frame from the bottom chamber and never lift a box of honey or disturb the bees above. Easier on the beekeeper and less stress on the bees. The only physical strength you need to keep bees is to be able to lift a single frame.
As a new beekeeper, being able to see what is going on inside the box will help me learn more than just watching the landing board. The rear screen doors provide observation of the hive activity with minimal disruption. I can monitor colony growth without opening the hive. Kids of all ages can look inside the hive without protective gear. Bring the neighbors over for a glass of mead to watch the bees work. They might get hooked.
I only see one possible negative with this type of hive design – you may have to spend more time extracting honey and bottling. But for me, that’s the goal.
The AZ hive was invented by Anton Znidersic (1874-1947) inspired by Adolf Alberti, a German beekeeper. Anton named his new design AZ honoring Alberti. The original AZ frames are 16⅛” (410mm) by 10¼” (260mm). A typical two chamber AZ hive is 25” high with a volume of 90 liters. Anton grew up in Slovenia, which must be the beekeeper’s capitol of the world. One out of every 200 Slovenians keeps bees. My queen is a Carniolan honey bee (Apis mellifera carnica) which is the only honey bee allowed in Slovenia. I don’t think my queen remembers her home land, but building a couple of hybrid AZ hives became my quest.
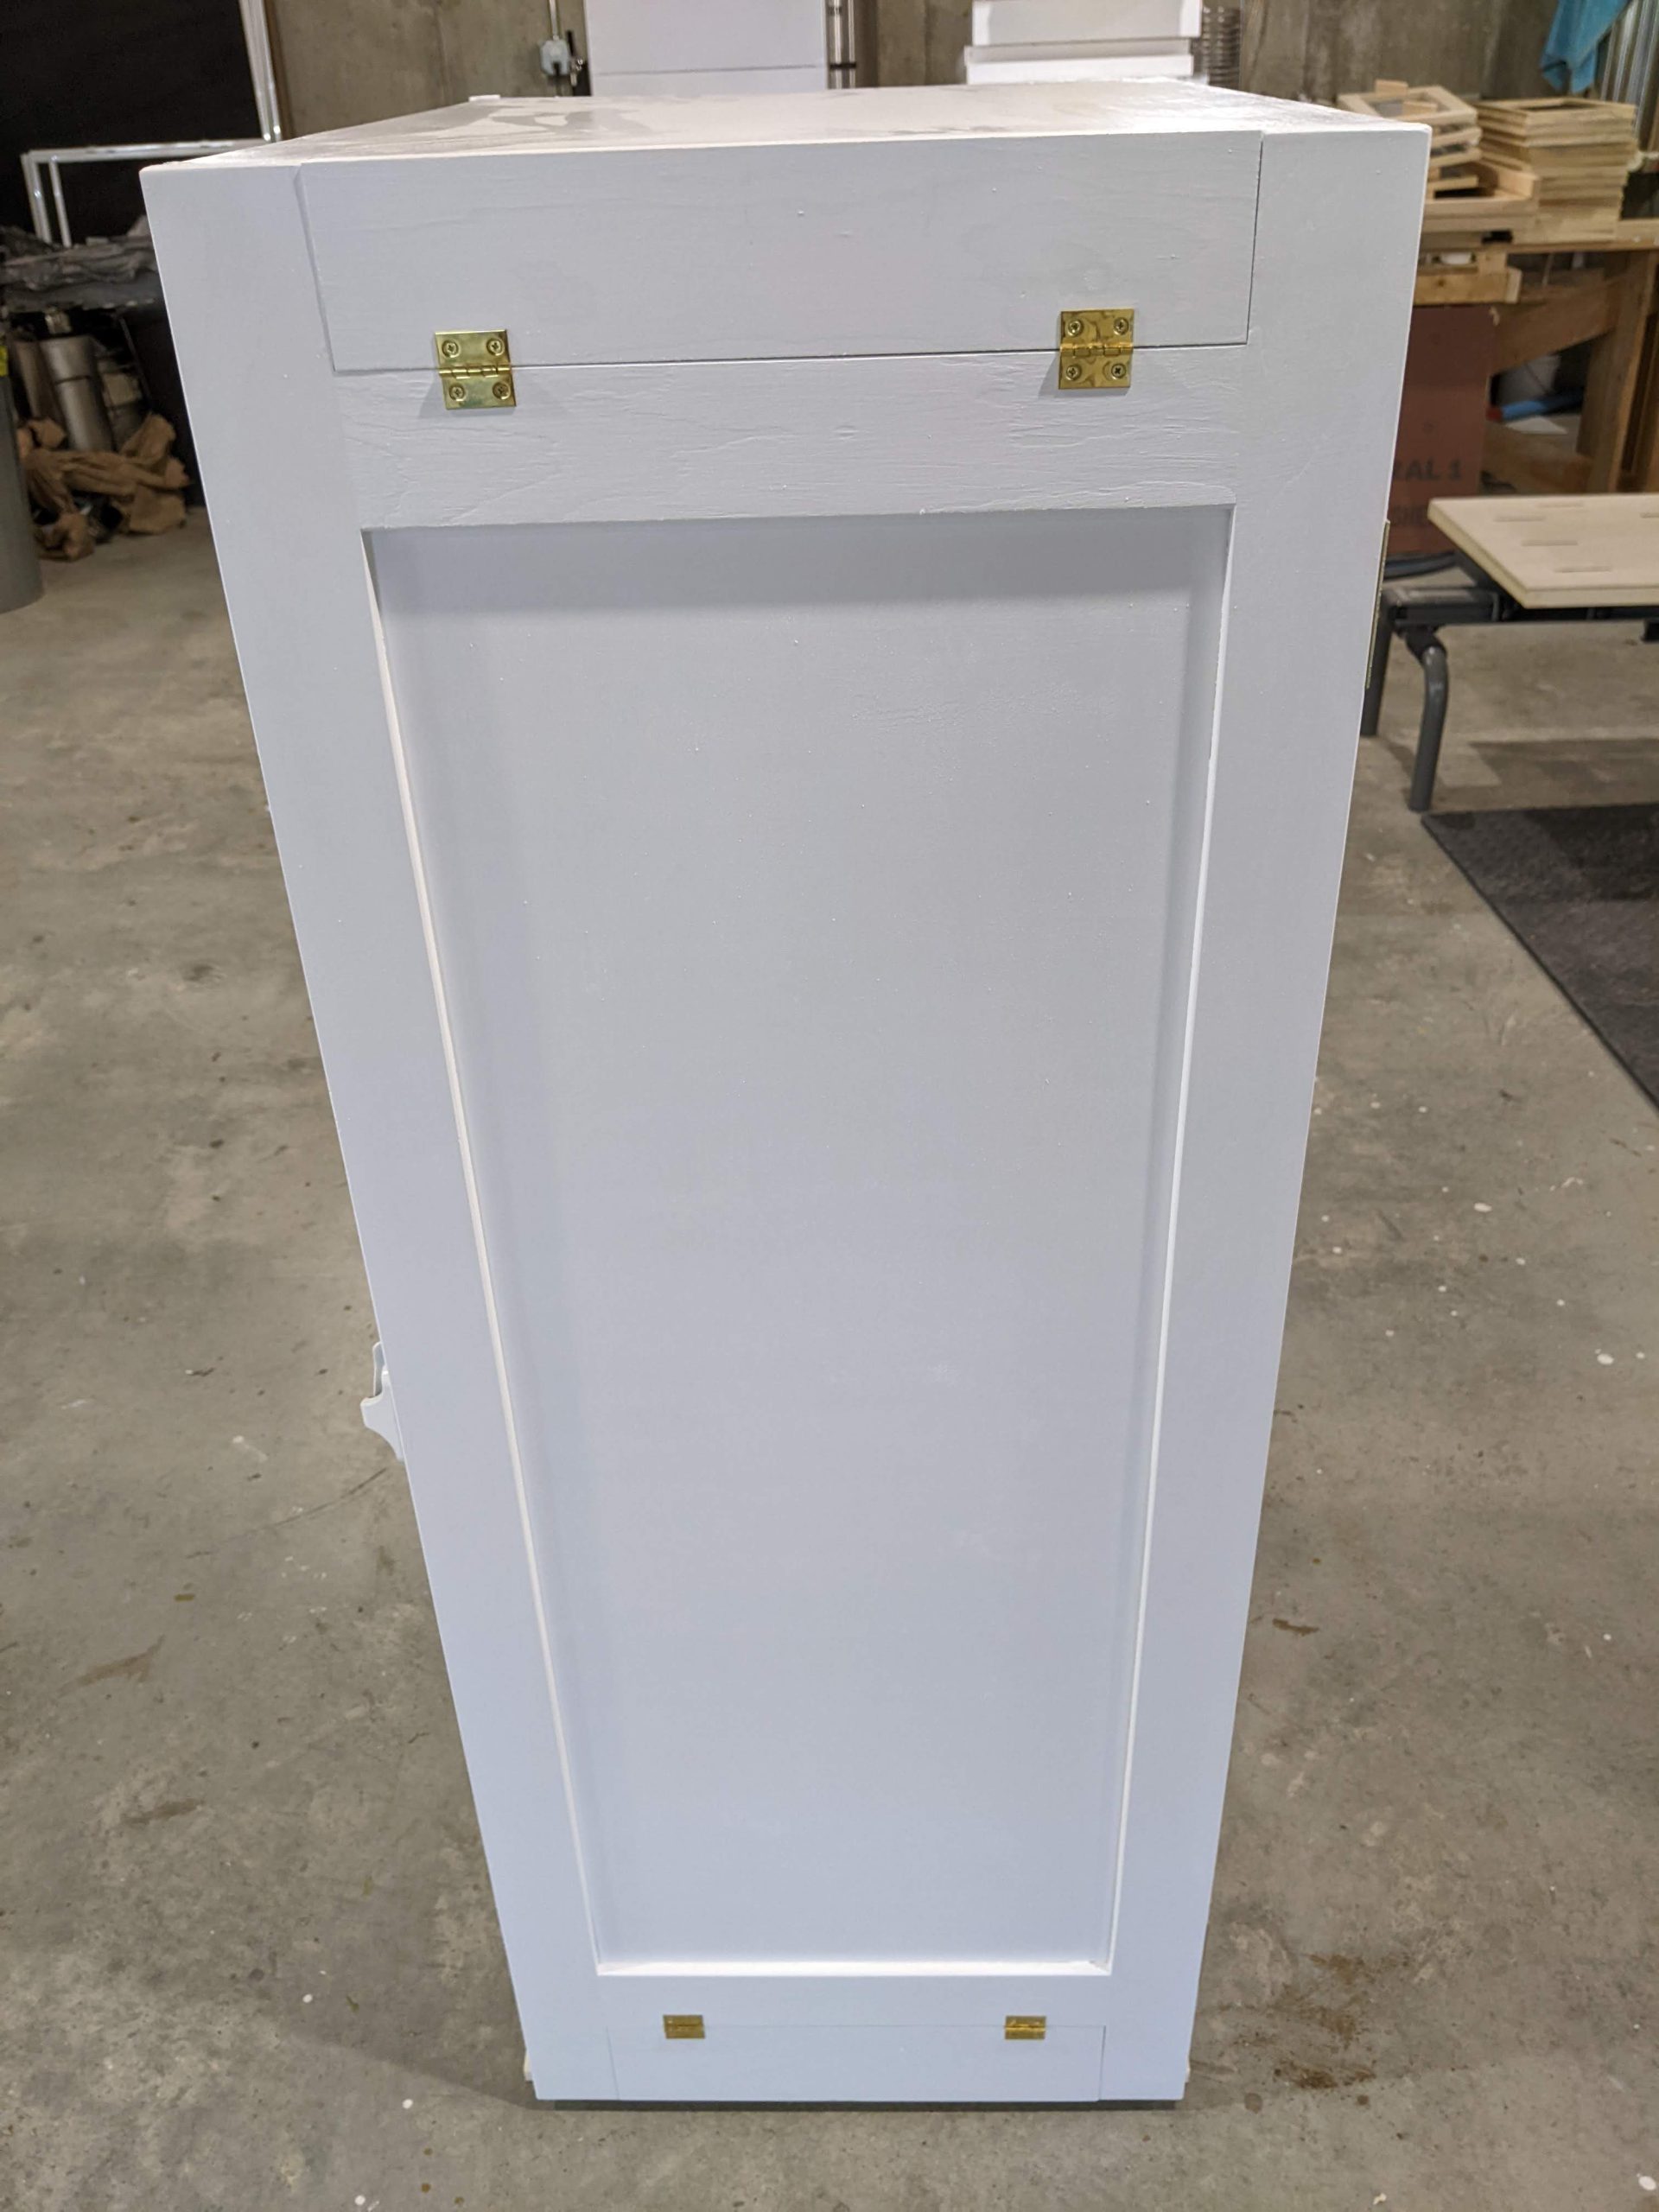
I am convinced that providing bees a wooden enclosure which resembles a hollow tree makes the best living quarters for bees to be productive and remain healthy. A natural honey bee nest in a hollow tree has several inches of wood providing insulation moderating the effect of outside temperature changes. The hive arrangement should be vertical like the honey bee’s natural nest which is easier to heat and cool. Using a movable crown board in a single large box, I can expand or contract the interior hive volume without moving any boxes. My hybrid AZ hive is 45” high by 24” deep by 14¾” wide. The total interior hive volume is 186 liters. Using insulated panel construction, I provided an R-value of six (same as five inches of wood in a feral hive) and kept the weight down to 50 pounds.
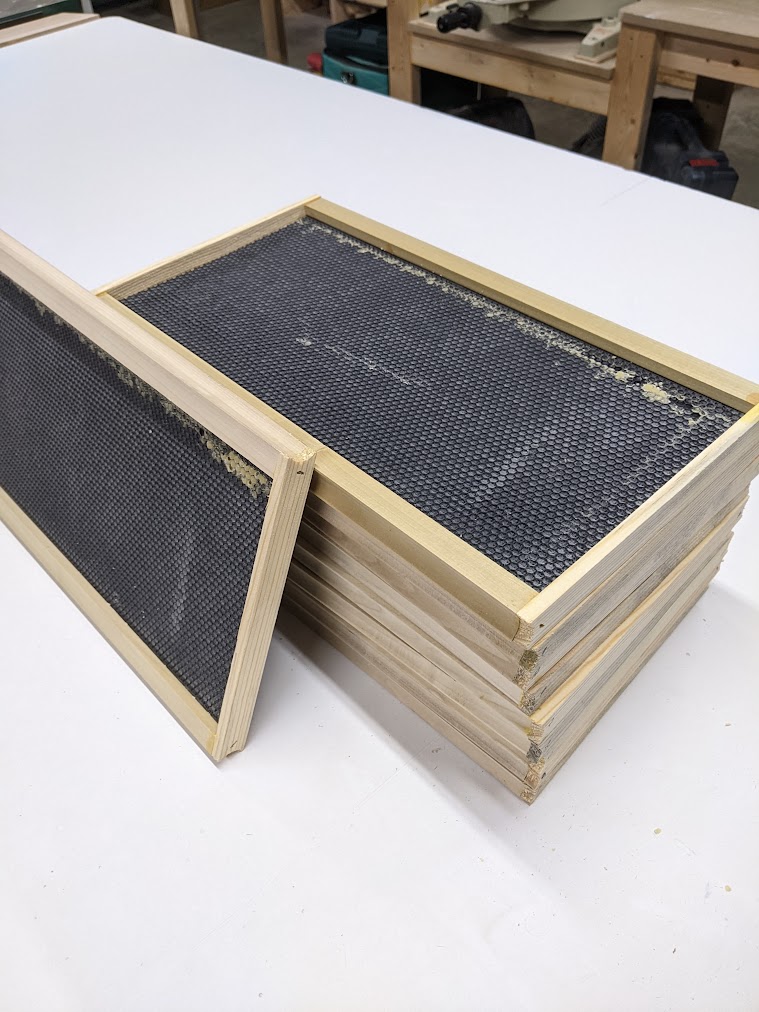
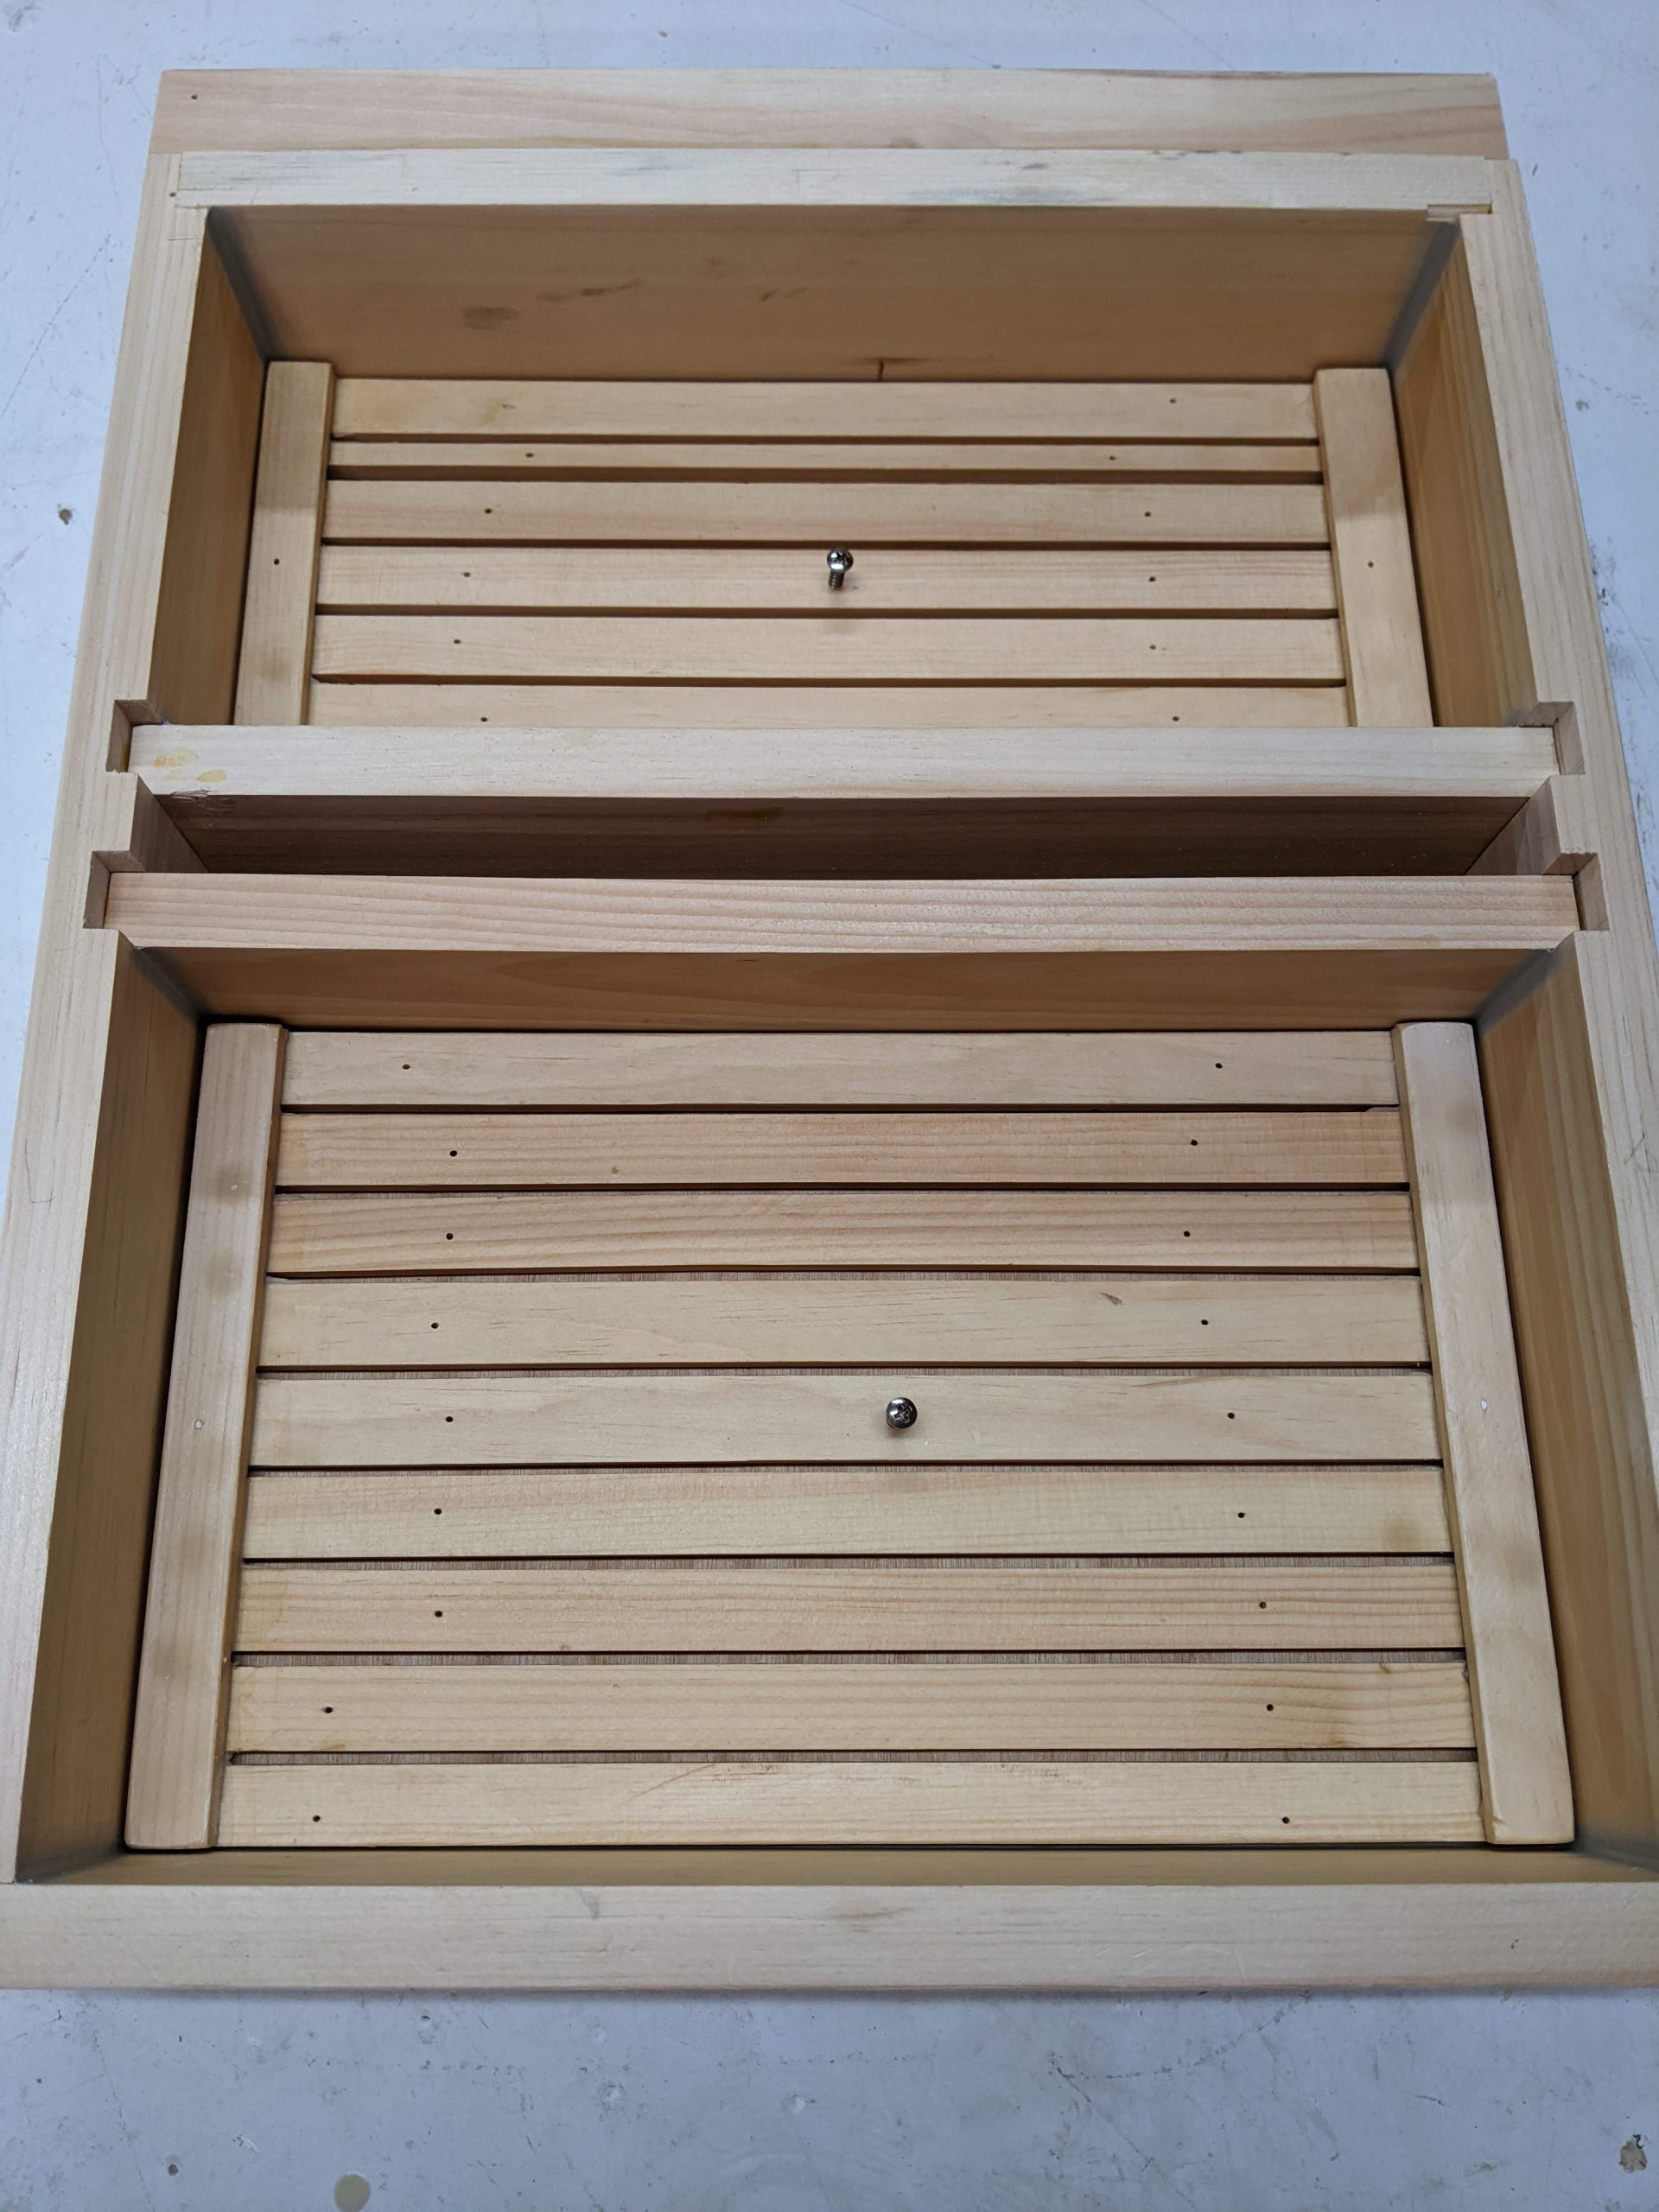
I based my interior hive measurements on ⅜” bee space with 17⅝” by 9½” frames. AZ frame spacers can be purchased from https://www.azframespacers.com/ and the ⅜” diameter aluminum rods from https://www.onlinemetals.com/. I purchased the balance of the materials from my local lumber yard and Home Depot.
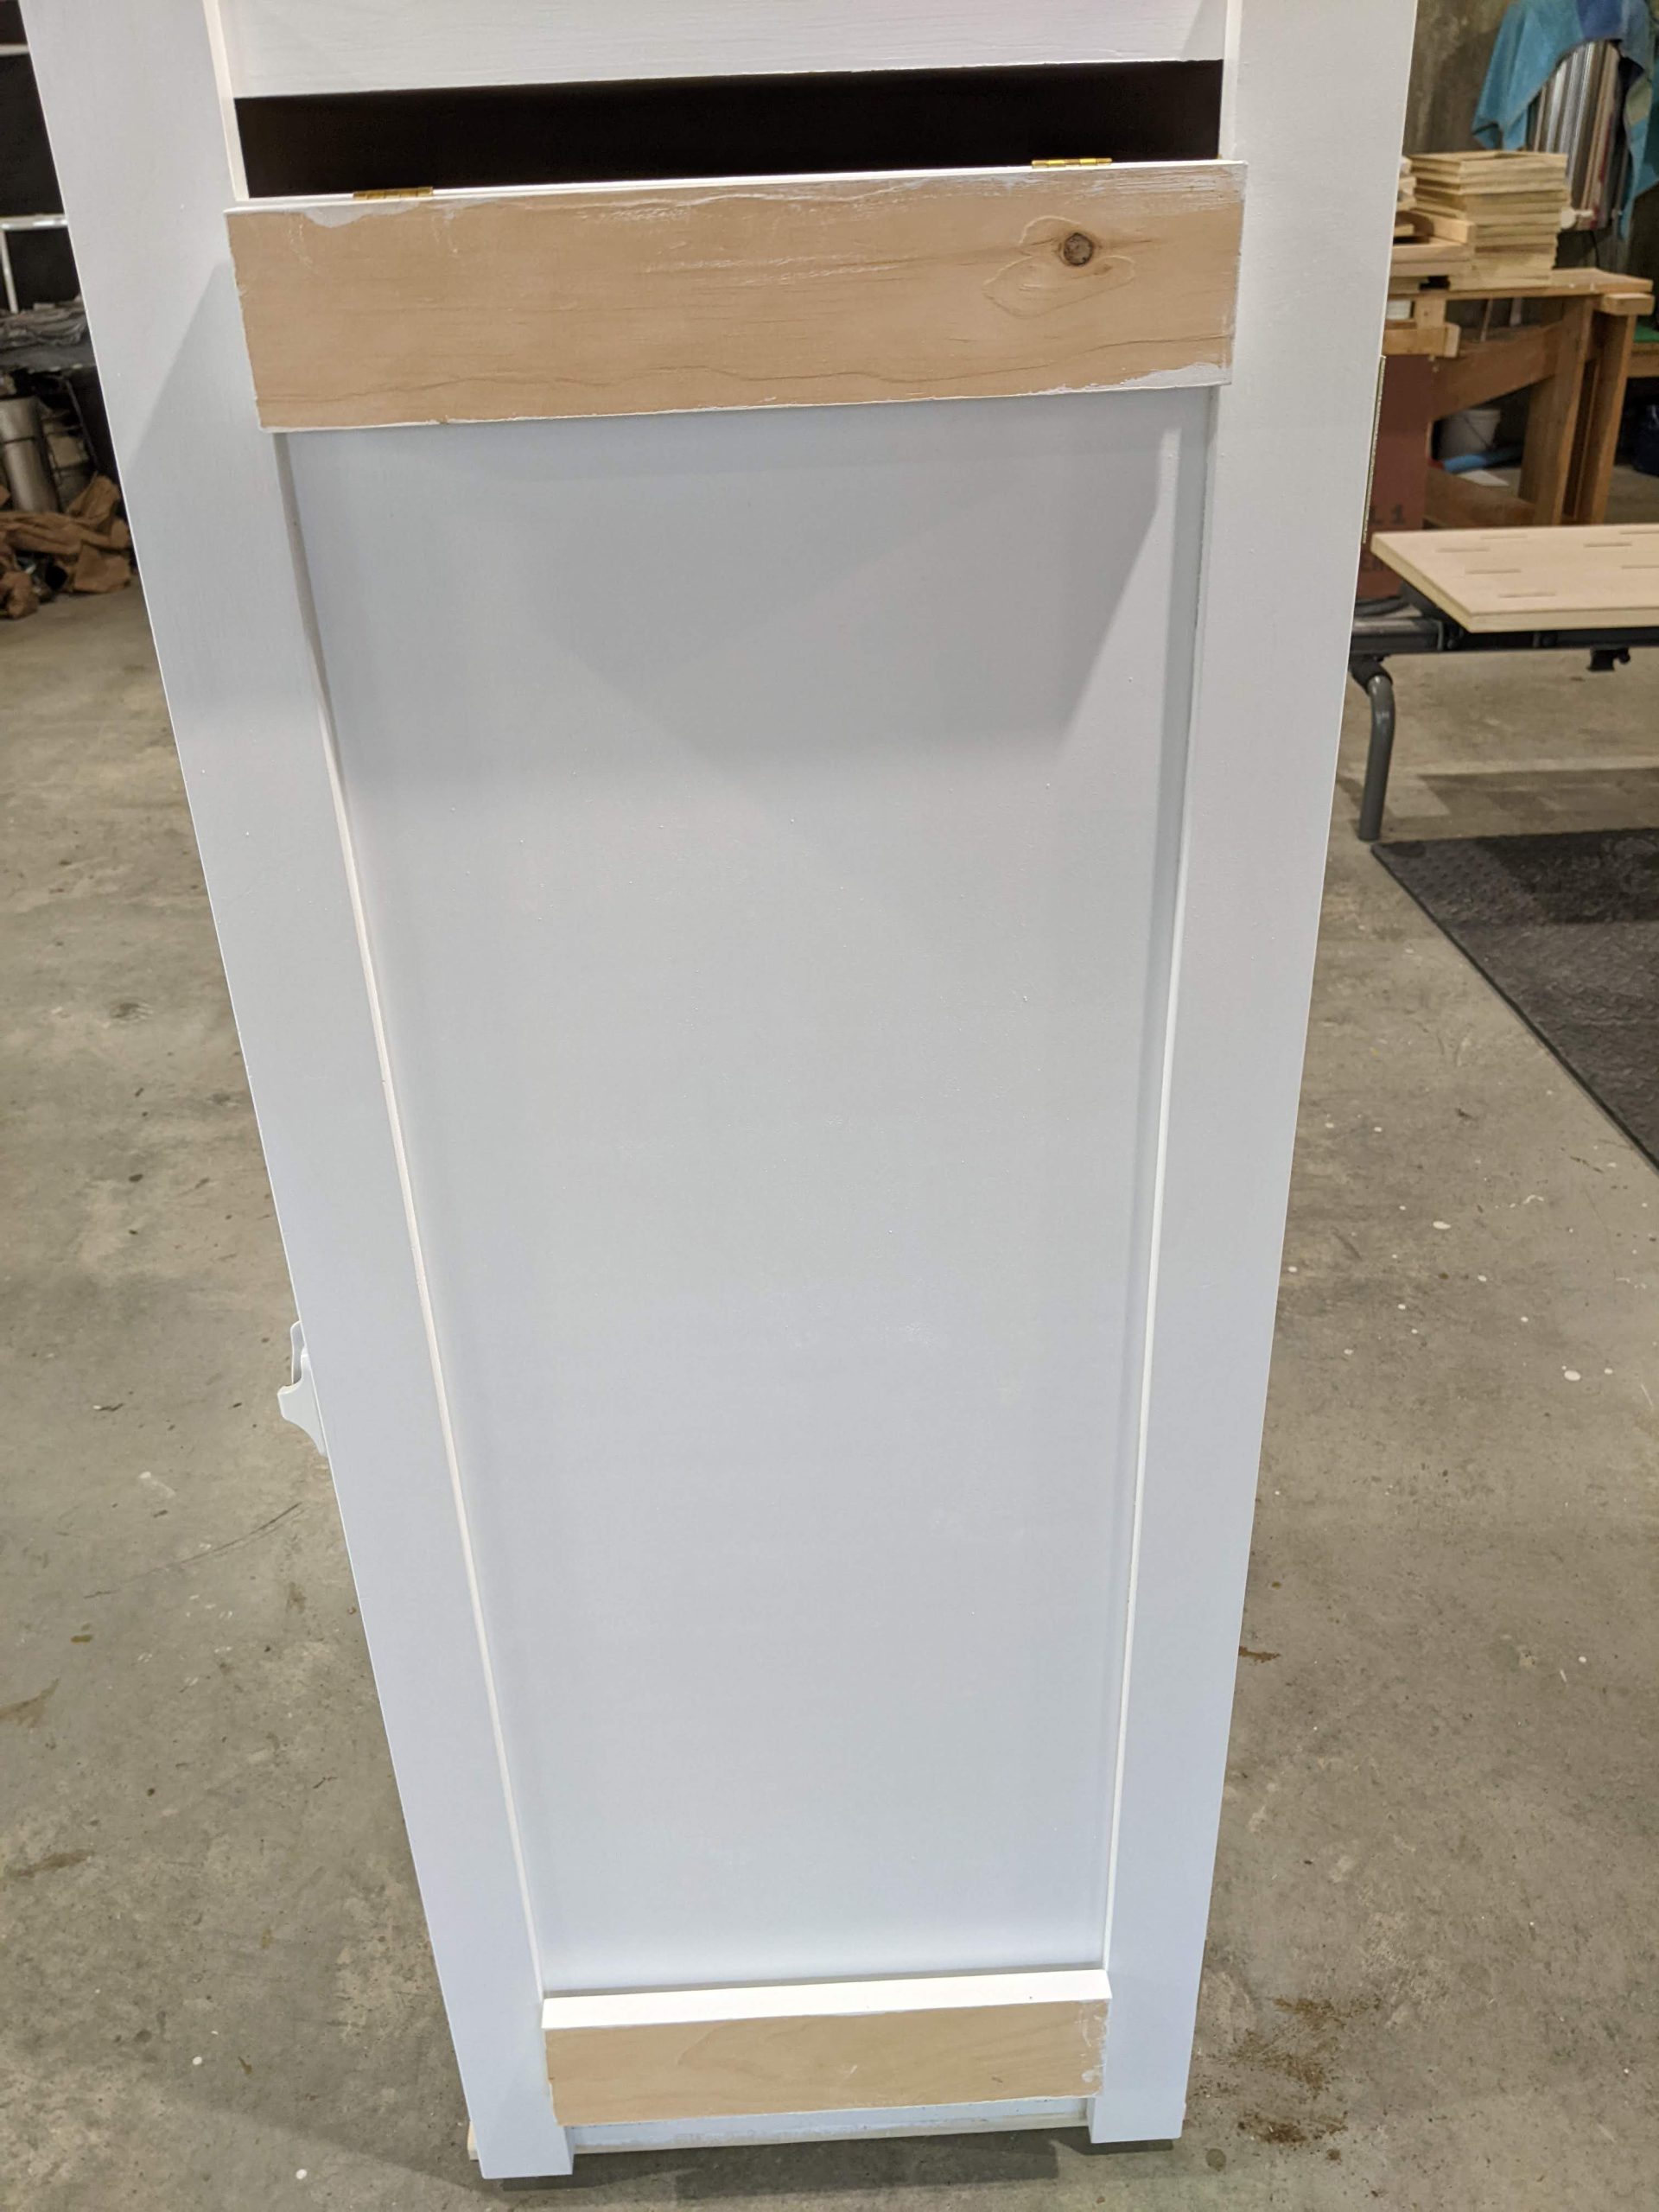
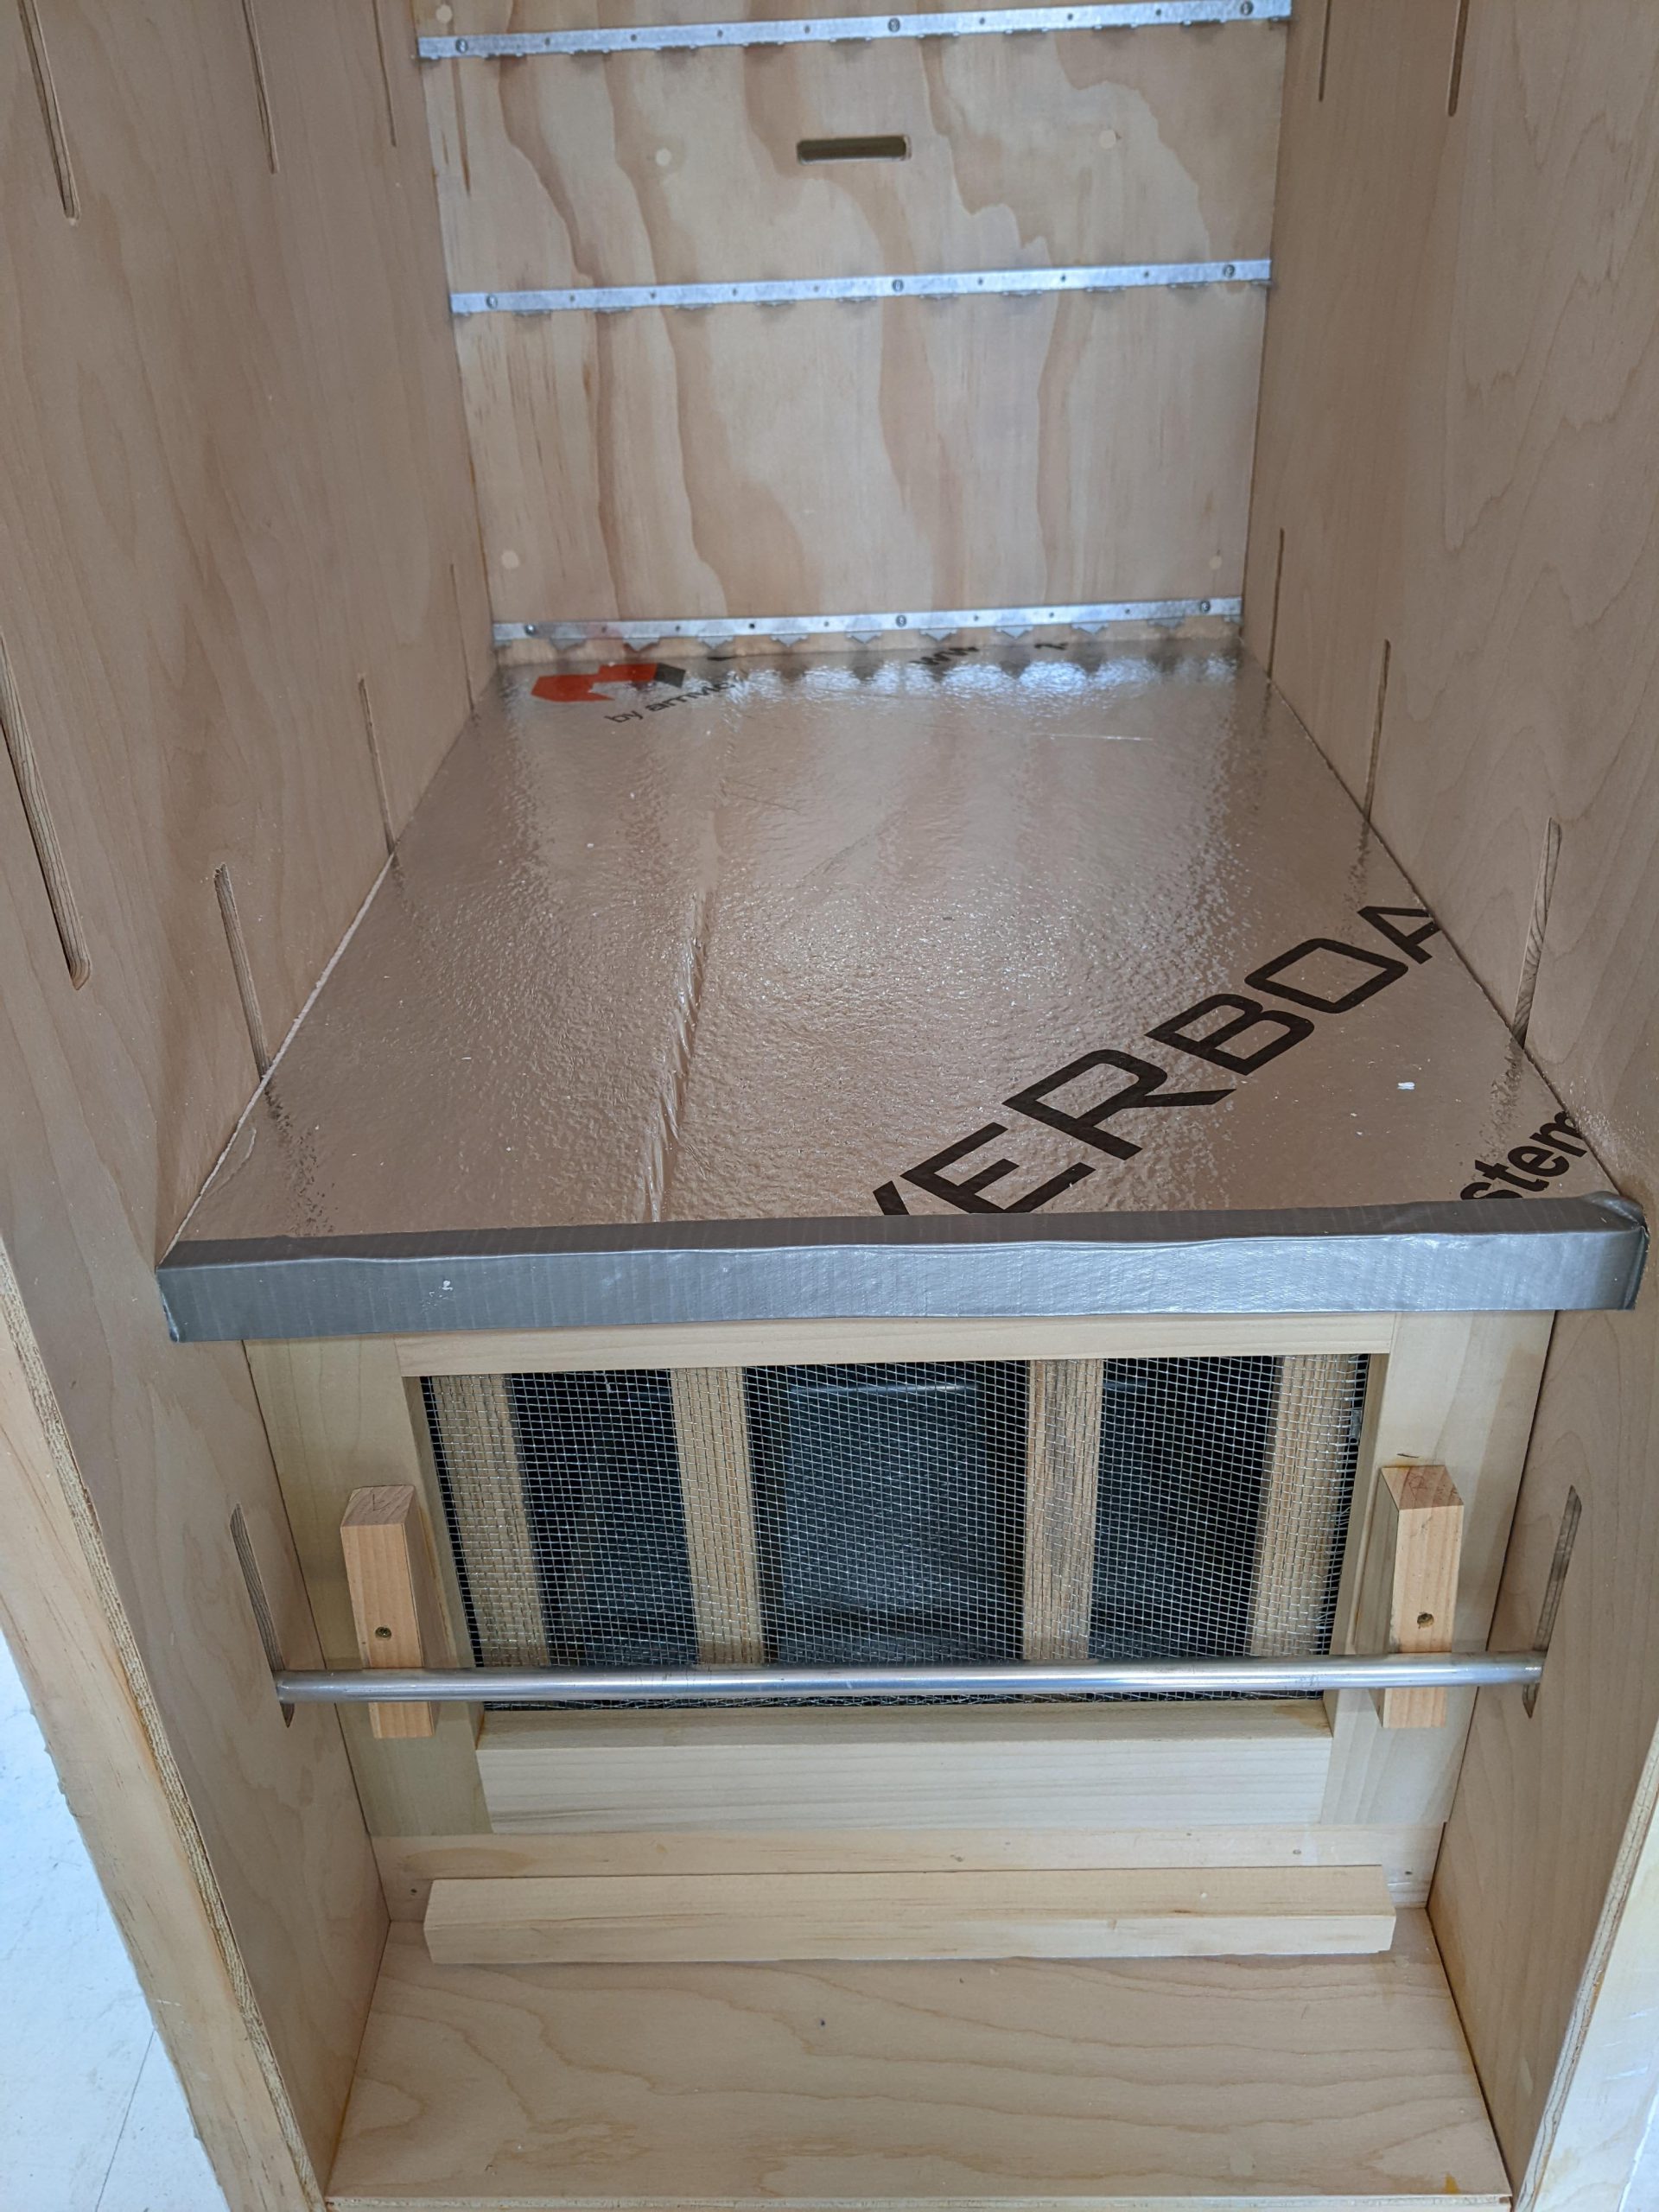
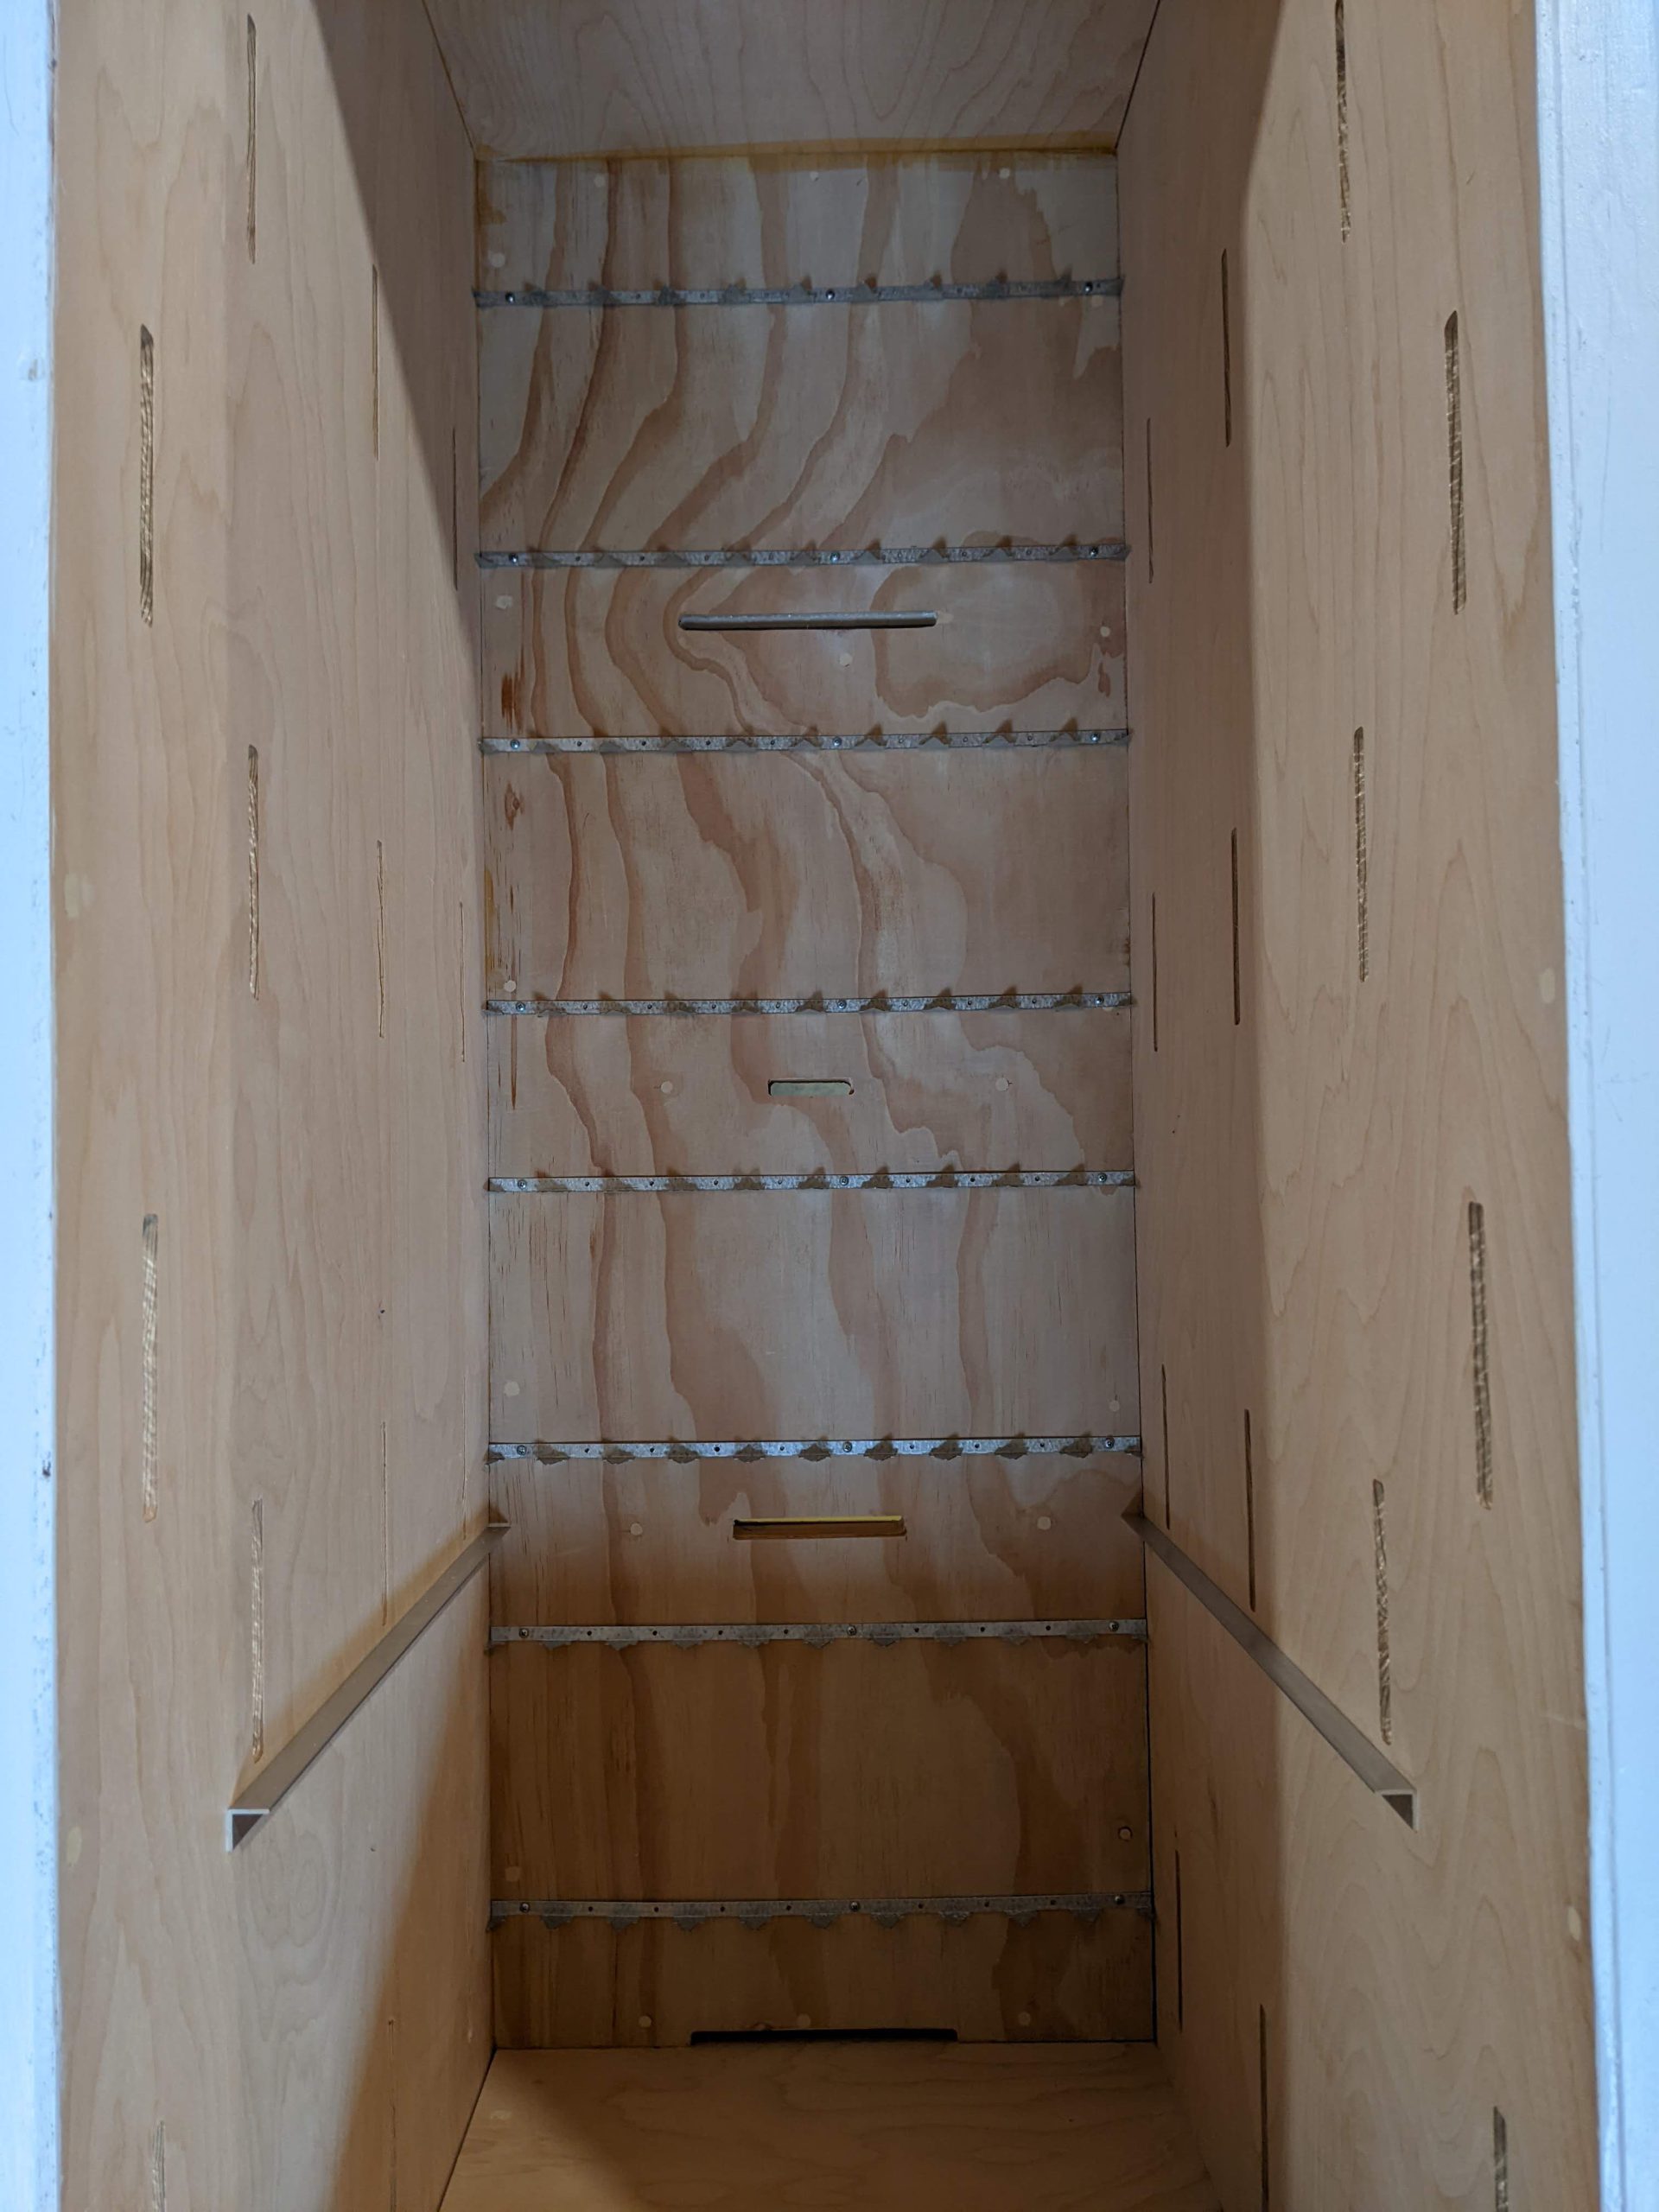
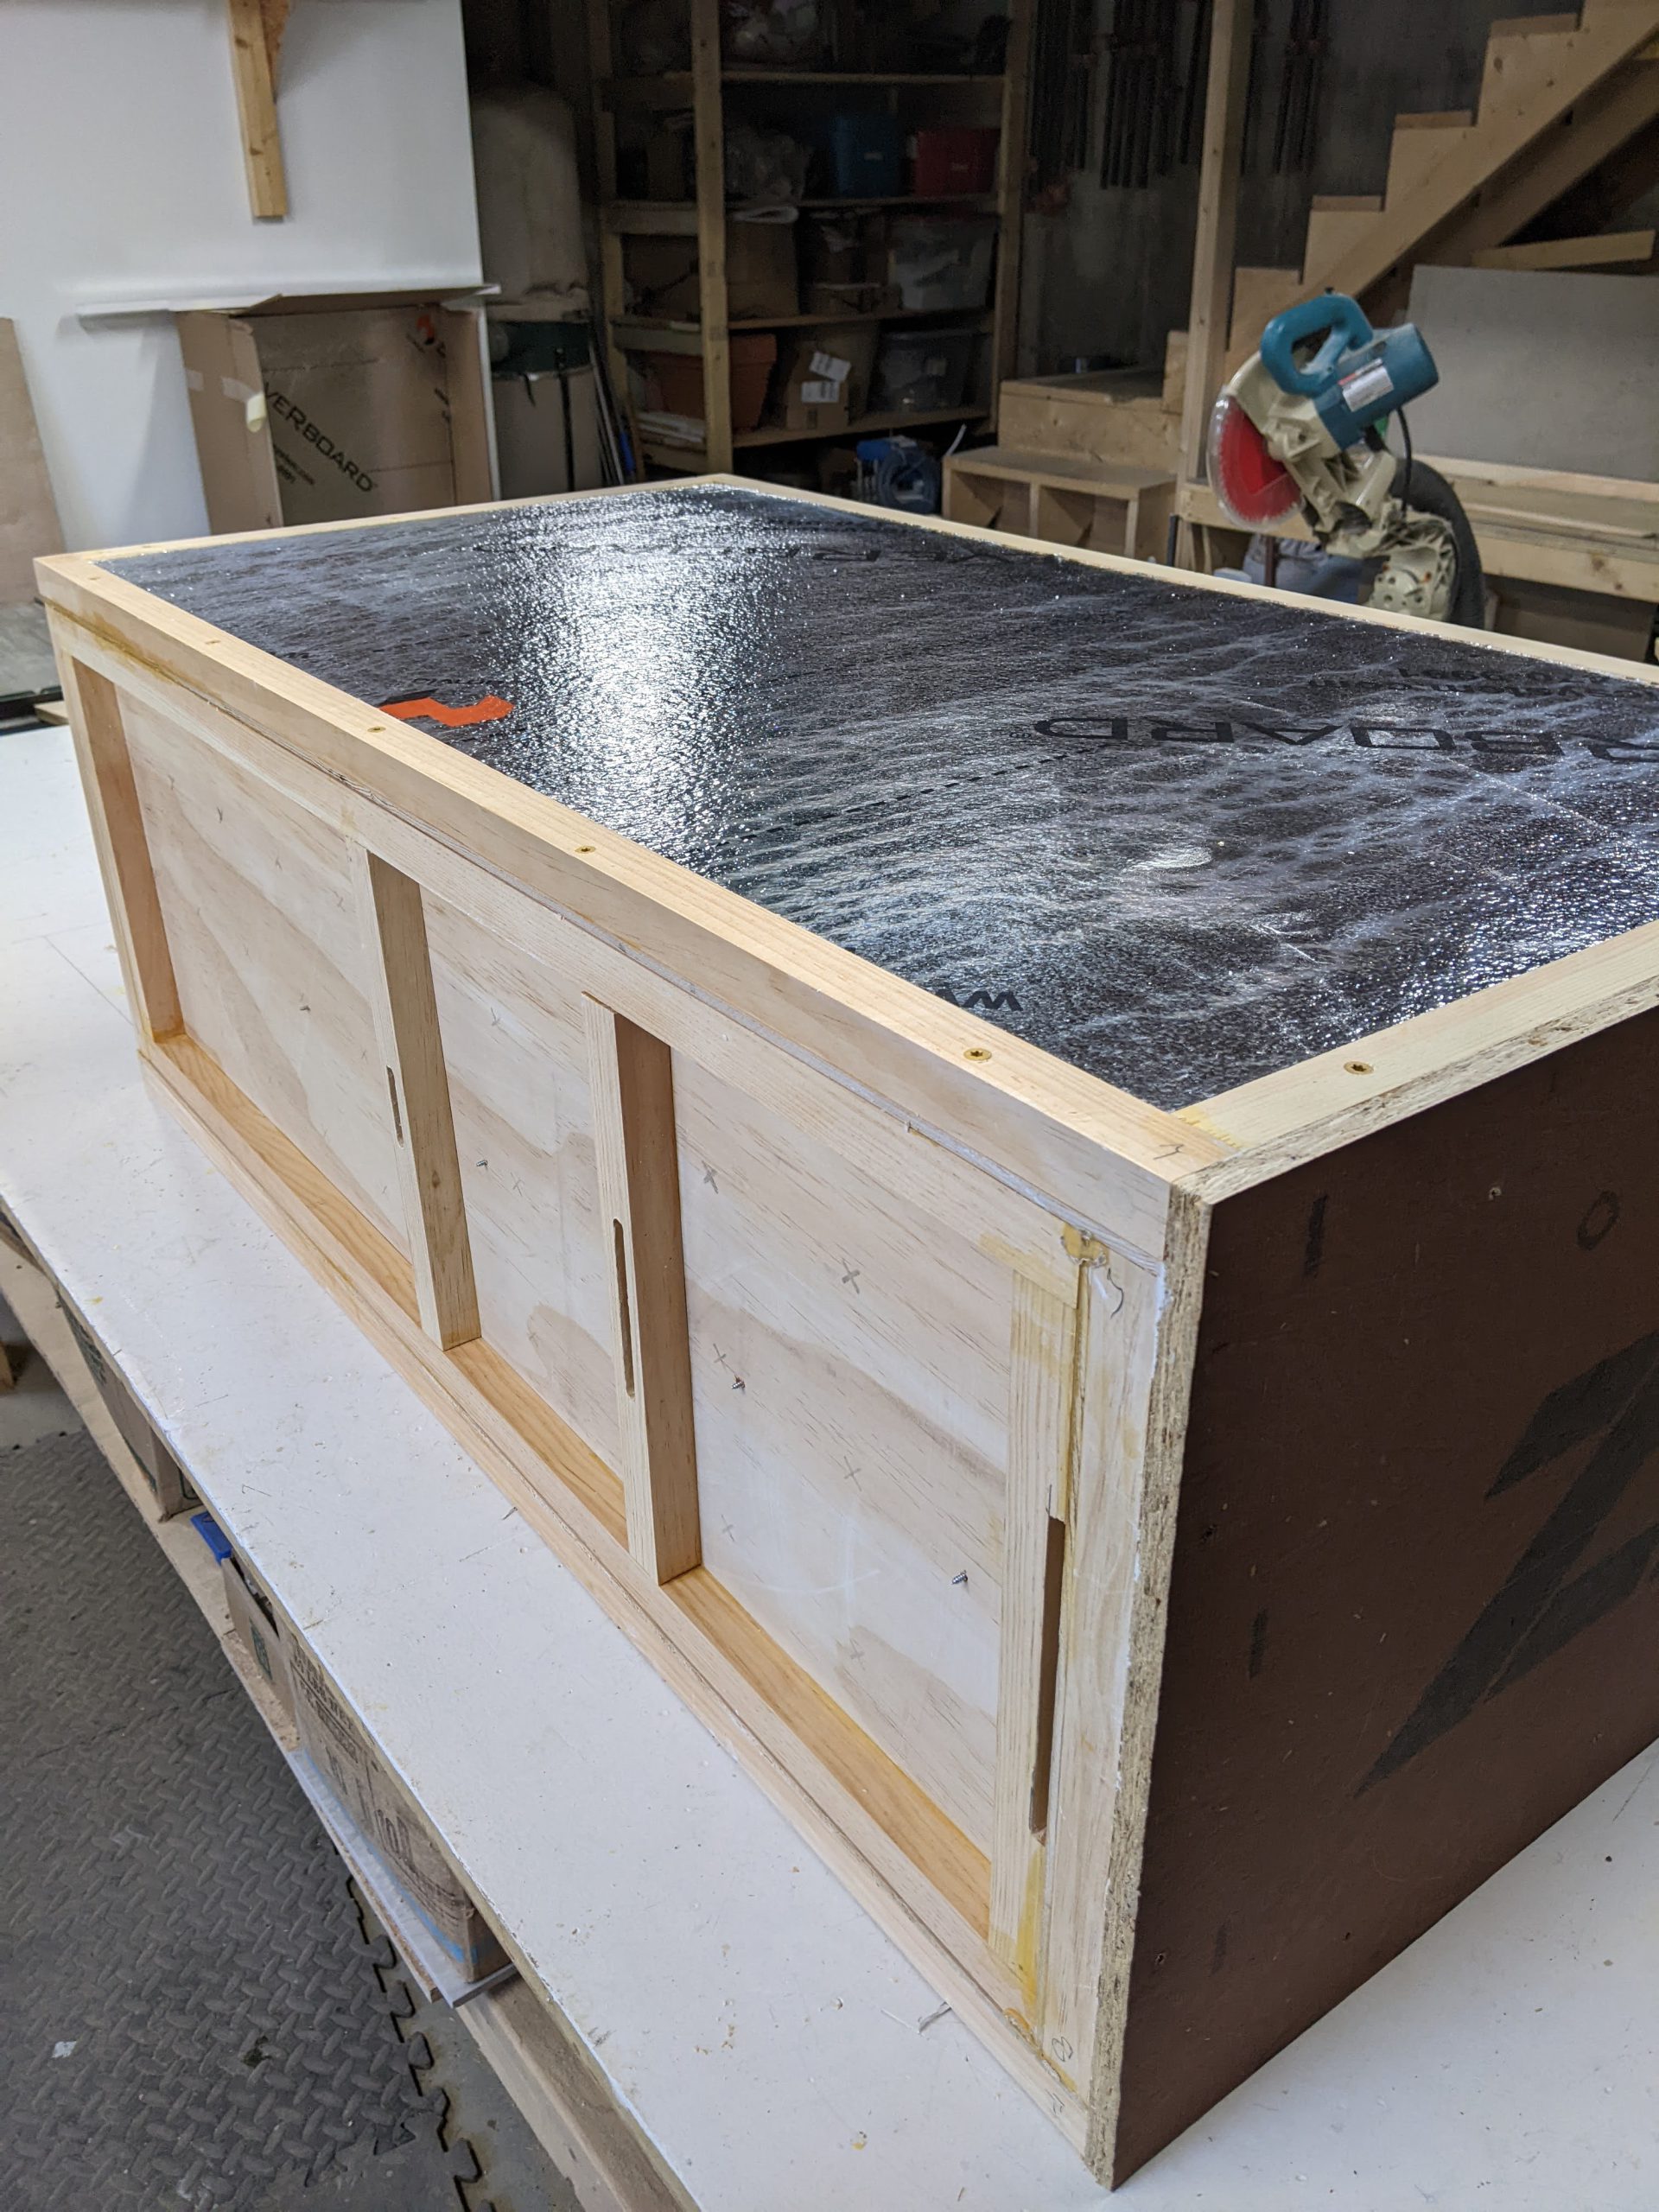
I used ¼” birch plywood for the interior panels glued to one inch by one inch pine framing on all edges. The interior side panels are 24” by 45” and routed for the ⅜” rods used to support the frames and provide a keeper to hold the rear screened doors in place. I built a jig for my router to cut the ⅜” wide by 3½” long slots allowing one setup to machine 12 slots per side to hold the rods for each of the four chambers. All four chambers use the same size deep frame which is ideal for brood production and honey storage.
Rigid foam insulation panels are one inch thick polystyrene with foil facing on each side that I glued into each of the framed panels with Loctite PL300 foam board adhesive. I would recommend using foil faced polyurethane foam panels for a slightly higher R-value. On the two sides I covered the insulated panels with 1/16” white Polywall plastic panels from Home Depot. On my first box, I used ¼” birch plywood for the exterior front wall, which I painted. The second hive I built used ¾” tongue and groove beaded pine boards laid horizontally for the front wall. I believe the pine boards will hold up better than ¼” plywood, and being attached to outside of the frame, should not affect the dimensional stability of the interior ¼” panel.
I allowed a 1½” space under the bottom three support rods in the first chamber for a screened bottom board and sticky board tray. Sampling the sticky board will give me a good window into the bee’s current activity and eliminate some mites my bees may have removed. This is another opportunity to learn more about the colony without disturbing the bees. Removing the bottom board tray with the sticky board provides good access under bottom frames to clear debris not captured by the sticky board.
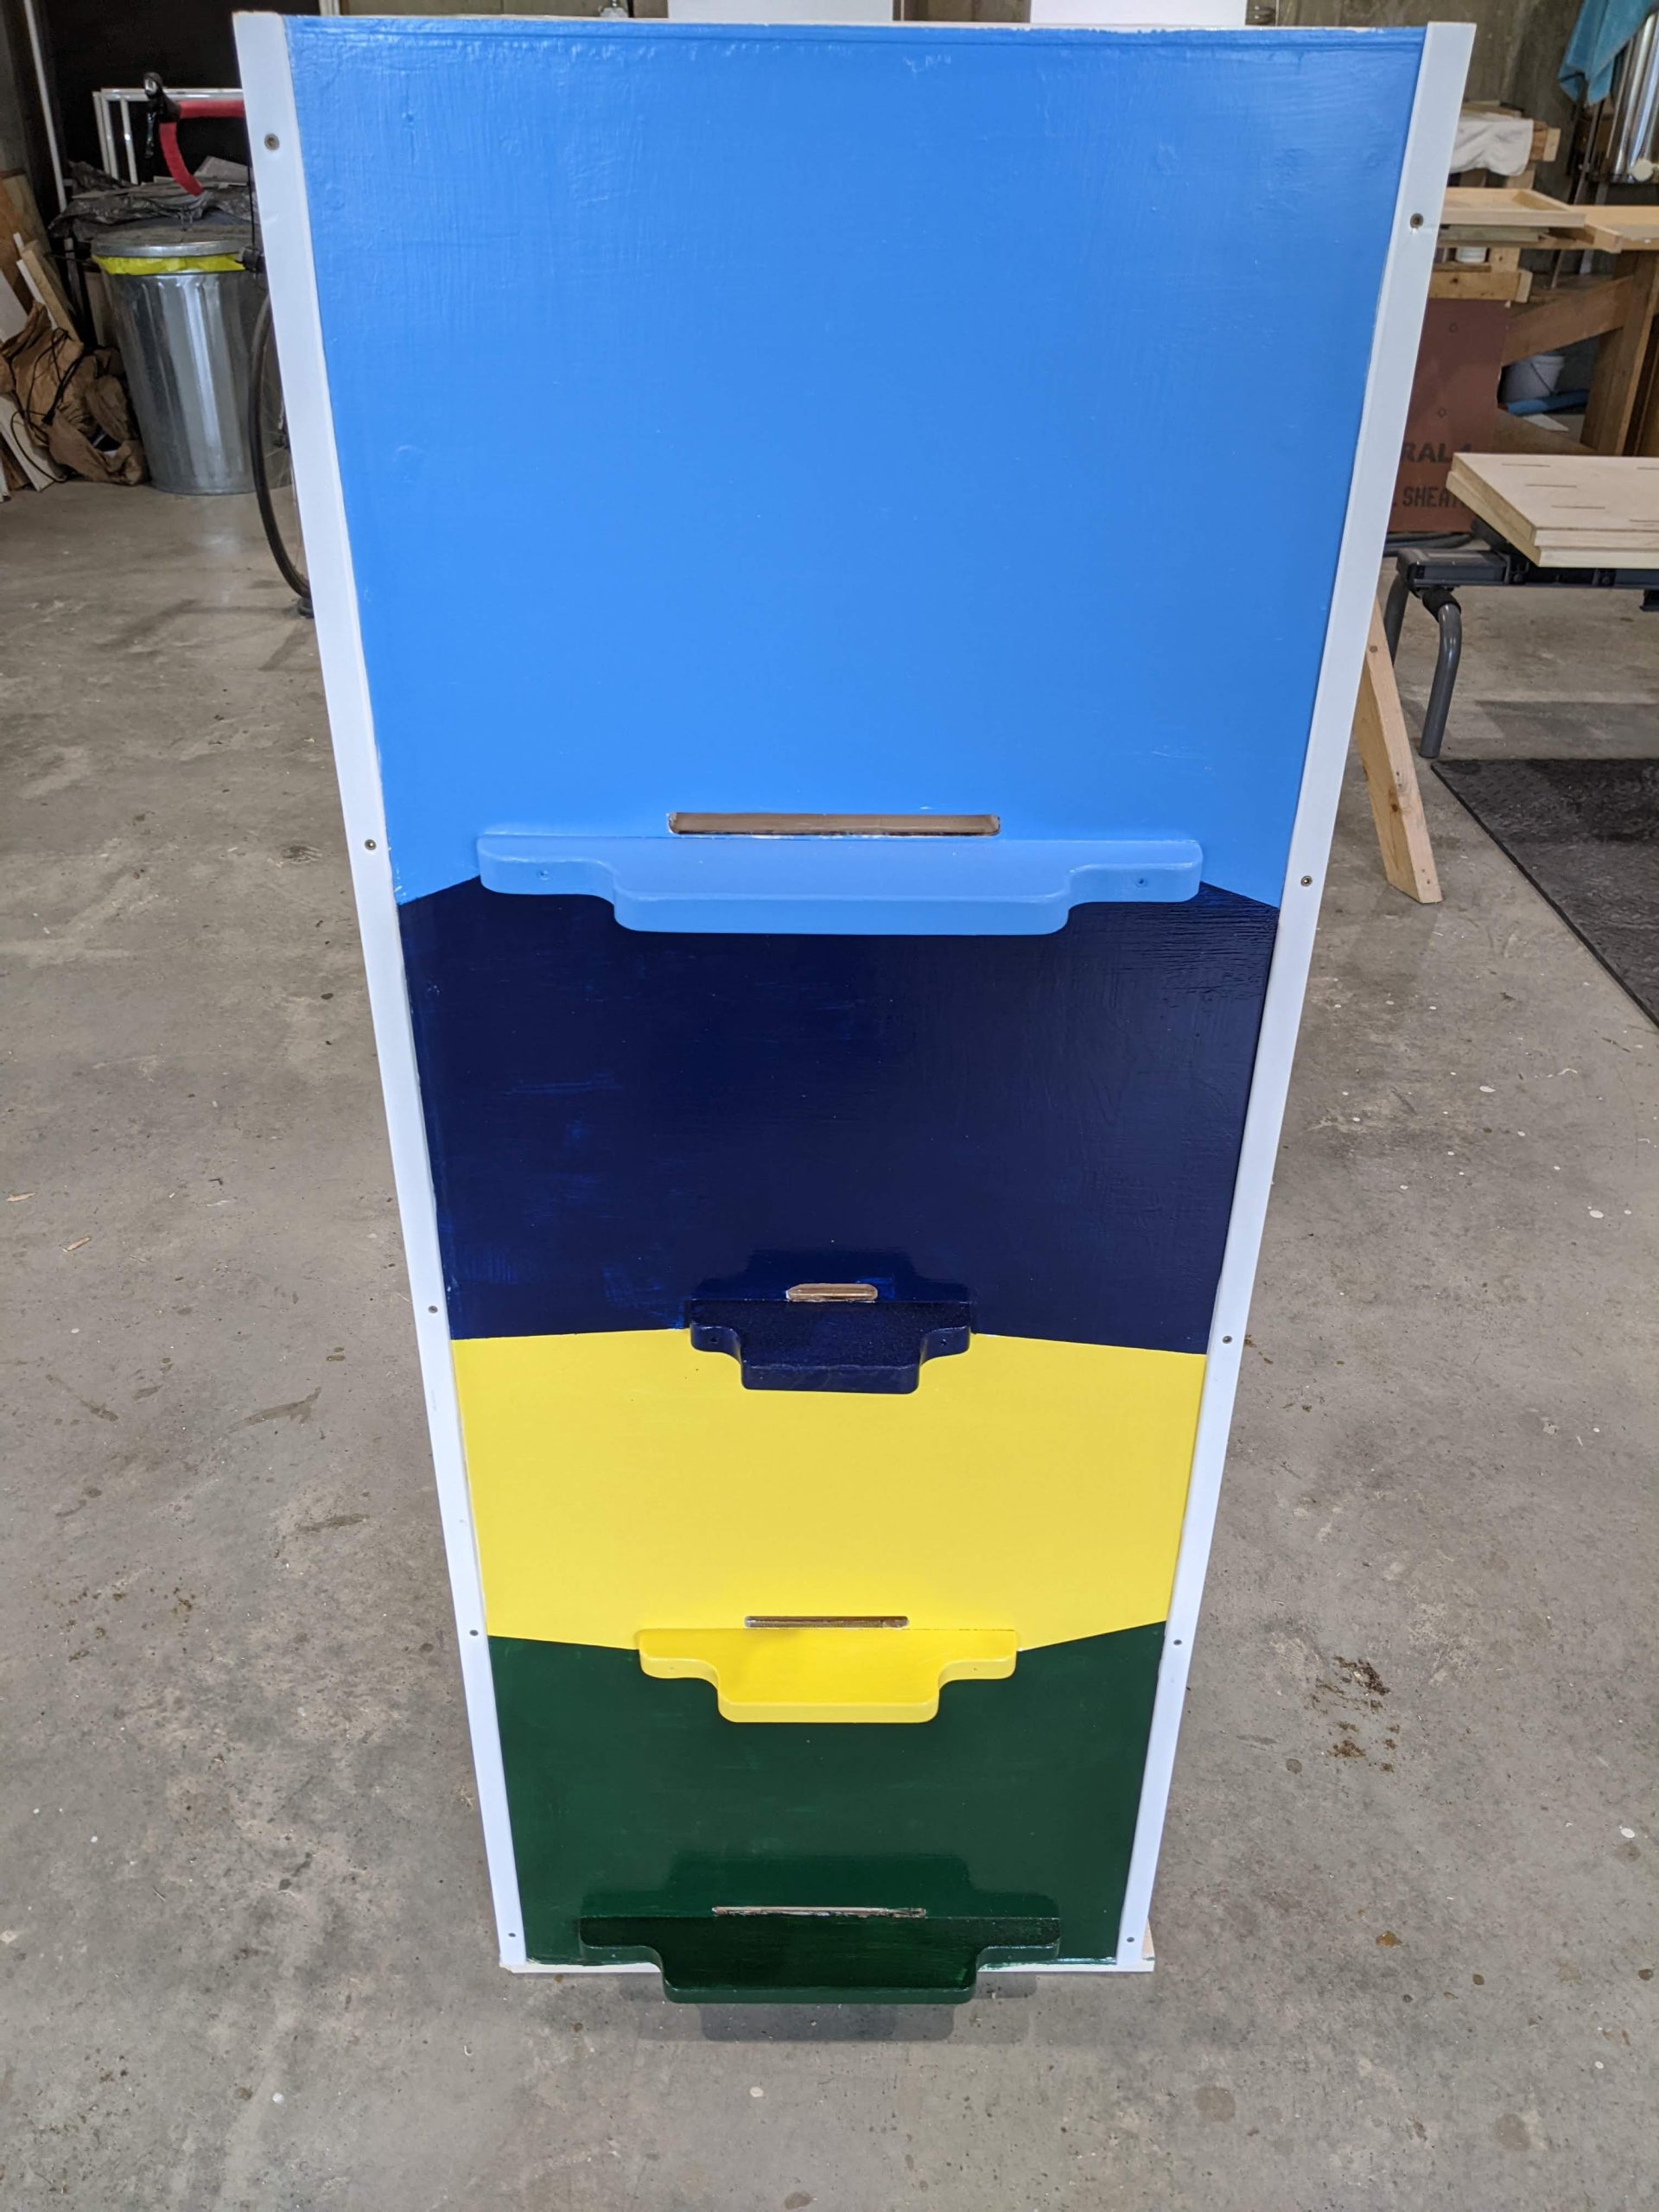
The screened access doors to each chamber are 14¾” wide by 10” high using 1¾” wide rails and stiles. The center is covered with #8 hardware cloth flush inside to maintain bee space. Two AZ frame spacers are attached to this same surface to maintain proper bee space.
I built the large back door 17⅜” x 46” using 2¼” wide rails and stiles and a ¼” birch plywood panel center panel. The top ventilation shutter is 2¾” high and bottom vent is 3½” high. When the shutters are closed, the bees still get fresh air through the front main entrance that flows out the back screen doors into the back chamber.
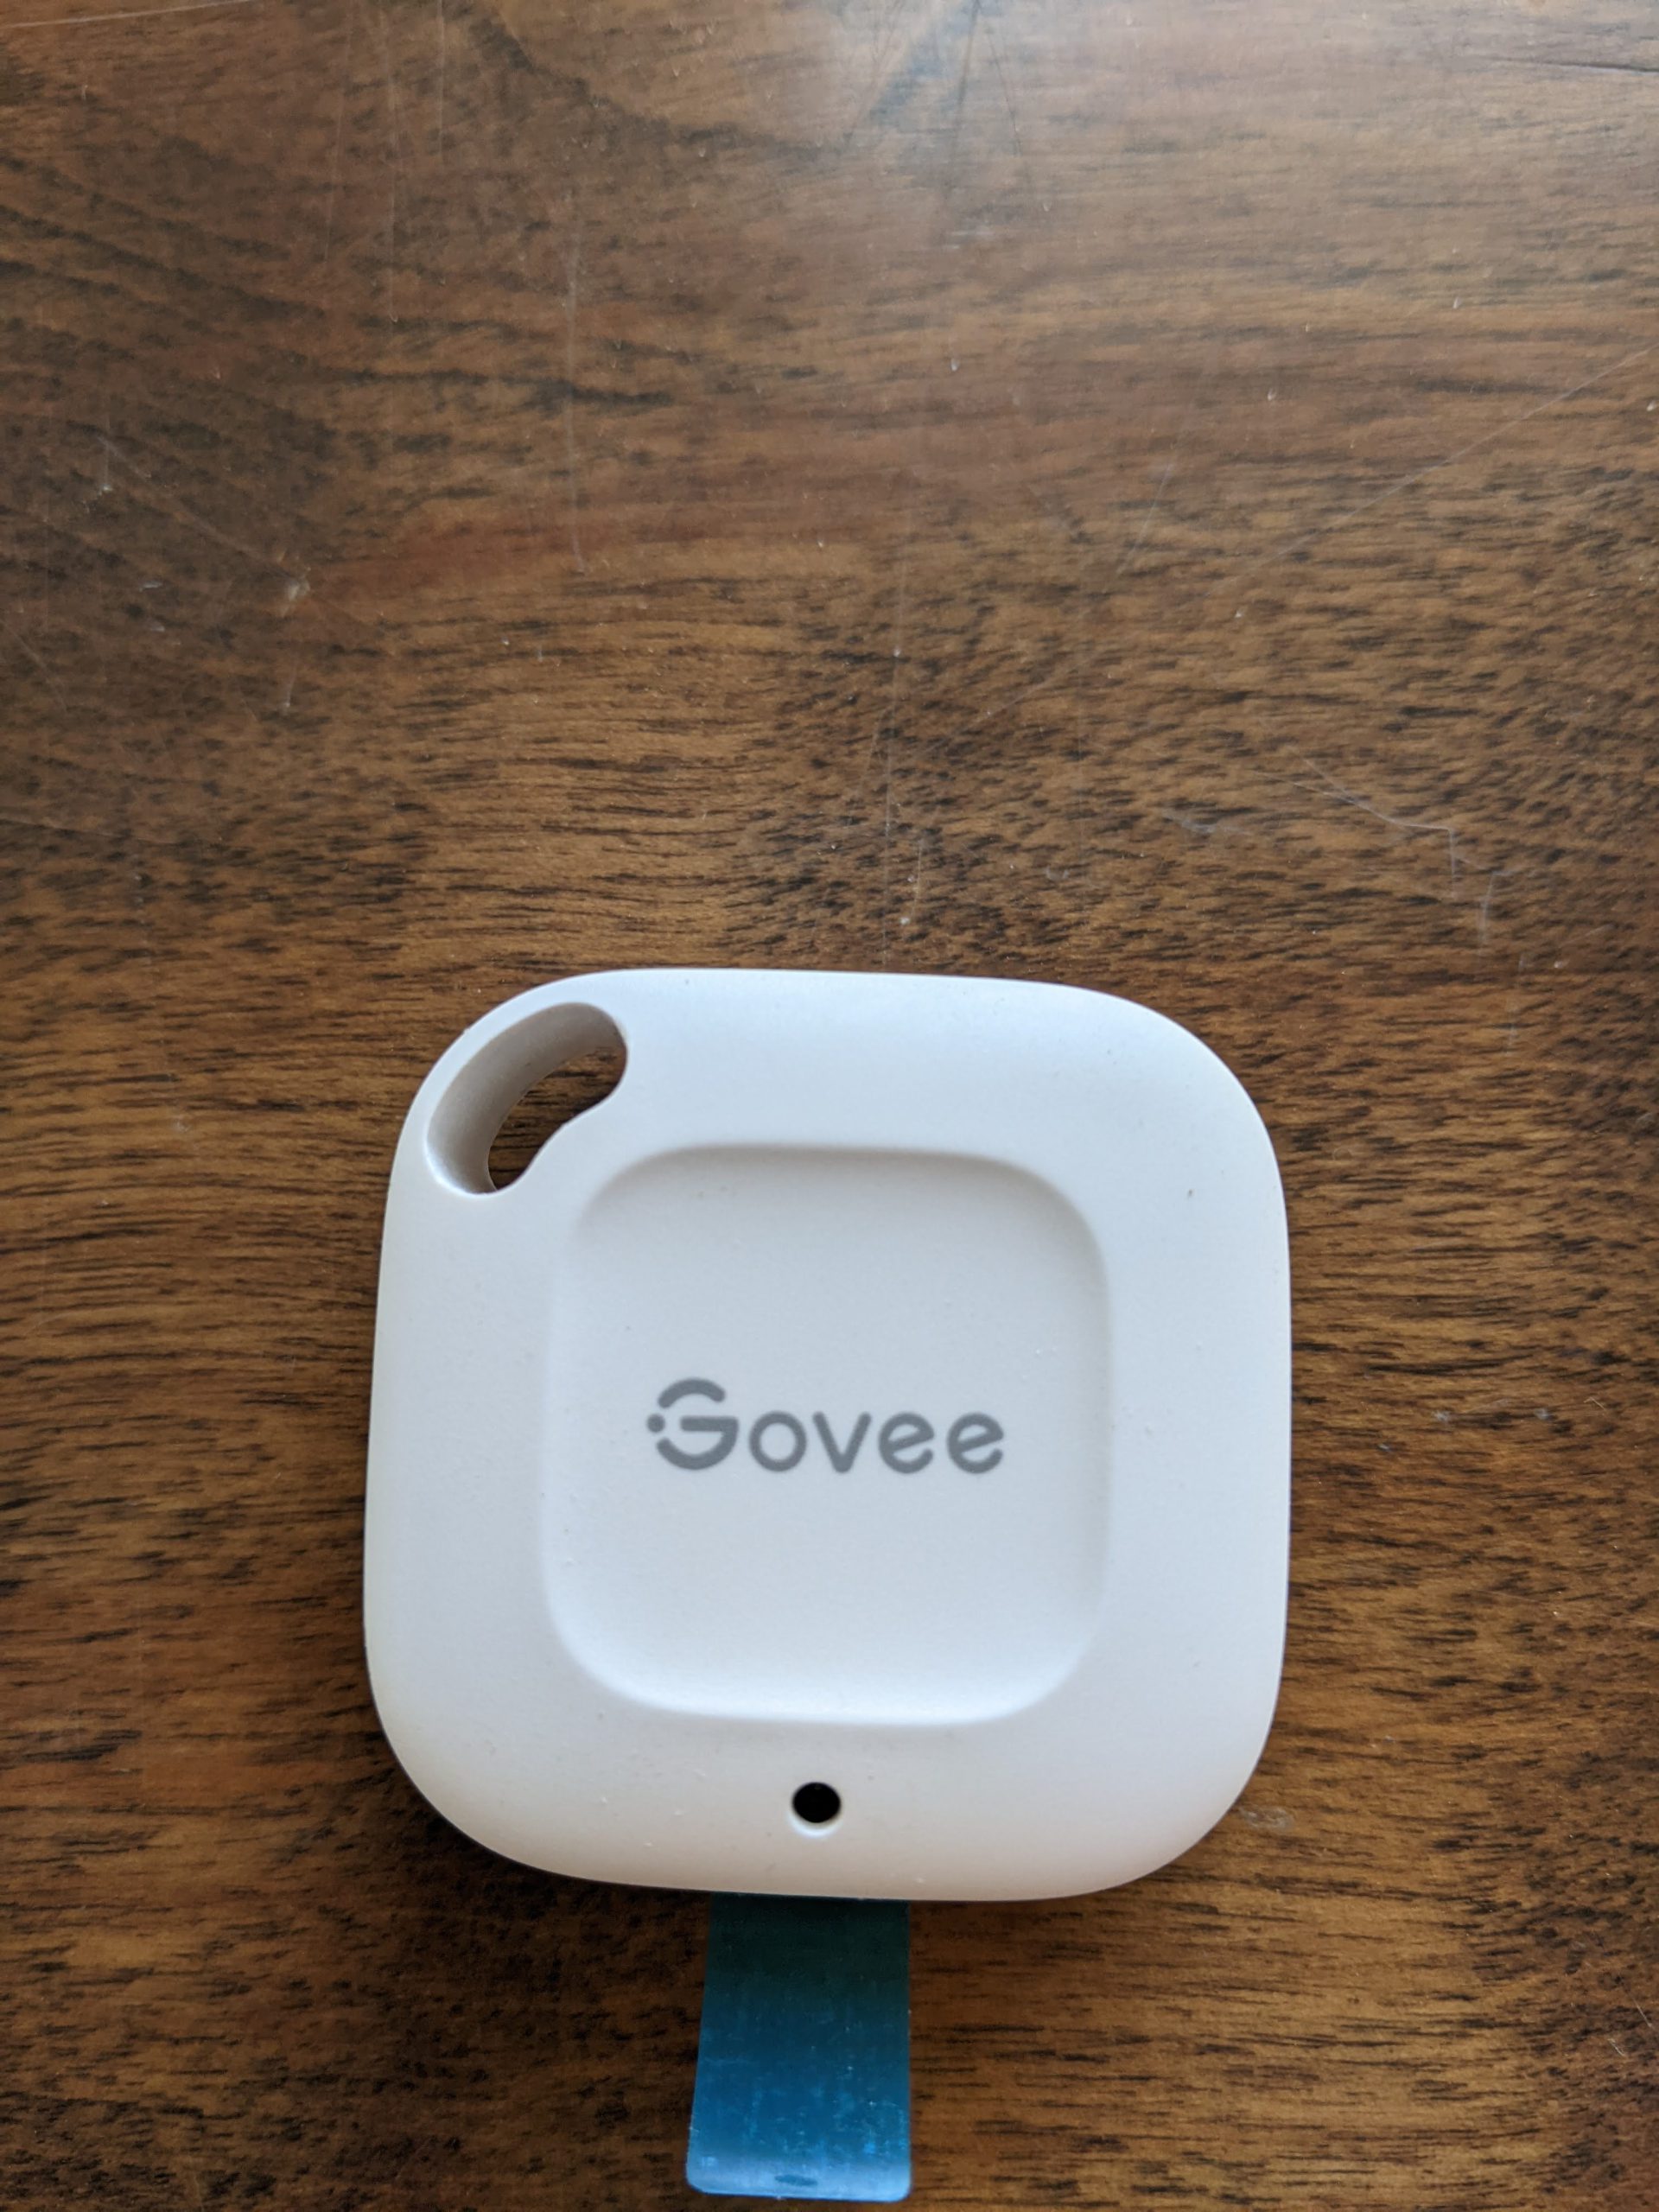
For the moveable crown board I used a piece of the one inch insulation board 14⅝” by 18¾”. I cut a 1½” square by ⅝” deep section out of foam to mount a Govee Bluetooth thermometer and humidity sensor. This provides more good information to avoid swarming and make sure the Winter cluster is staying warm and able to reach their stored honey.
This type of hive design could be used to perform splits, hiving both nucs in the same box using follower boards in two chambers and allowing the two new nucs to share heat. This benefits both new colonies conserving energy, allowing heat to be exchanged in the vertical stack. Queen rearing is perfect in this hive arrangement being able to load all four chambers with thousands of nurse bees to feed the queen cells.
I have read bees speak to us – we just don’t understand – unless we watch and listen to what they are working on each day. I believe this type of hybrid AZ hive gives us the best opportunity to learn and understand what is best for our bees. Be good to your bees and build them a great home – they just might thank you by producing more honey.