Dan Long
Warning! A home observation hive comes at great risk to completion of daily household tasks! You’re going to want to stay and watch all day!
If you’re reading this, chances are you’re fascinated by honey bees. Every time we inspect a regular hive, there’s something interesting to see. I find myself lingering sometimes until I remember that it’s an unnatural condition for a part of the hive to be hanging in the air at the hands of a large mammal. Reluctantly, it is returned and I’m on to the next hive. Luckily for the honey bee obsessed there’s another option! In various ways, temporary or permanent, we are able to linger to our heart’s content and watch our bees with minimal disturbance to the colony. We can even see things that are less commonly seen during inspections like the queen laying eggs. Observation hives also make excellent conversation starters, marketing and educational tools. They are also very useful for research. These aspects will be covered in future articles.
Most beekeepers thinking about an observation hive want one for their home. This is a great way to start. I don’t recommend it for anyone without at least a couple of years of experience and it shouldn’t be their only hive.
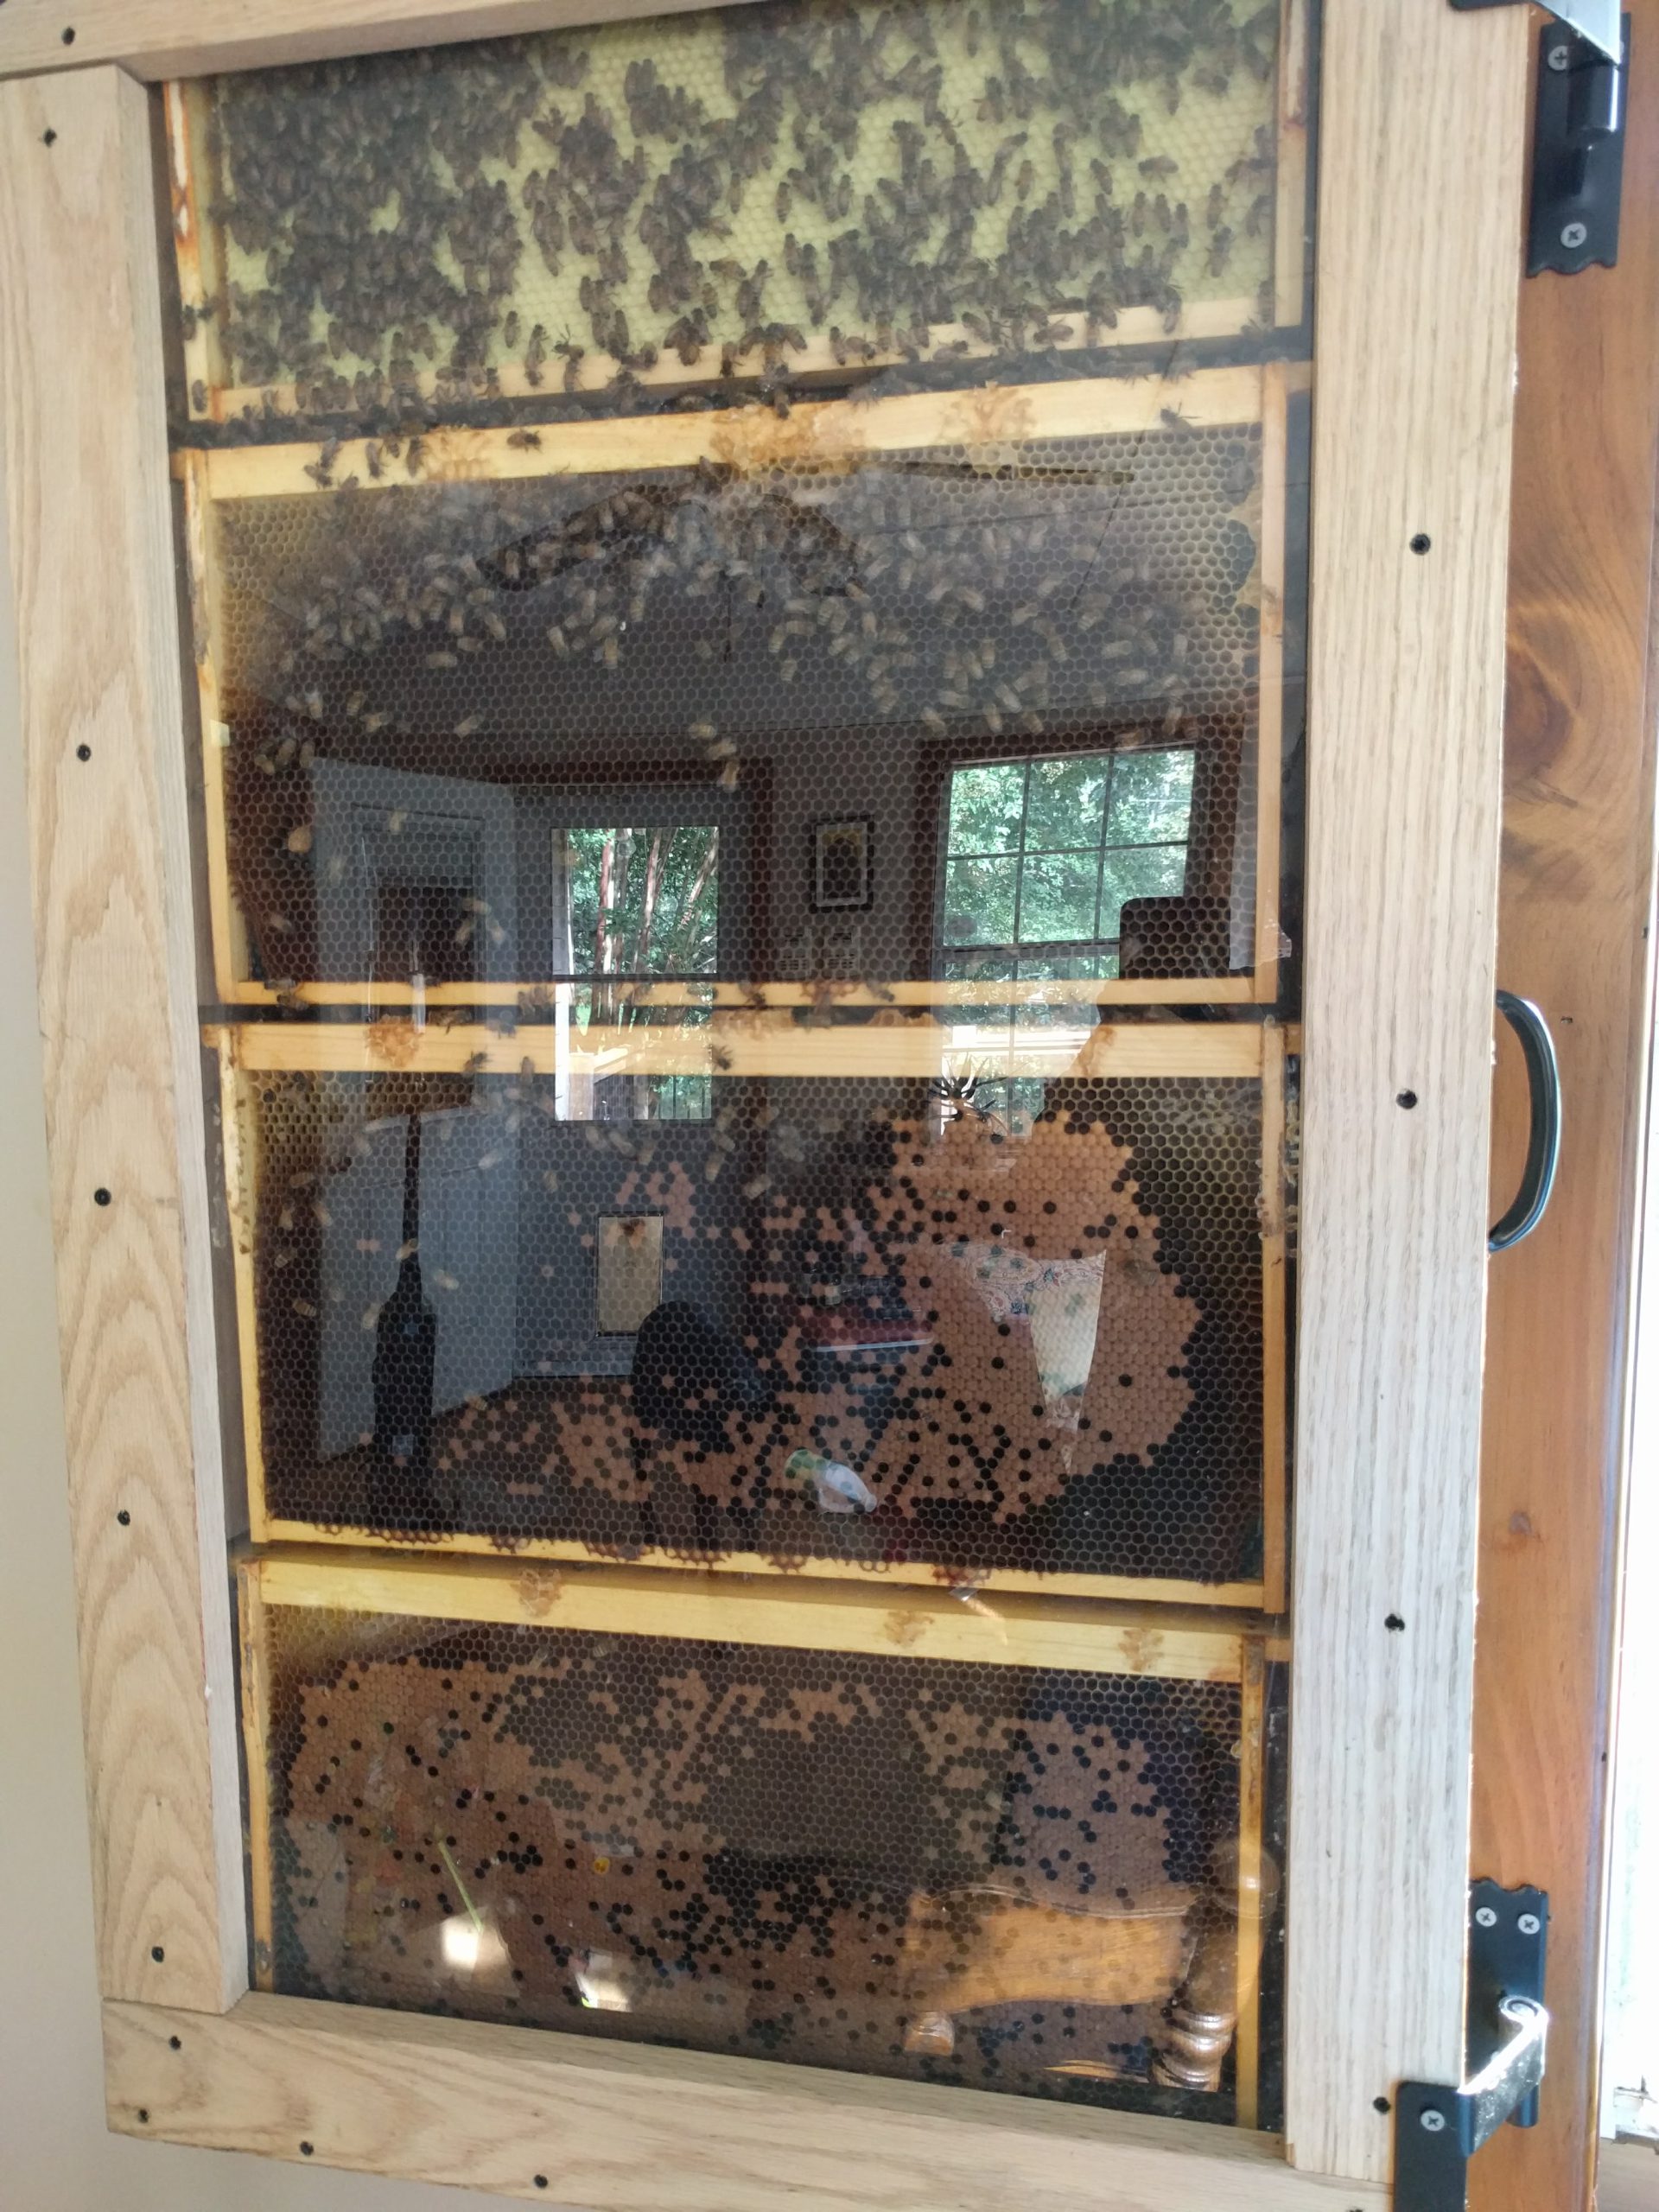
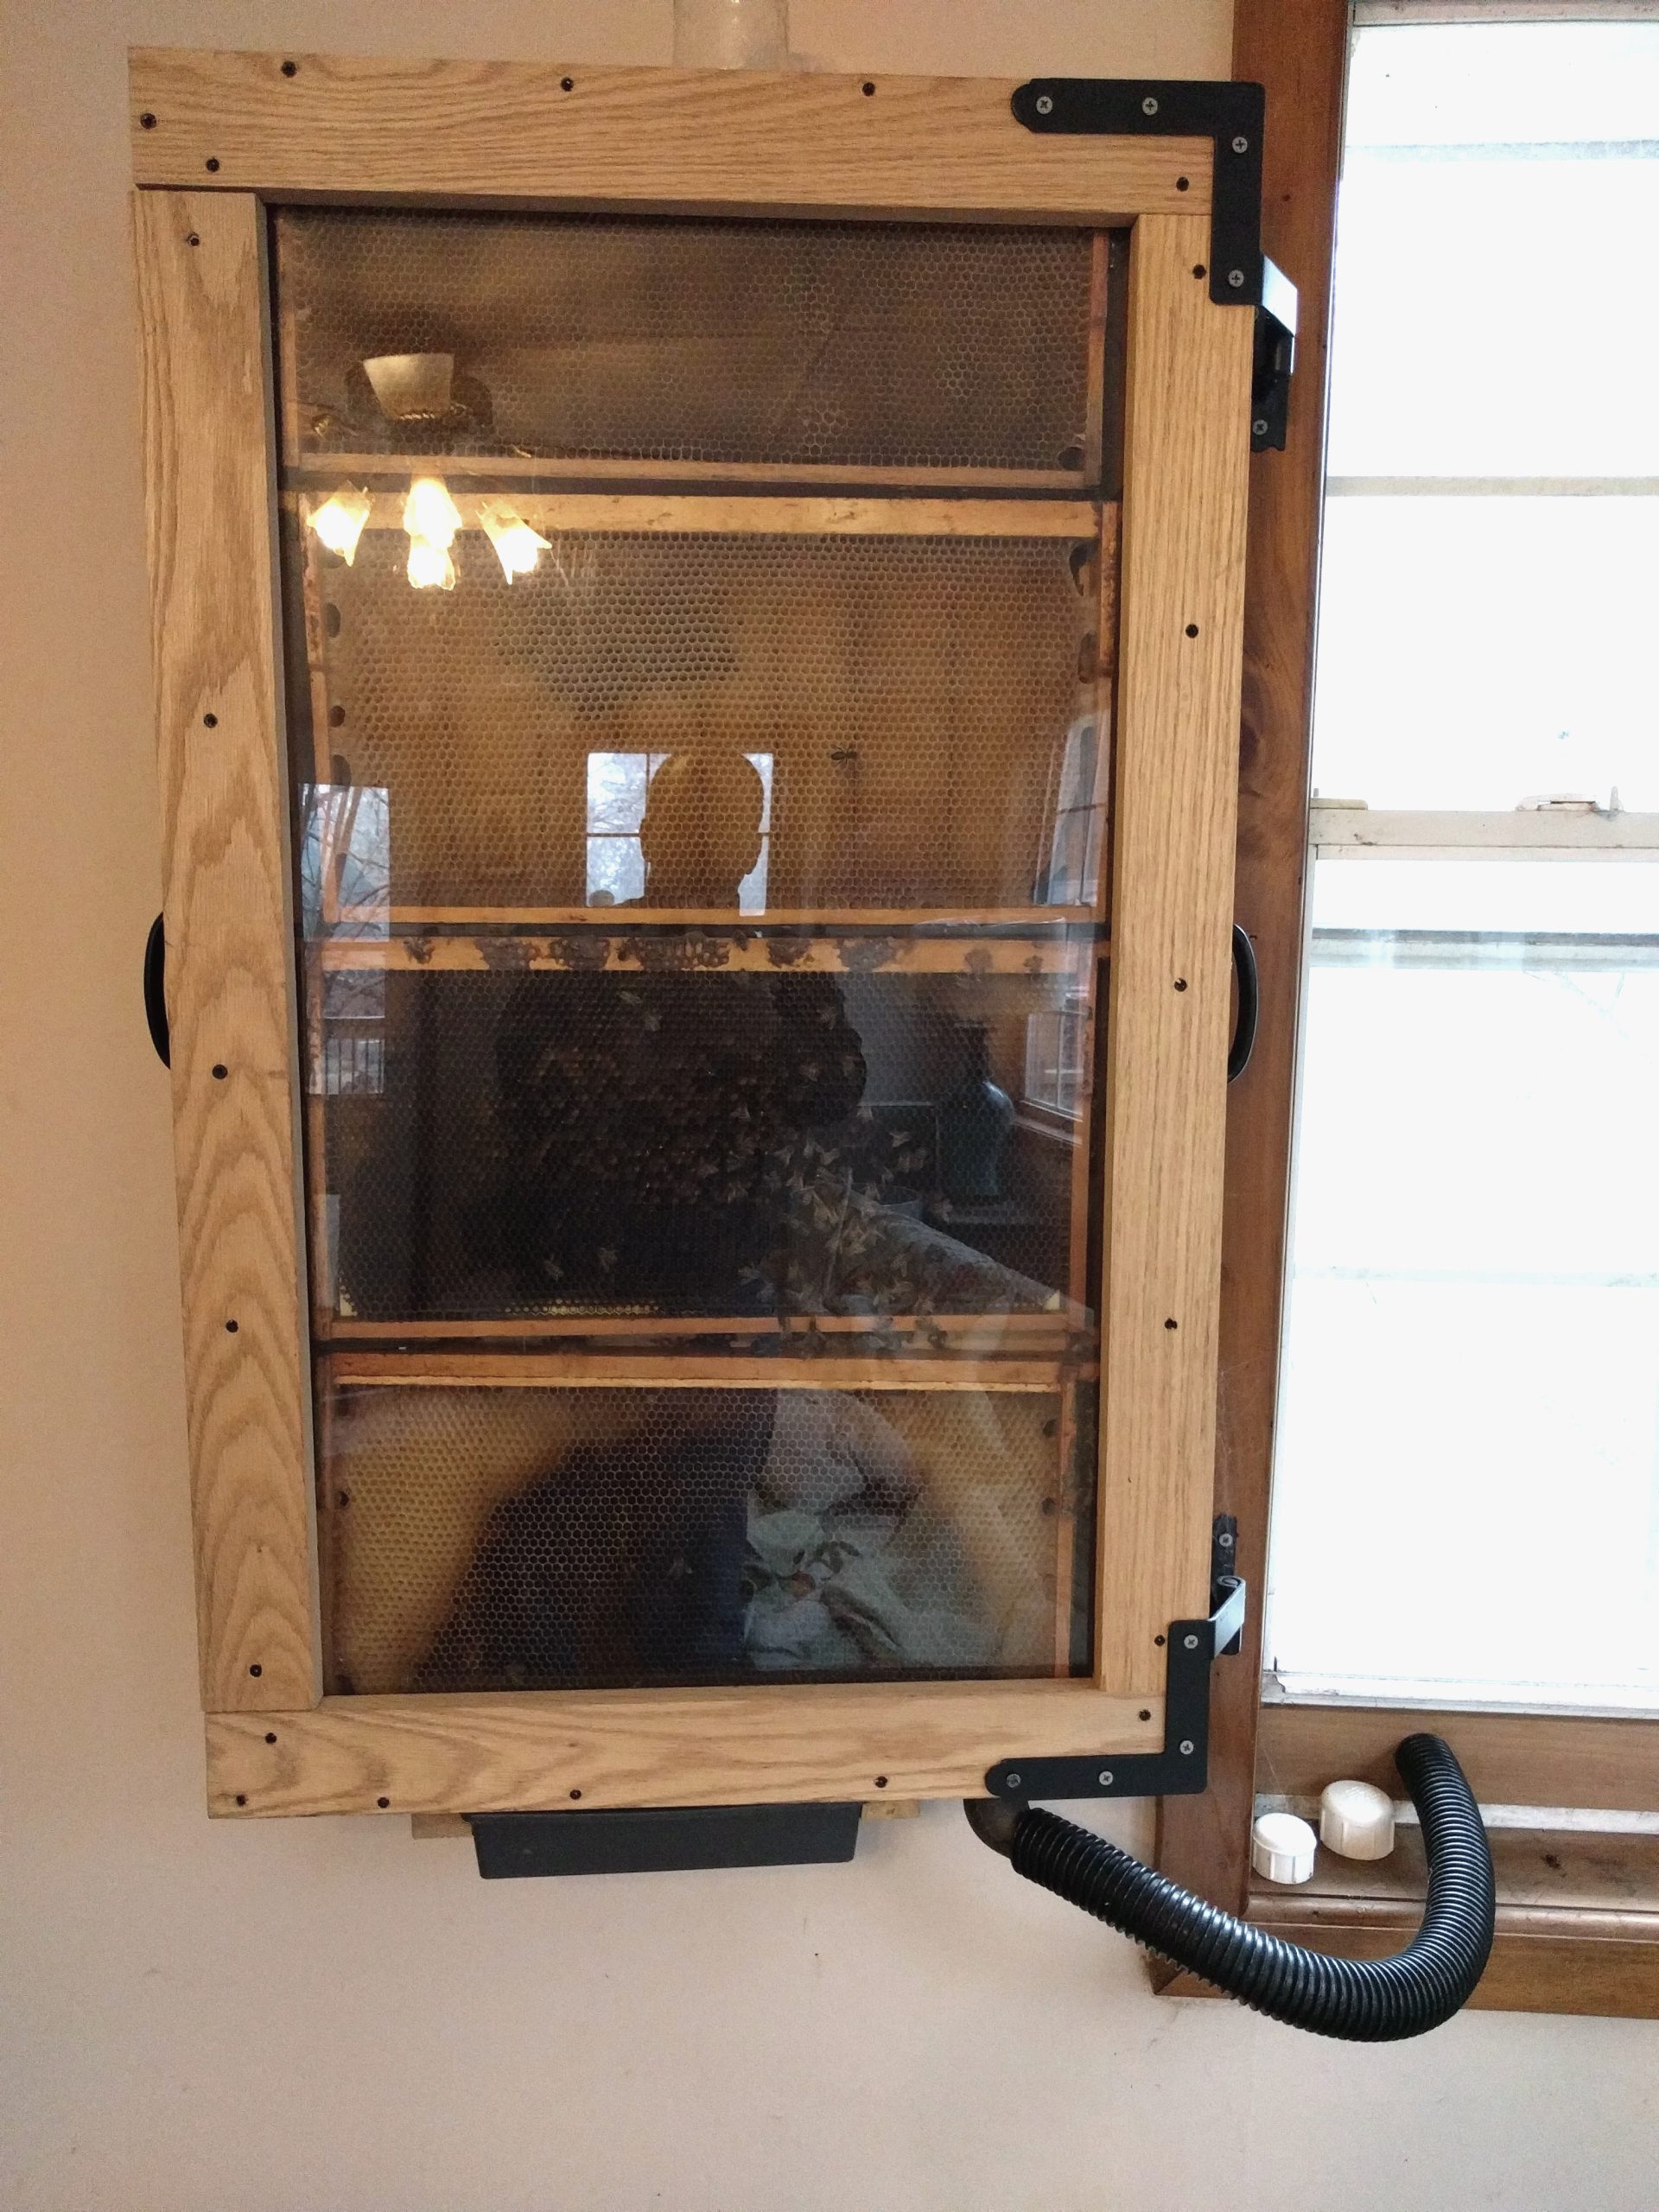
A common layout is one frame thick. A single thickness has the advantage of being able to see essentially every square inch of the insides. With minimal effort, one can see the queen and can make a complete assessment of the colony’s health. They are often a maximum of four frames but I’ve seen them as large as 21! A single thickness is less natural for the colony but it can work. They are best kept in a warm room. Bear in mind the number of frames will also correspond to colony stability. A single thickness with four deep frames will appear quite large inside your home, but it’s still smaller than a five frame nuc in volume. A healthy colony will rapidly outgrow the space and will need nearly continuous efforts to reduce the population. Otherwise, it will swarm many times every year. Recovery from that much population loss is challenging for the colony. Also, the chances are high that eventually it will not successfully requeen itself.
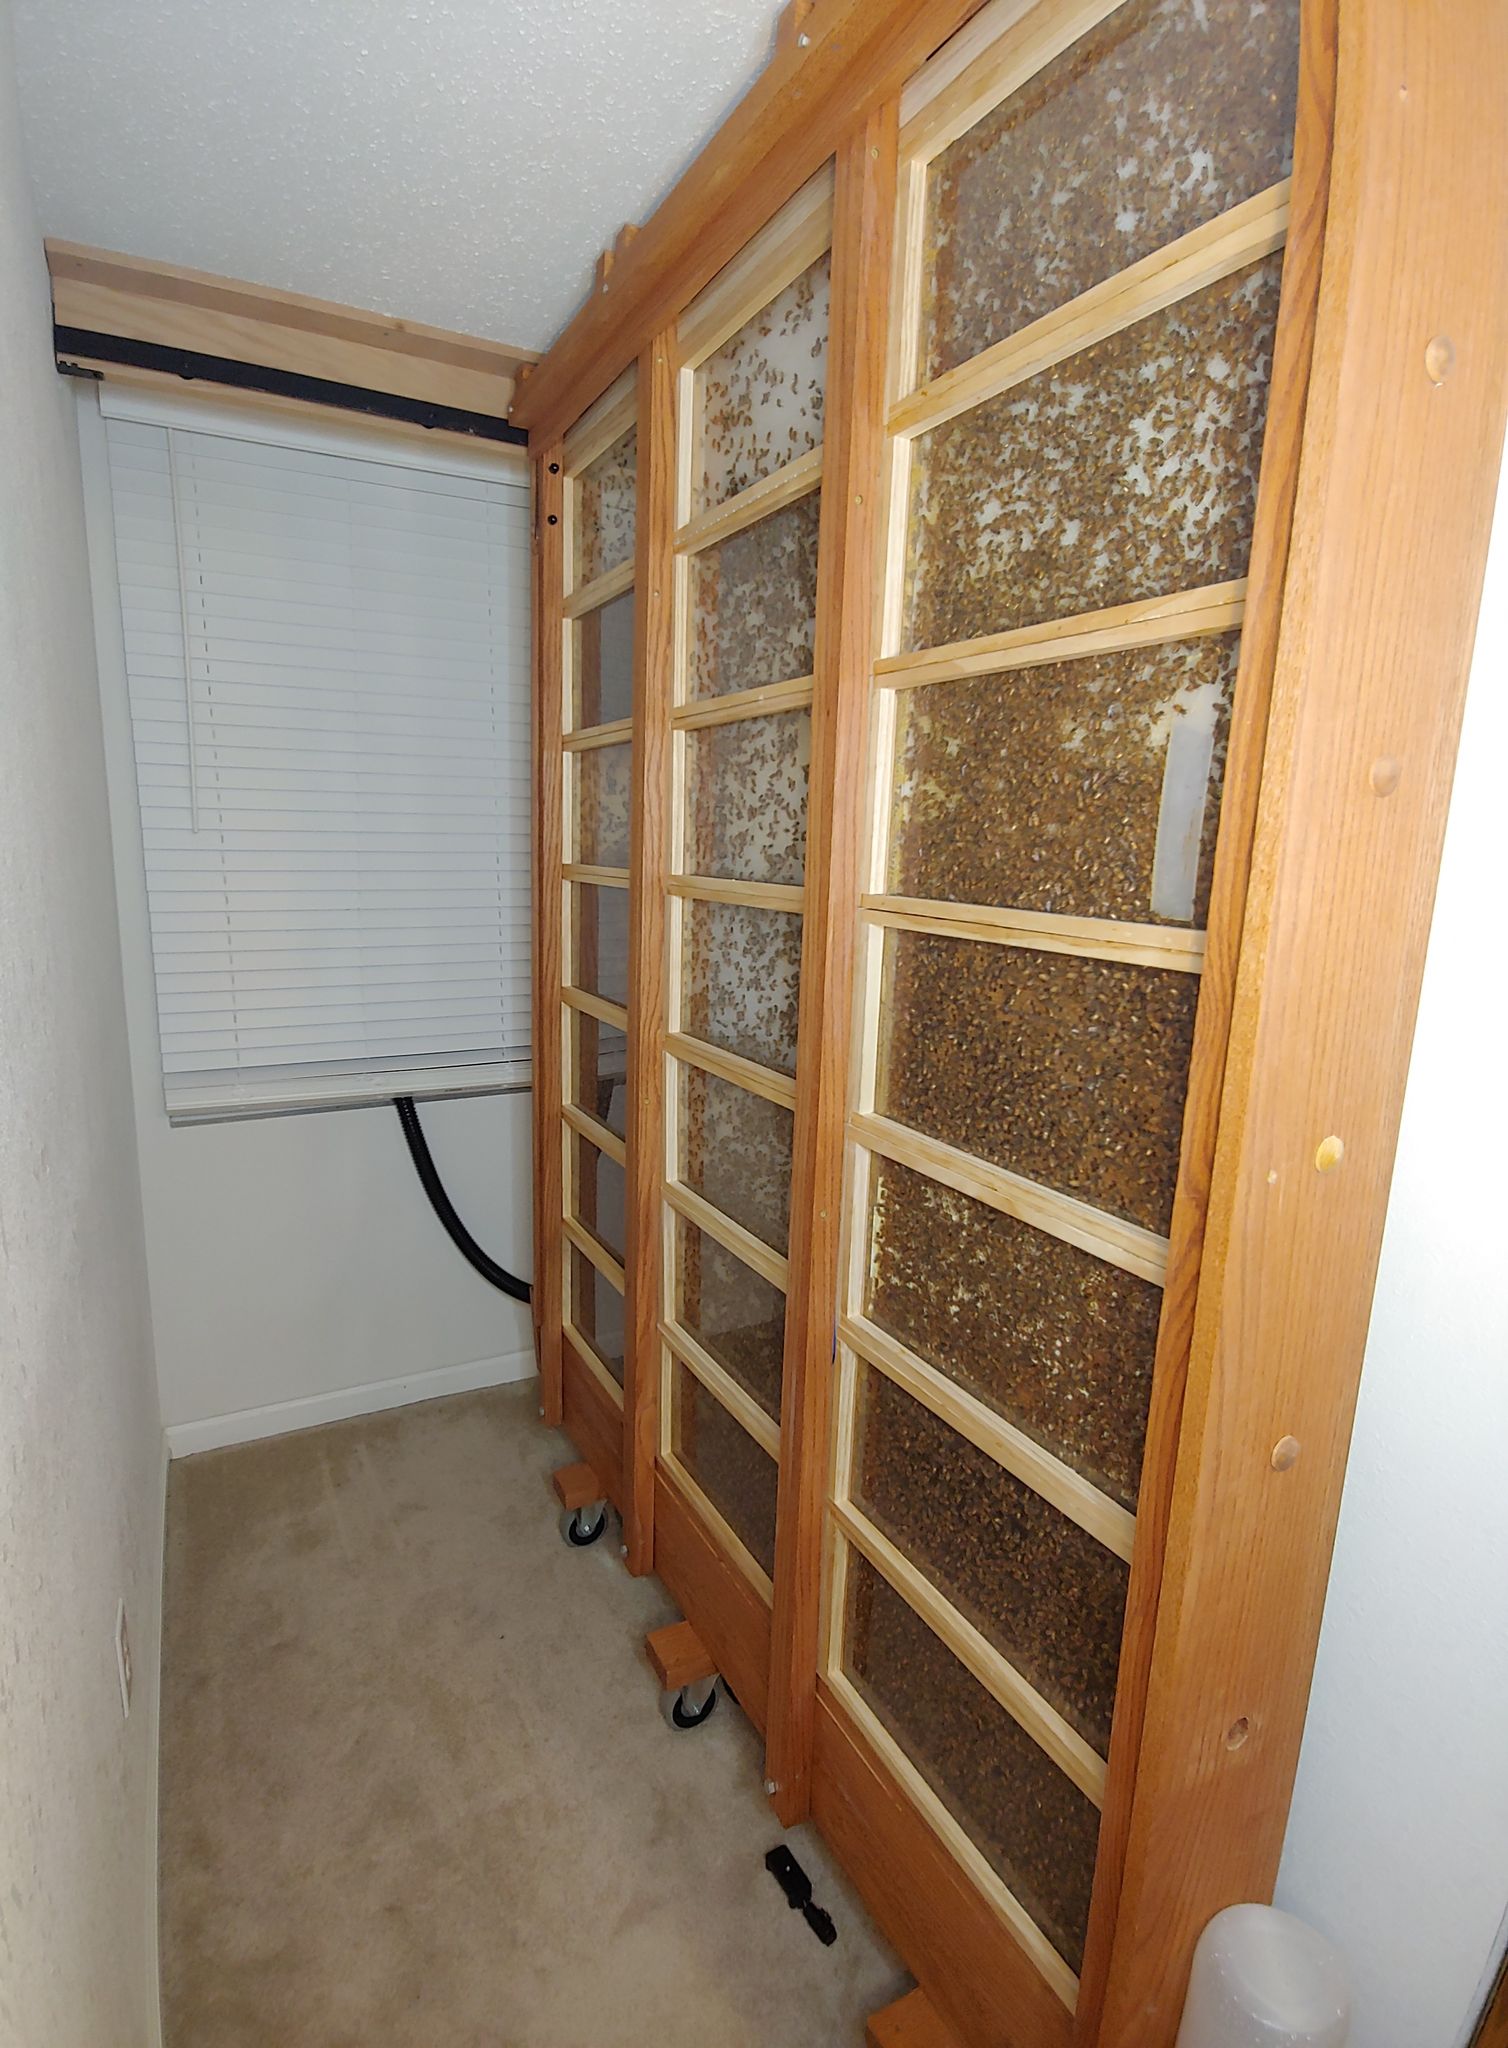
A double thickness allows the colony twice as much volume without much more space in the room. A greater number of frames will also mean that the colony will be more stable. It will keep itself warm more easily and will take longer to reach a swarming population. However, it means only half of the comb surfaces can be viewed. There’s no guarantee you’ll see the queen unless you’re lucky or patient. It will also be a good bit heavier than a single thickness hive but there is a weight savings because the windows, whether glass or plastic, will be the same and there’s only a percentage more wood in the cabinet of the hive. This is important to consider because almost every beekeeper will eventually have to disconnect their observation hive and carry it outside to work the colony. It’s a rare situation where a colony can be worked from inside a room!
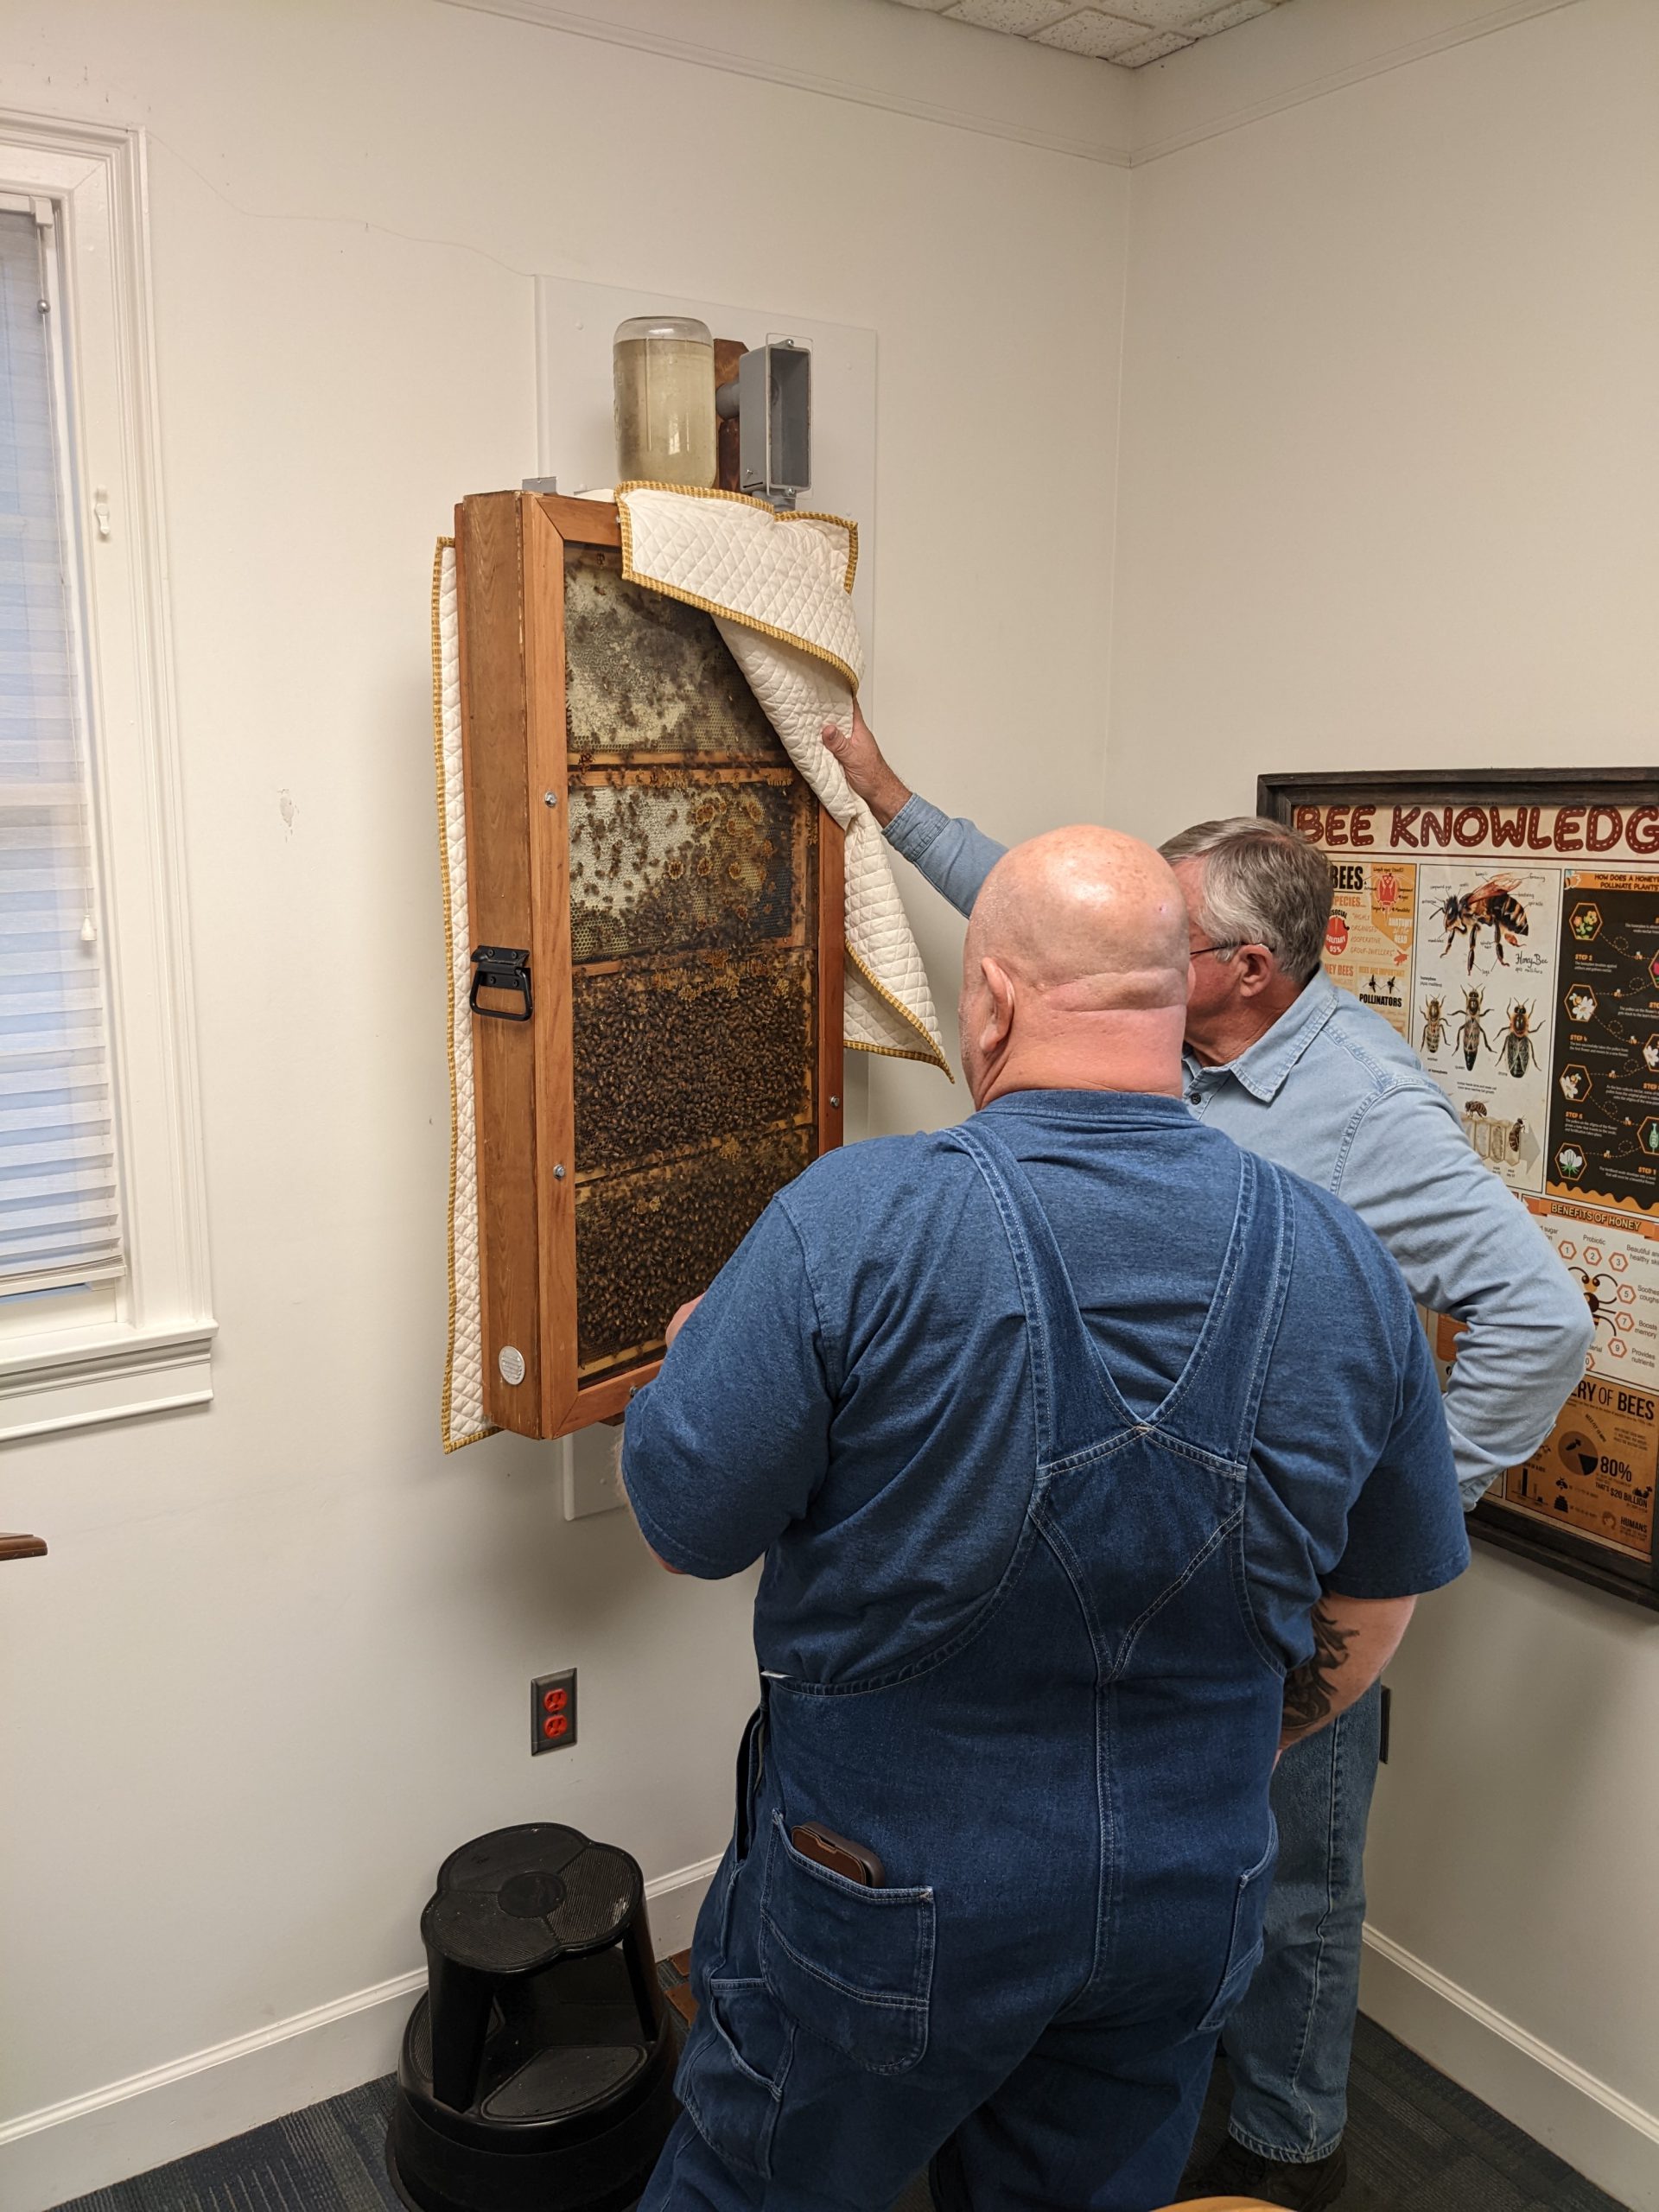
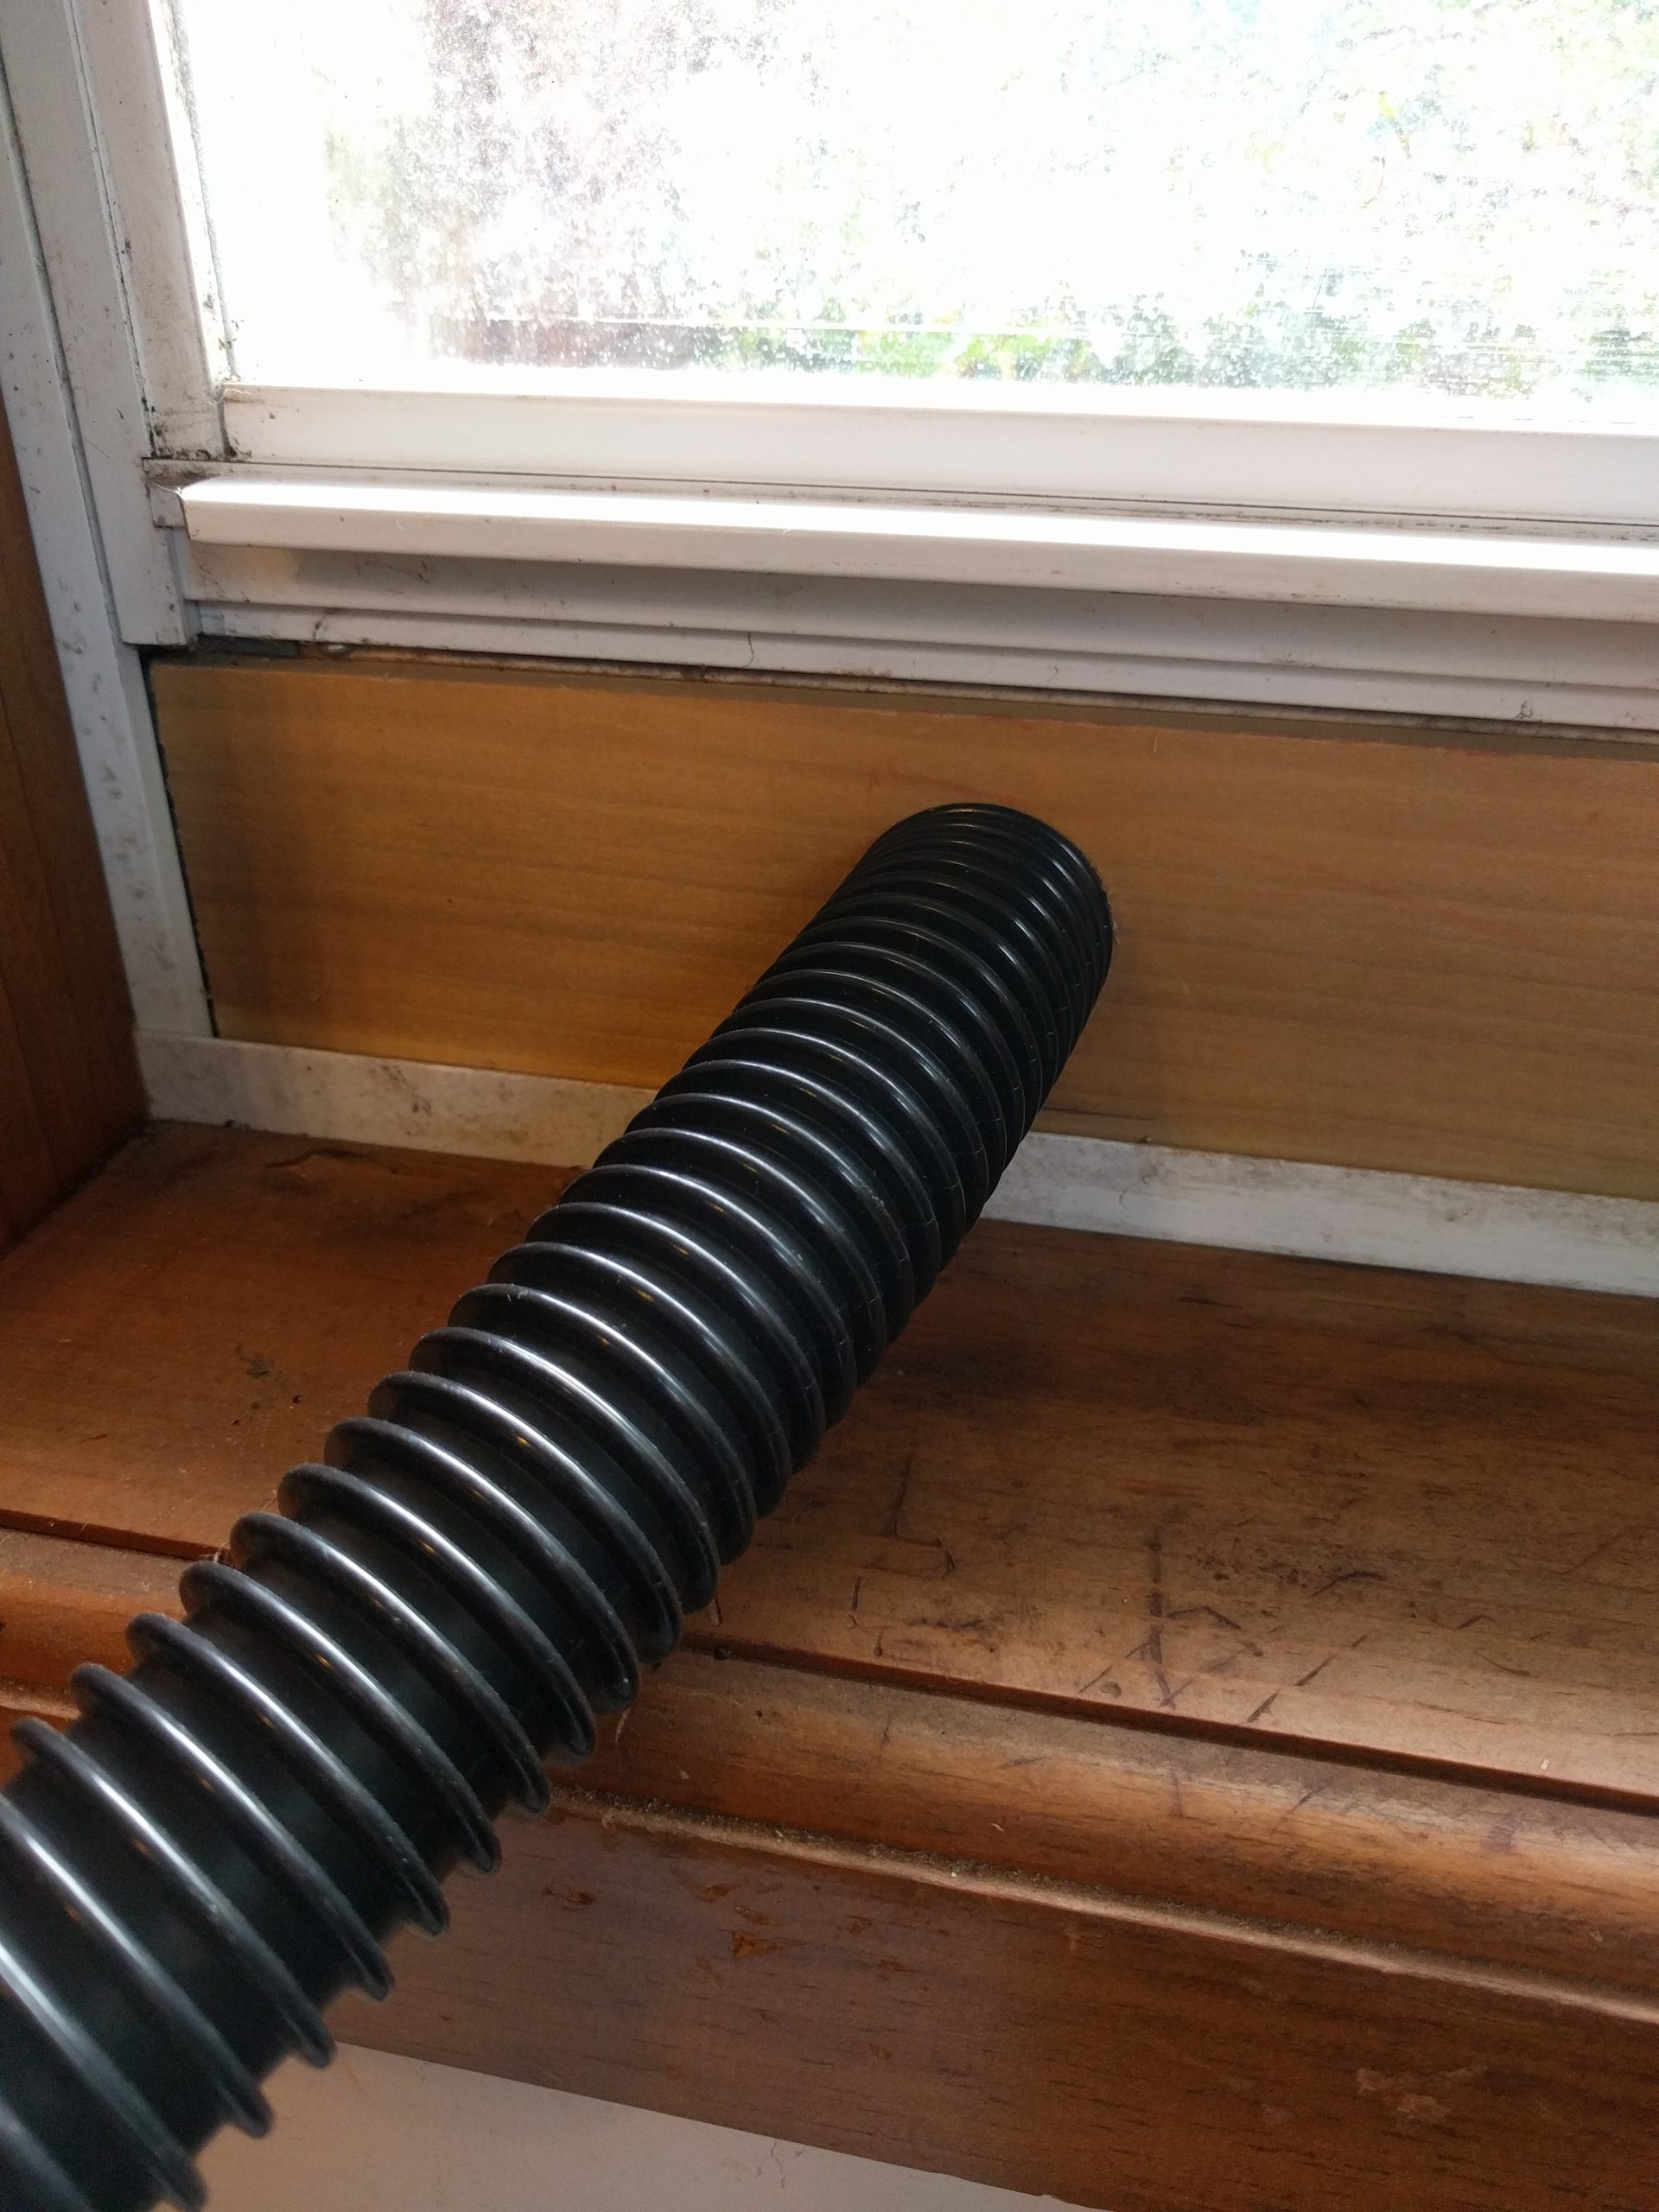
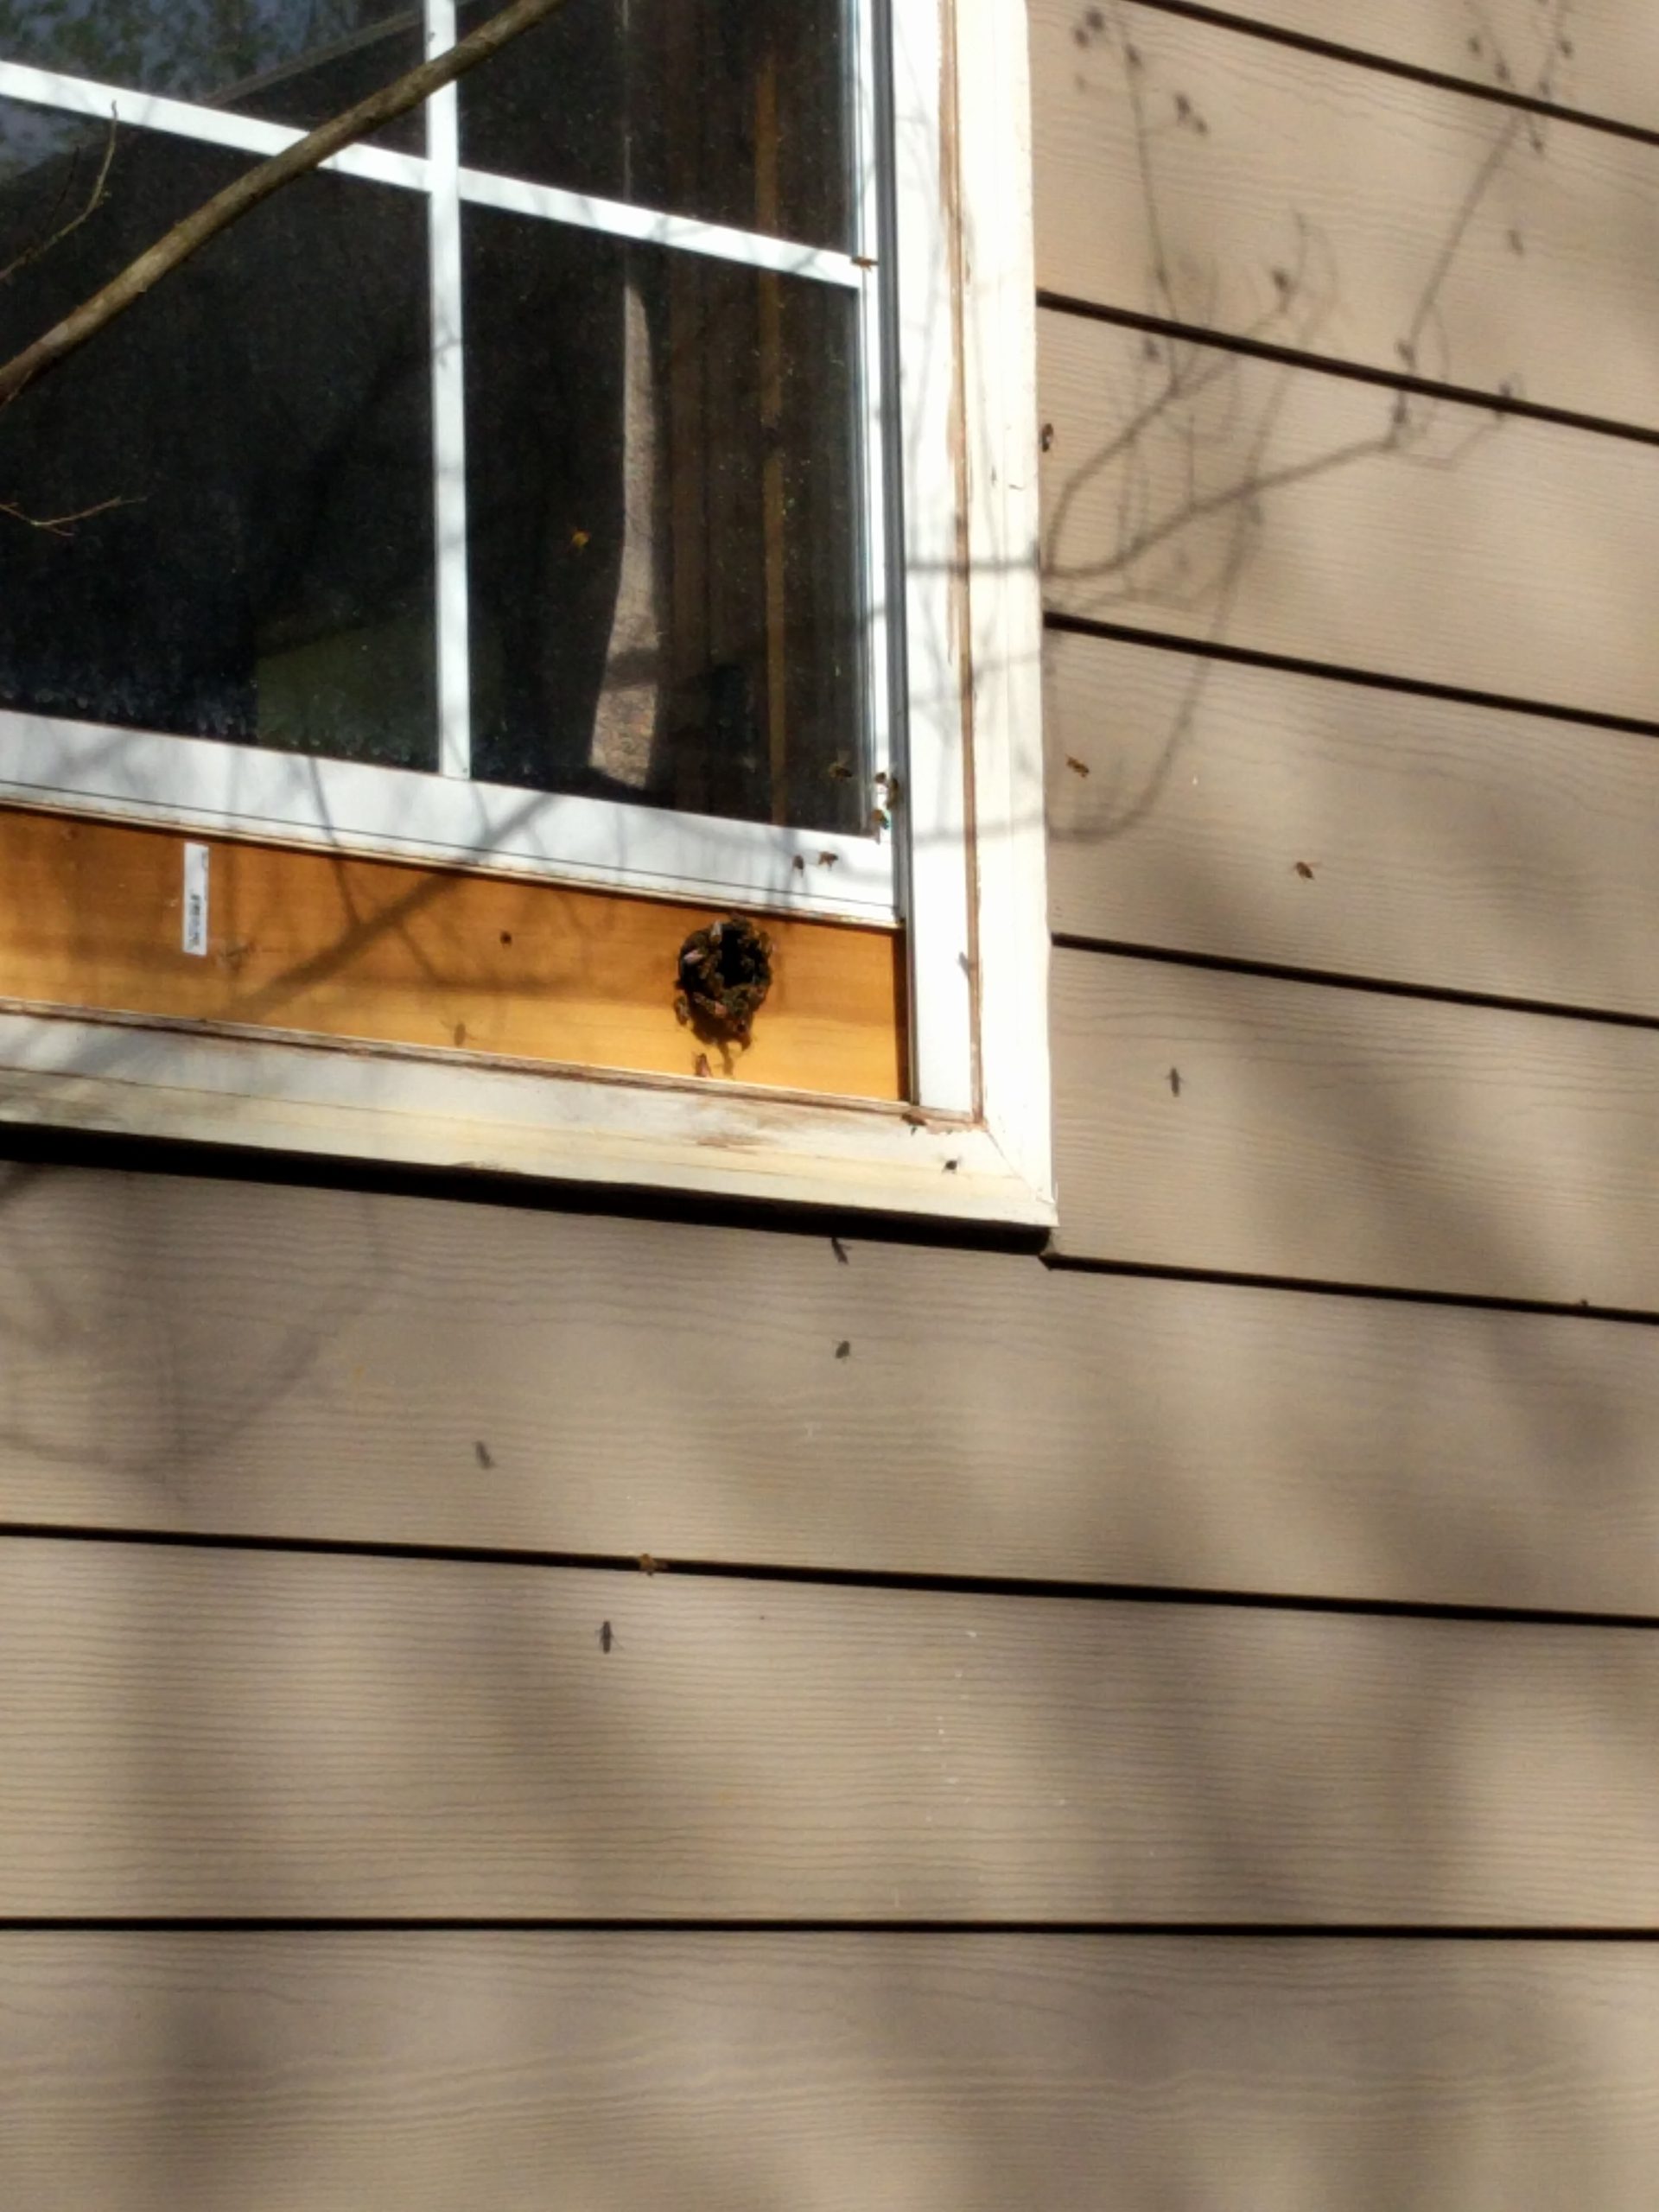
Finding a suitable location for the observation hive will depend on the style and size. A common setup is to mount it to a wall on hinges or to a swiveling stand on a sturdy table. A short tunnel made of plastic tubing is then routed through the window or, less commonly, through a hole in the wall. Be mindful of other occupants and uses for the room. A sturdy observation hive in my home once survived a direct hit with a football but it’s not recommended!
A nice side benefit of the view is that visual inspections through the window(s) are often enough since so much can be determined just as a regular hive is inspected visually. Provision for removal and opening must still be made, of course. It usually involves sliding closures or some method of plugging the opening in the hive as well as the entrance to the outdoors. This prevents the room from filling with bees from inside the colony as well as returning foragers. Once both are closed, the hive is carried outside carefully. It should remain in its upright position at all times. The beekeeper’s ability to carry the full hive (or successfully recruit a helper!) will be the limiting factor in overall size. Once the entrance is closed, the hive should be carried gently and kept vertical, of course. Outside, it may be leaned slightly if necessary to prop it against a sturdy surface. Whether you make your own or buy one, there will be screws or latches to be opened. Frames should be pulled gently from the cabinet and the beekeeper should never use the window surfaces for leverage with the hive tool. I’ll often bring an empty hive just in case more work must be done. A well designed observation hive won’t get a lot of burr comb on the windows but it should be kept clean for best viewing. Simply move all of the frames to the hive body and give the windows a quick cleaning. If extensive work must be done, the colony can be moved into a regular hive which is then placed as close to the observation hive’s entrance as possible for the duration of the maintenance. Once the work is done and frames are returned, a bee brush will be very handy before closing the hive. I also like to stop at least once on the way to the house to brush stragglers off before entering. A helper is useful here to hold doors open and to close them before stray bees enter the home. Depending on the size and mounting system, a second pair of hands will be… well… handy!
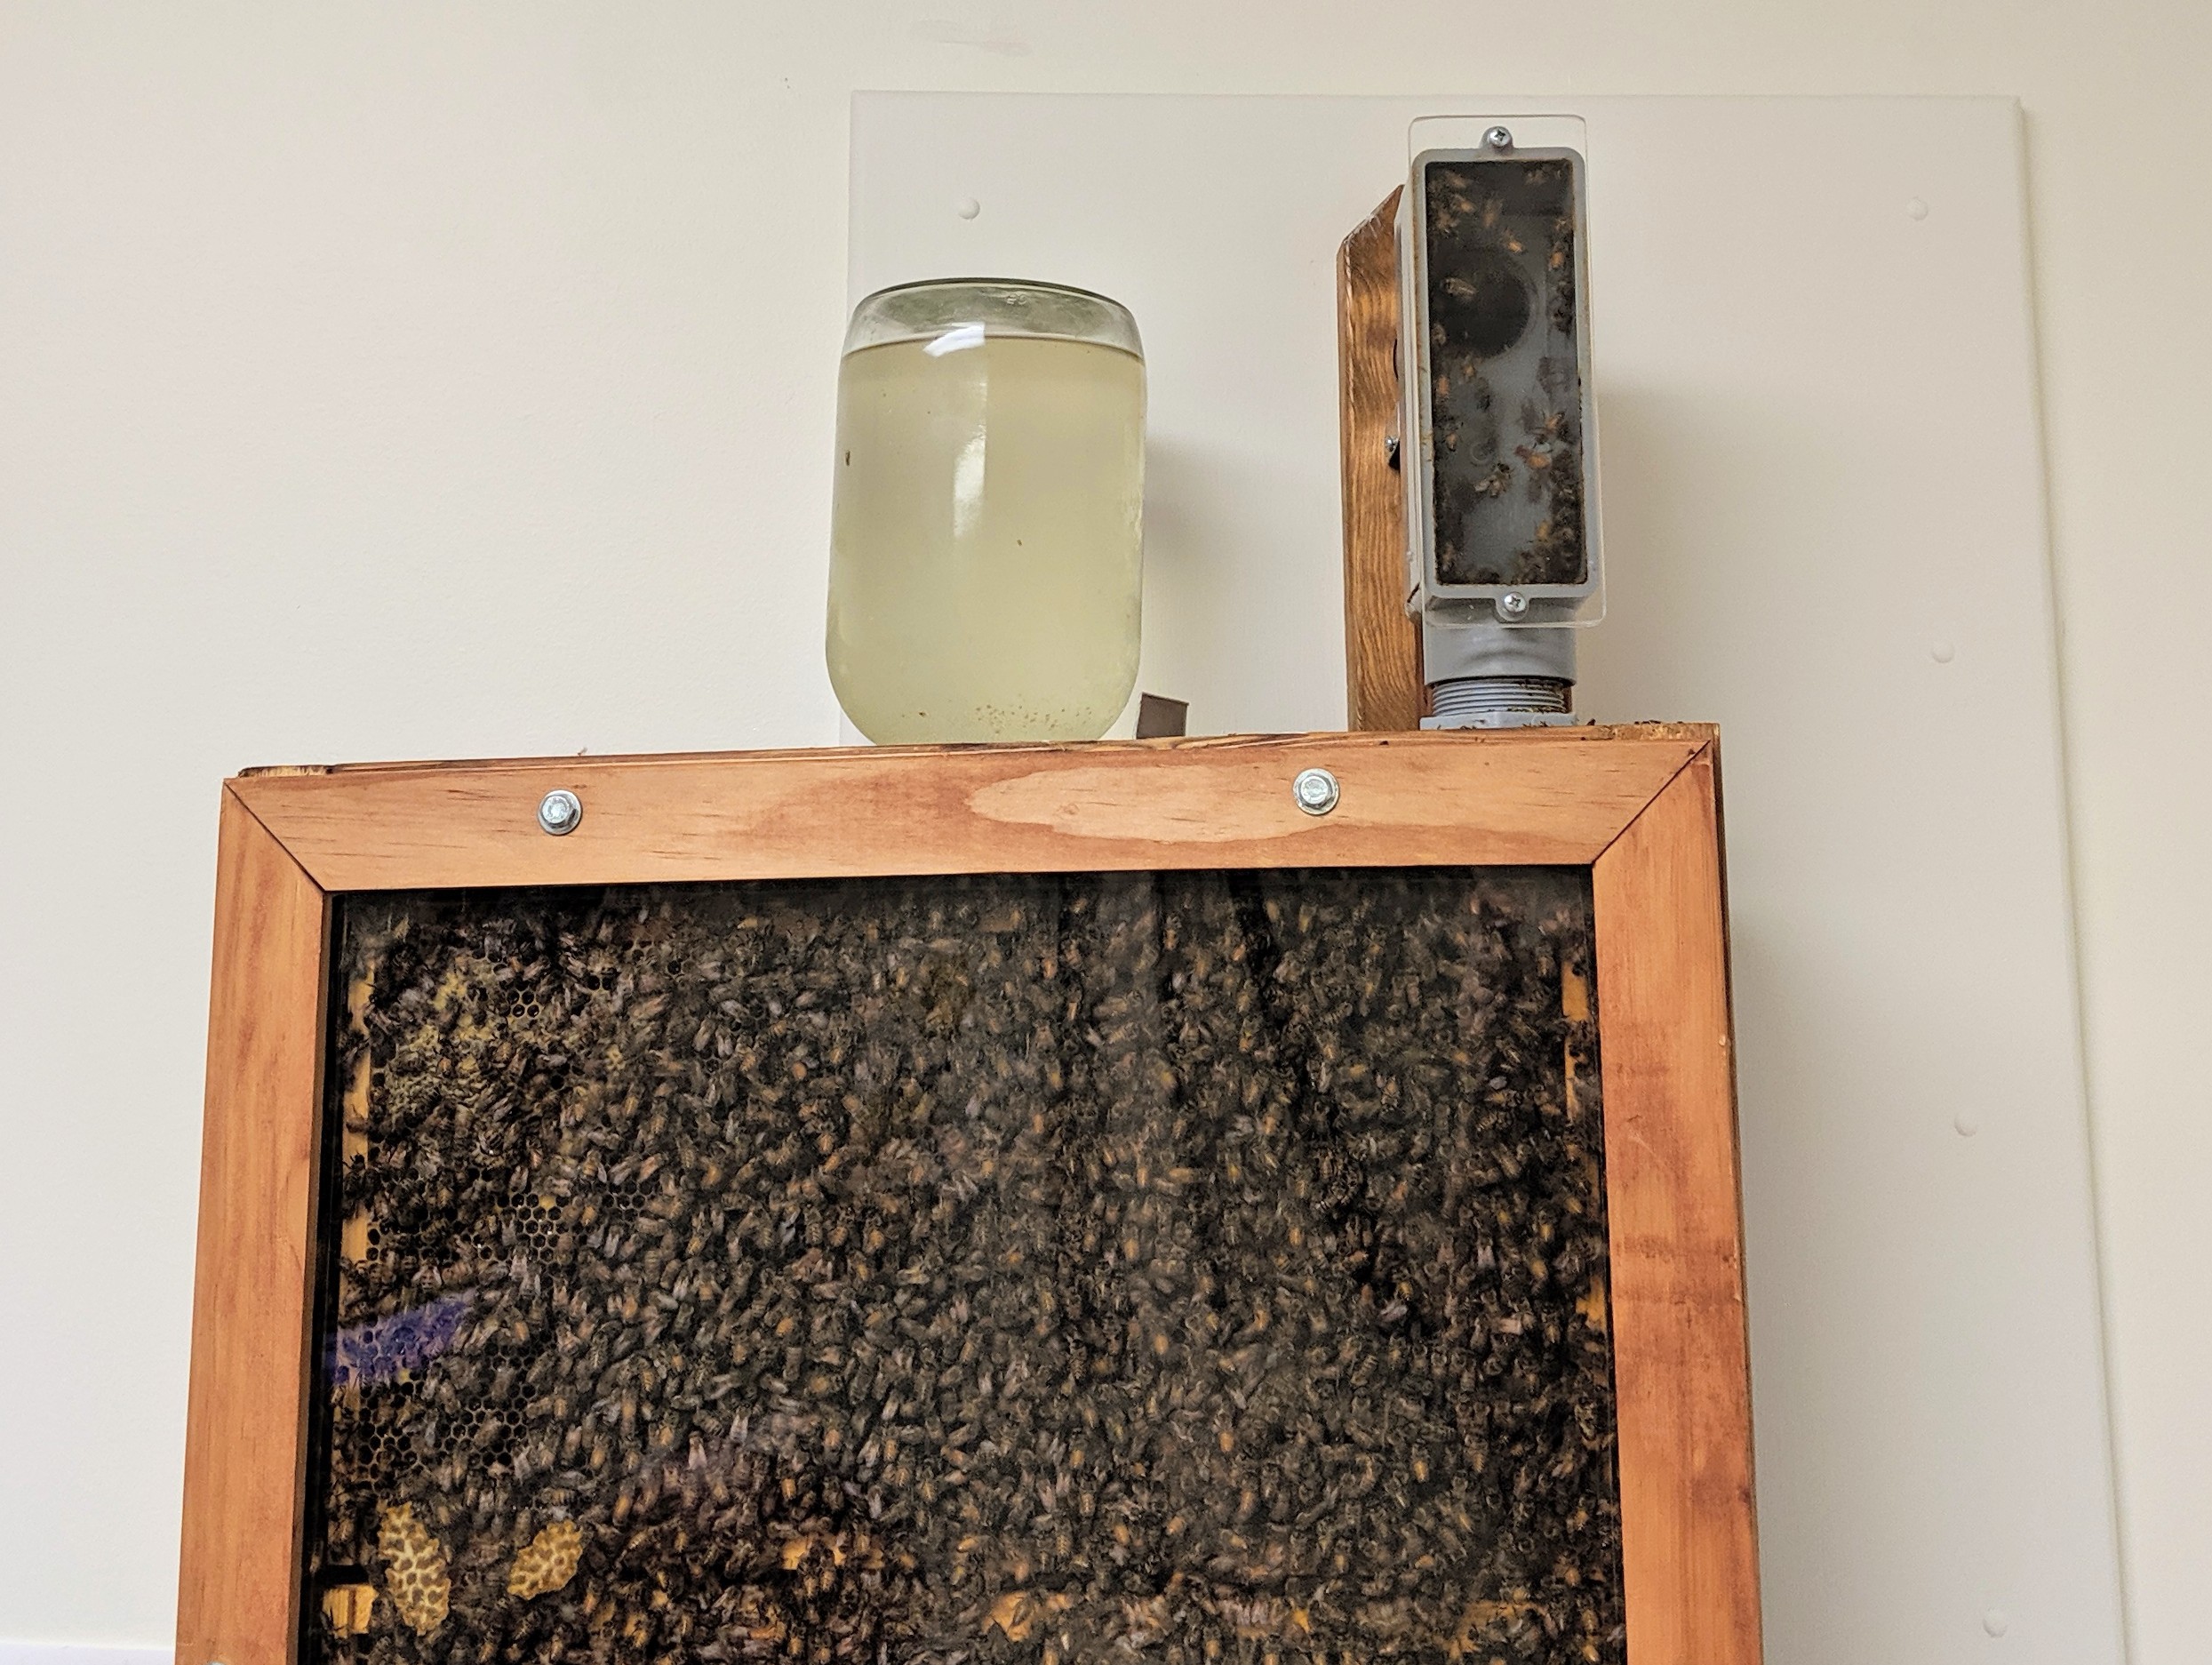
This type of hive is meant to be occupied year round or at least for a large portion of the year. It means all of the regular needs of a colony like feeding and treatment should be considered. Provision for feeding is usually accomplished with a mason jar type feeder inserted in the top or an extension of the bottom board opposite the entrance. I like a 71mm hole saw to make the opening. 2¾ inches works if it is sanded out a little wider. Screening can be used to keep the bees inside while refilling the jar as long as the lid comes close enough for their tongues to reach. Some observation hives are built with a feeding trough inside the top but this is less common. The beekeeper can also add frames of capped honey as needed. Bear in mind that feeding is often done in colder months and the brood will be subject to more chilling due to the configuration and extra time it takes to add a frame of honey. External feeding really is a better option here.
The beekeeper must also consider pests and diseases just as they would for any hive. Interestingly, I’ve found that small hive beetles don’t thrive when an observation hive is left without covering the viewing windows. It’s a common misconception that they must remain covered most of the time for the colony to thrive. I’ve found that they completely ignore light and activity on the other side of the glass. In my experience, it’s only important for the first couple of days for orientation to the entrance or in cases of insulation being needed. Unfortunately, Varroa mites don’t care one way or the other and should be managed as you would any other colony. Apivar or other strip type products are handy. Formic and oxalic acid treatments can be a little more challenging. This is another time it could be useful to transfer the colony to a regular hive and return them at the end of the treatment period.
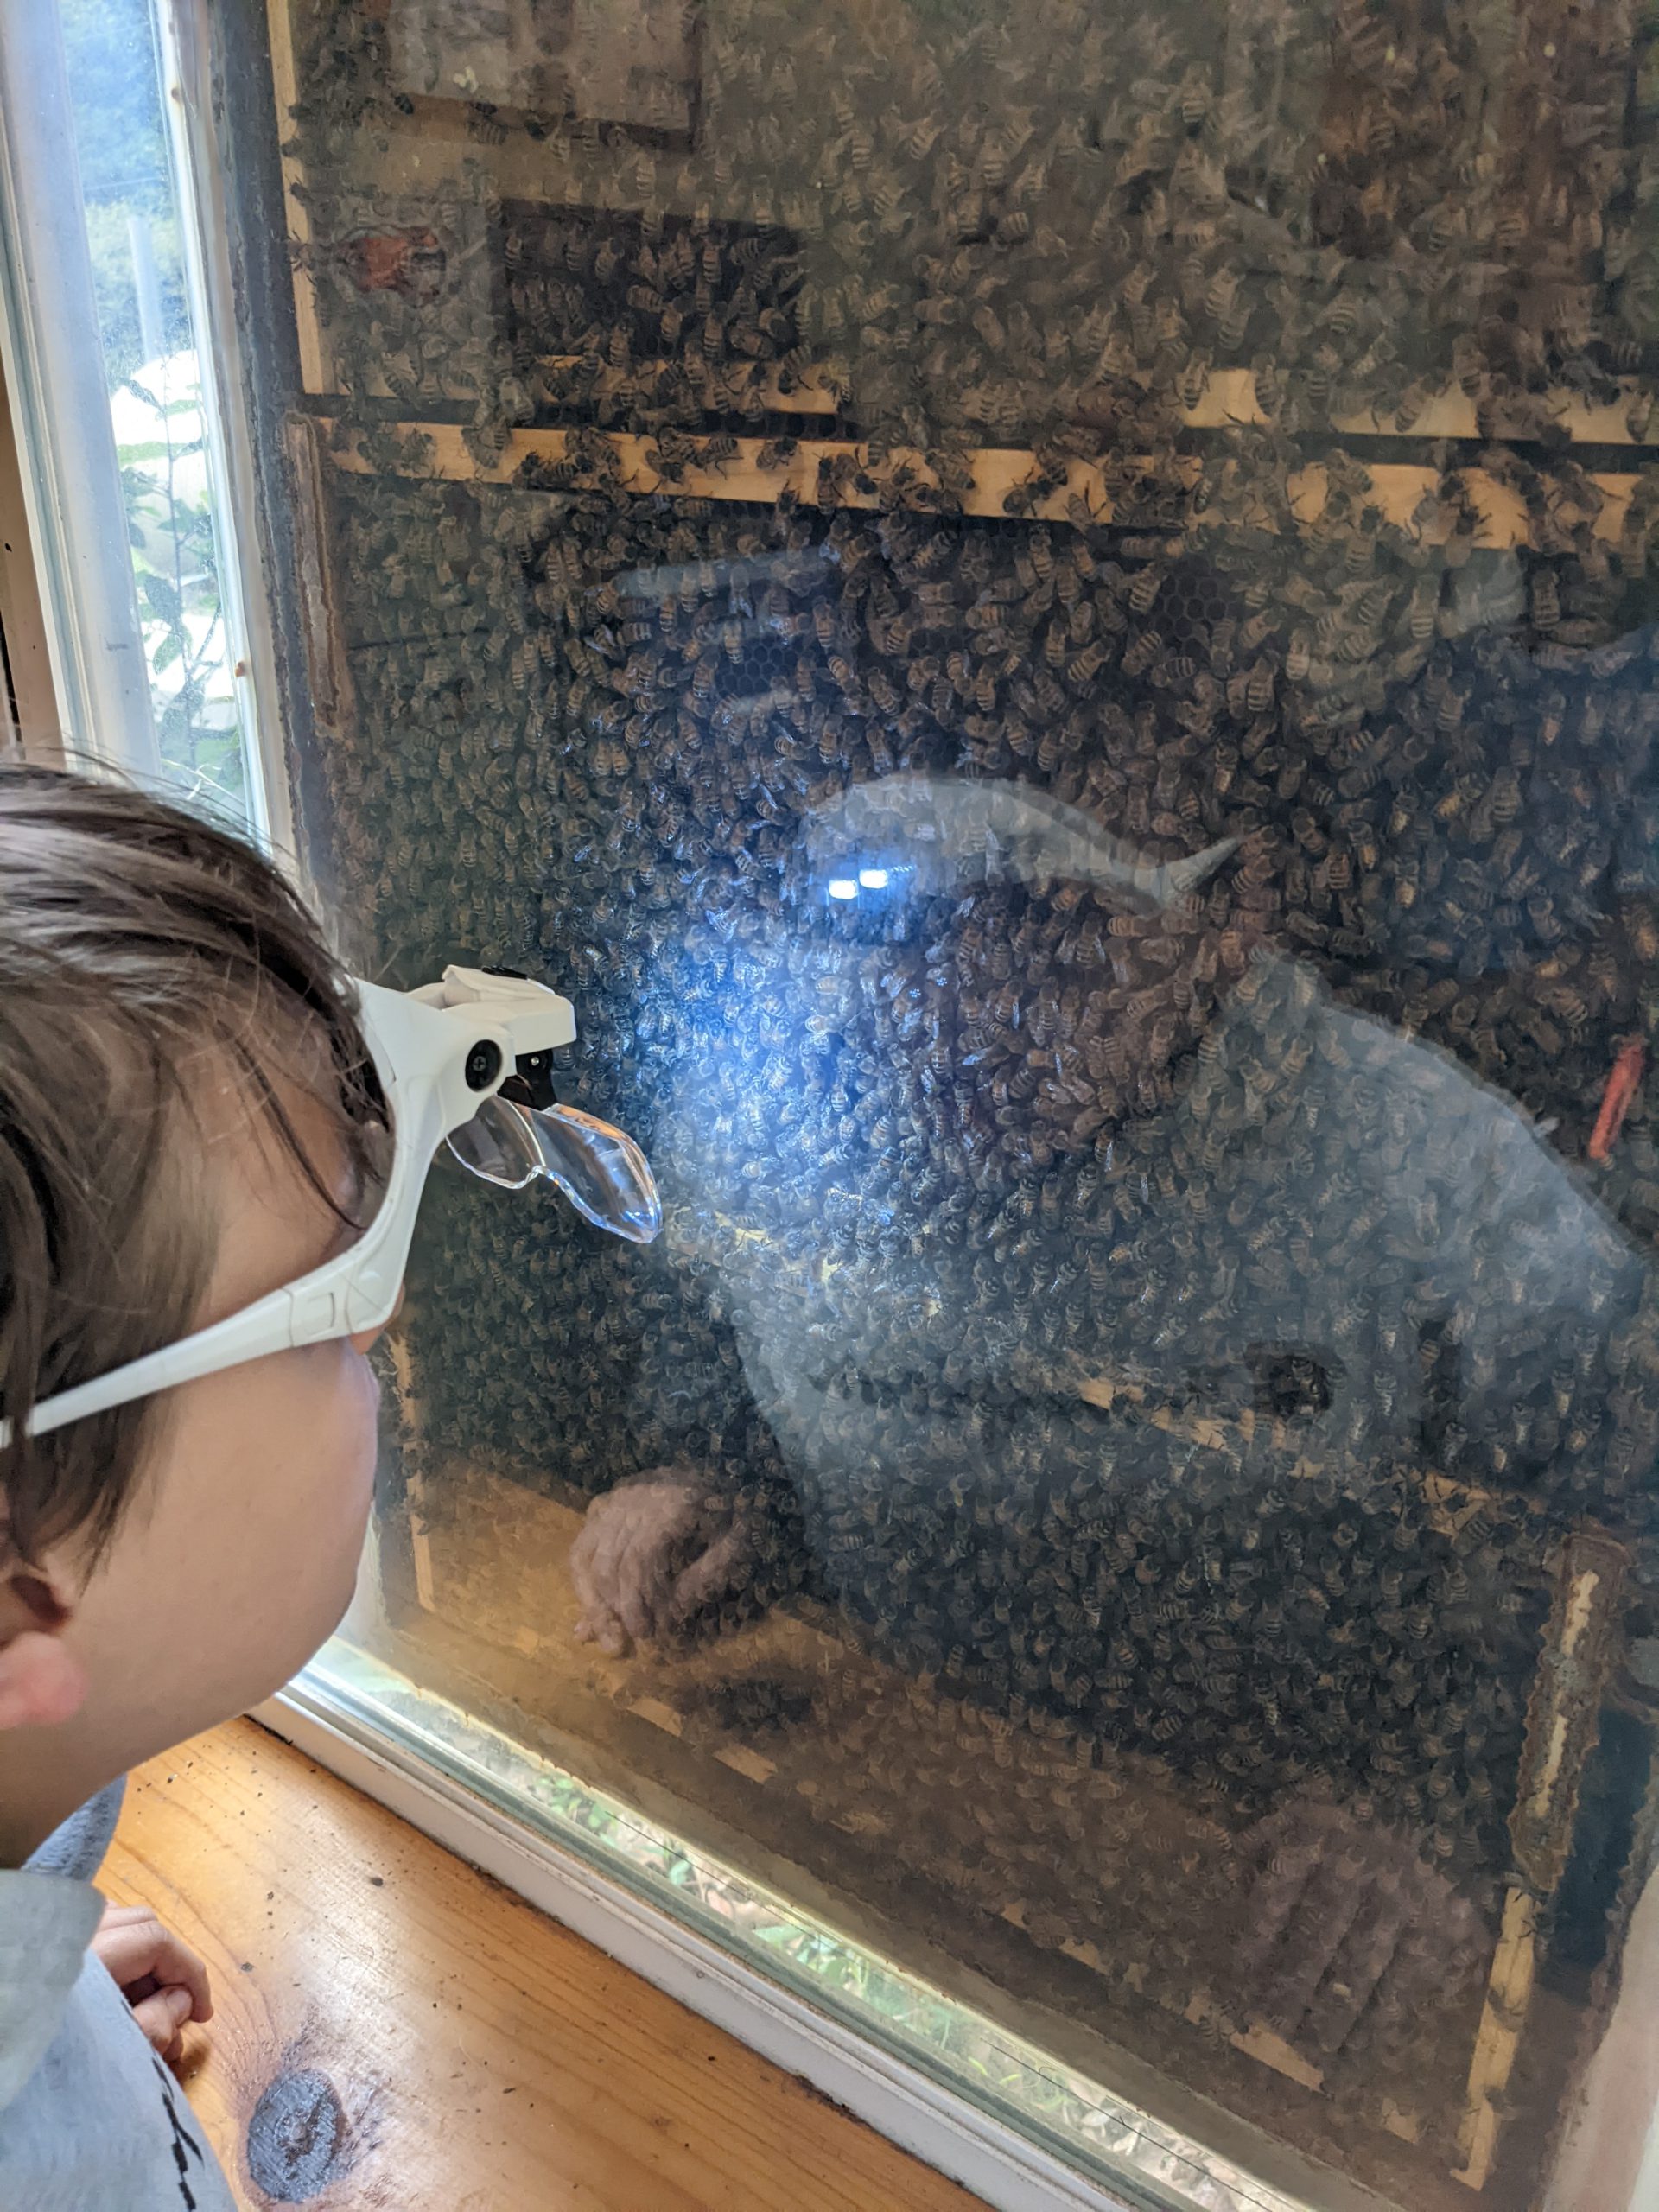
Once the colony is established, it really is a joy to sit and watch! For some, it will be the first time they see a queen diligently laying eggs and young workers patiently freeing themselves from their cells. I also love watching foragers do their waggle dance or returning to deposit pollen. It’s an easy way to watch the beekeeping year with ready reminders as pollen and nectar begin coming in or tapering off. It reminds me to grab my gear and get outside to the other hives.


