


A Beginner’s Thoughts and Winter Challenges
Richard Wahl
Getting Started: Although I still consider myself a beginner, I am entering my thirteenth year of bee management. I hesitate to use the word “keeping” because bees have kept themselves around for thousands of years without mankind’s interference. If you are considering getting into the management of honey bees here are several things I would like to share.
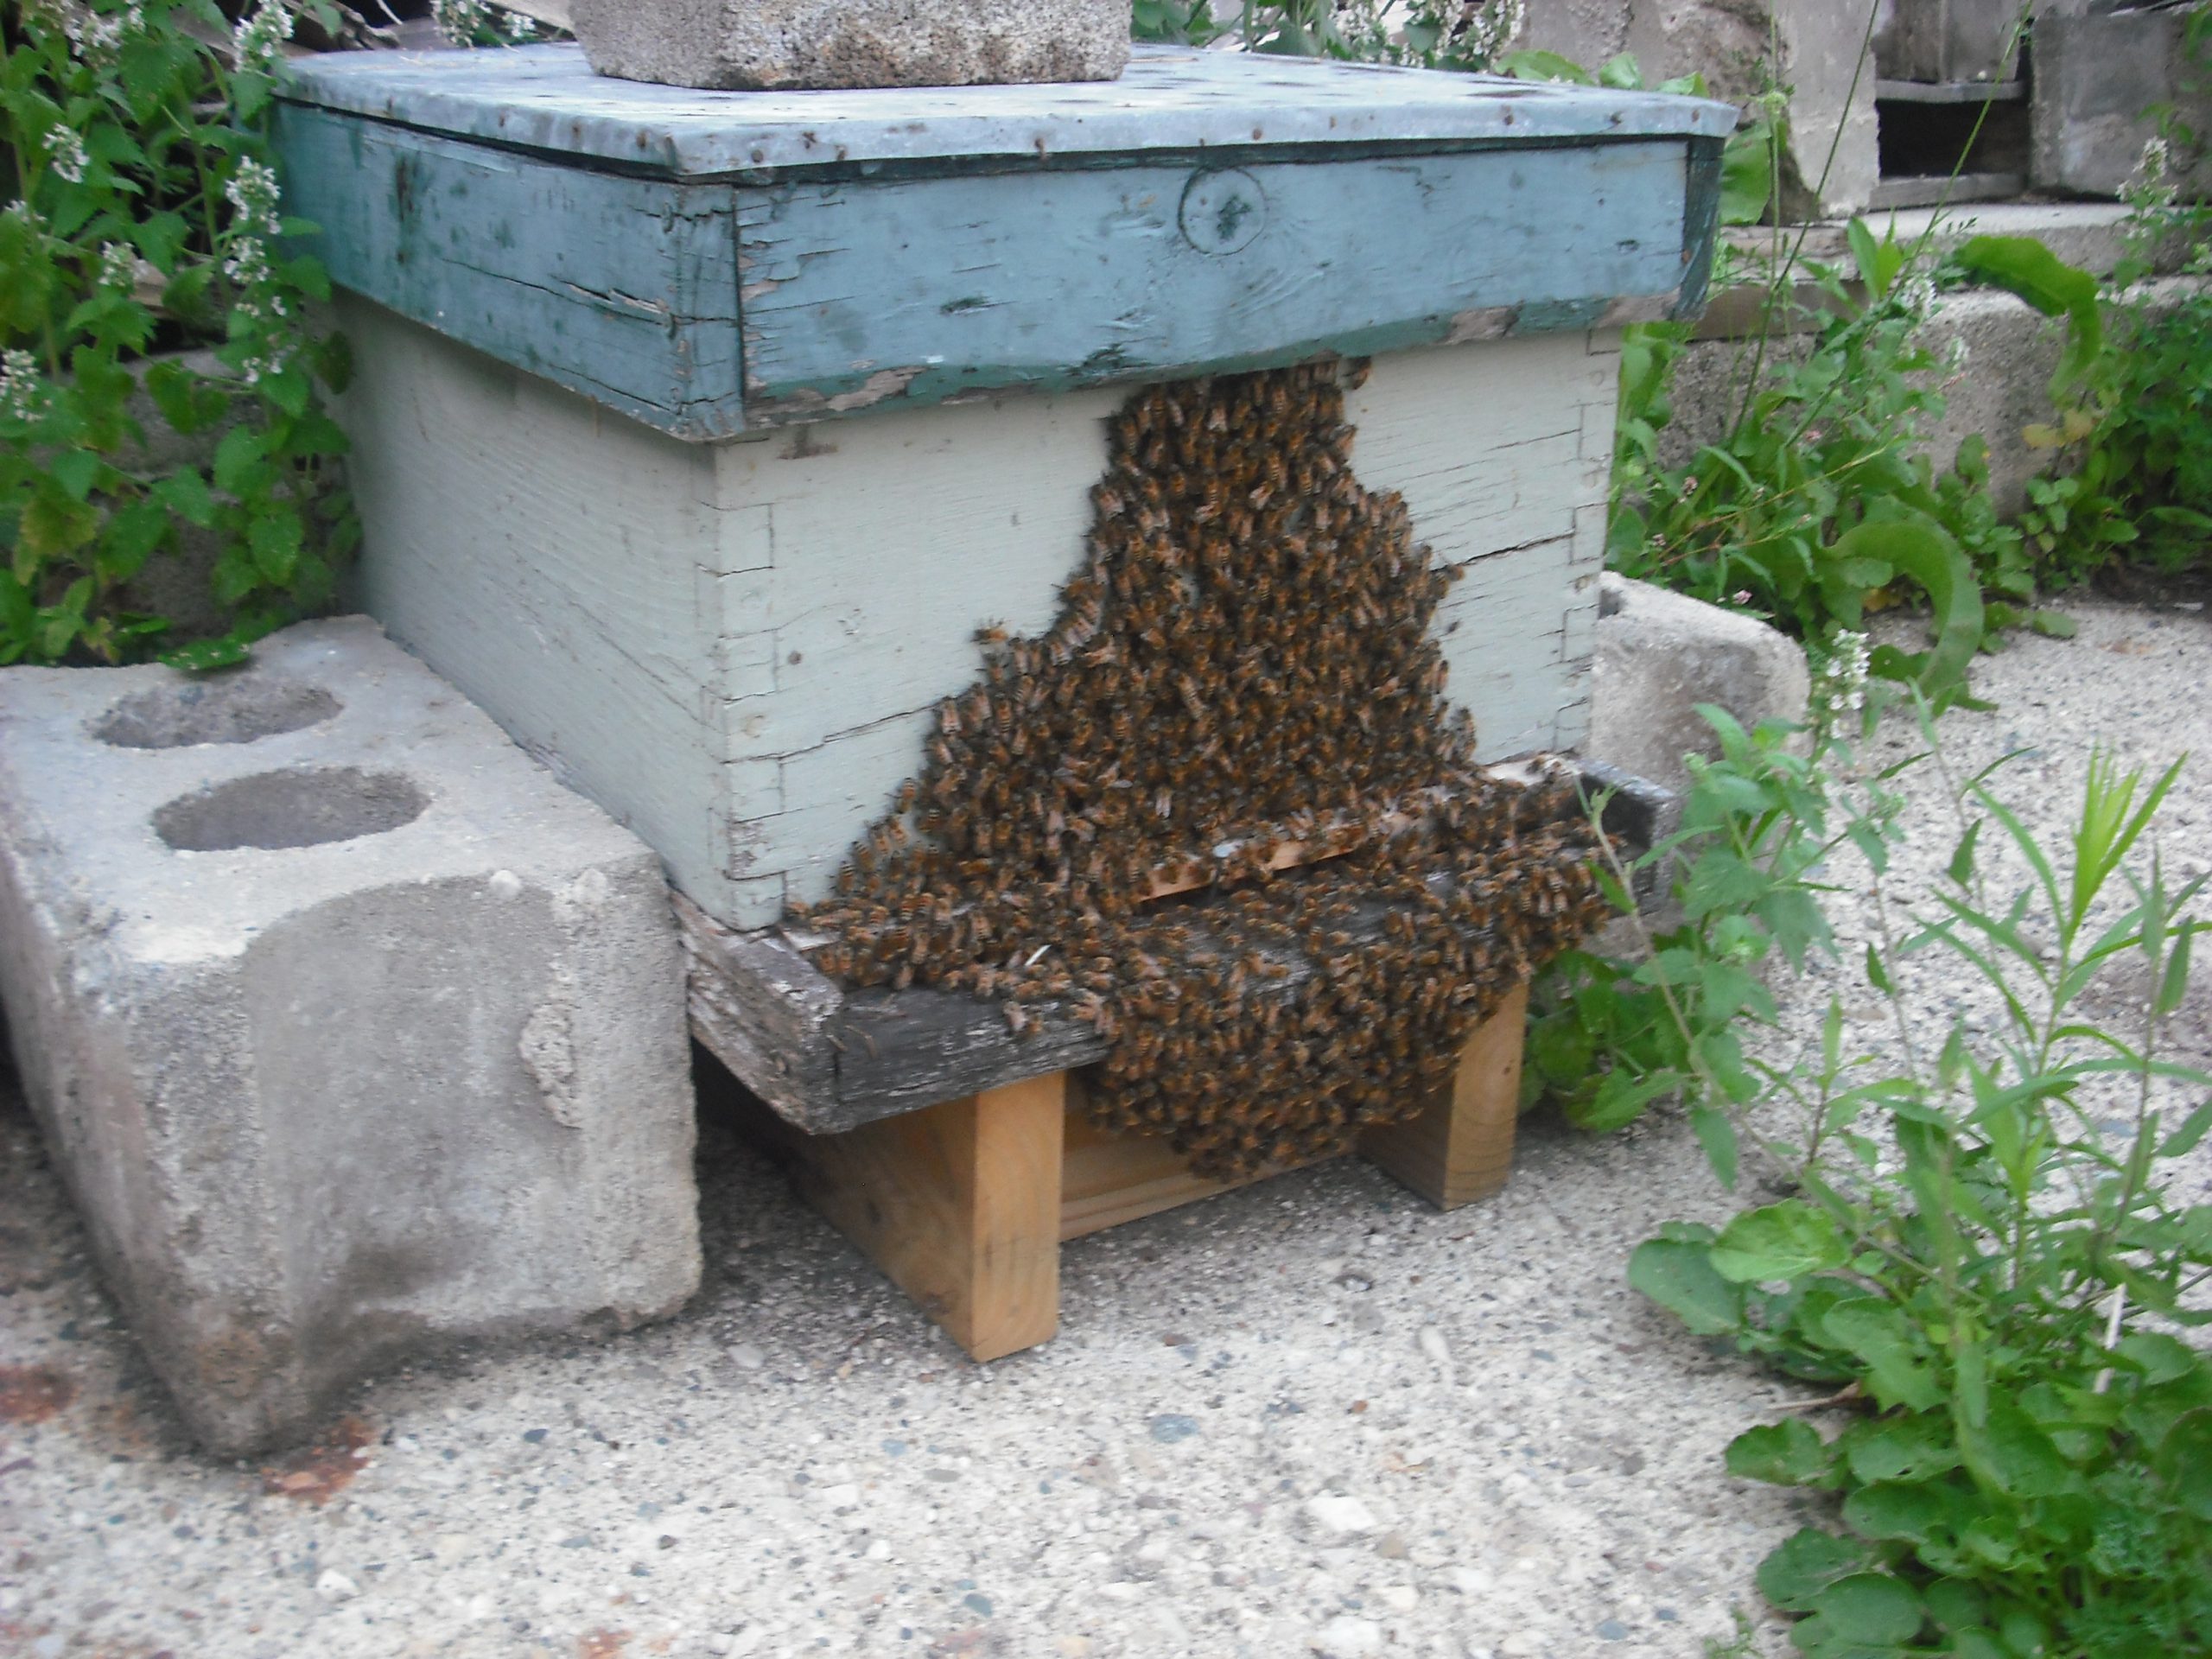
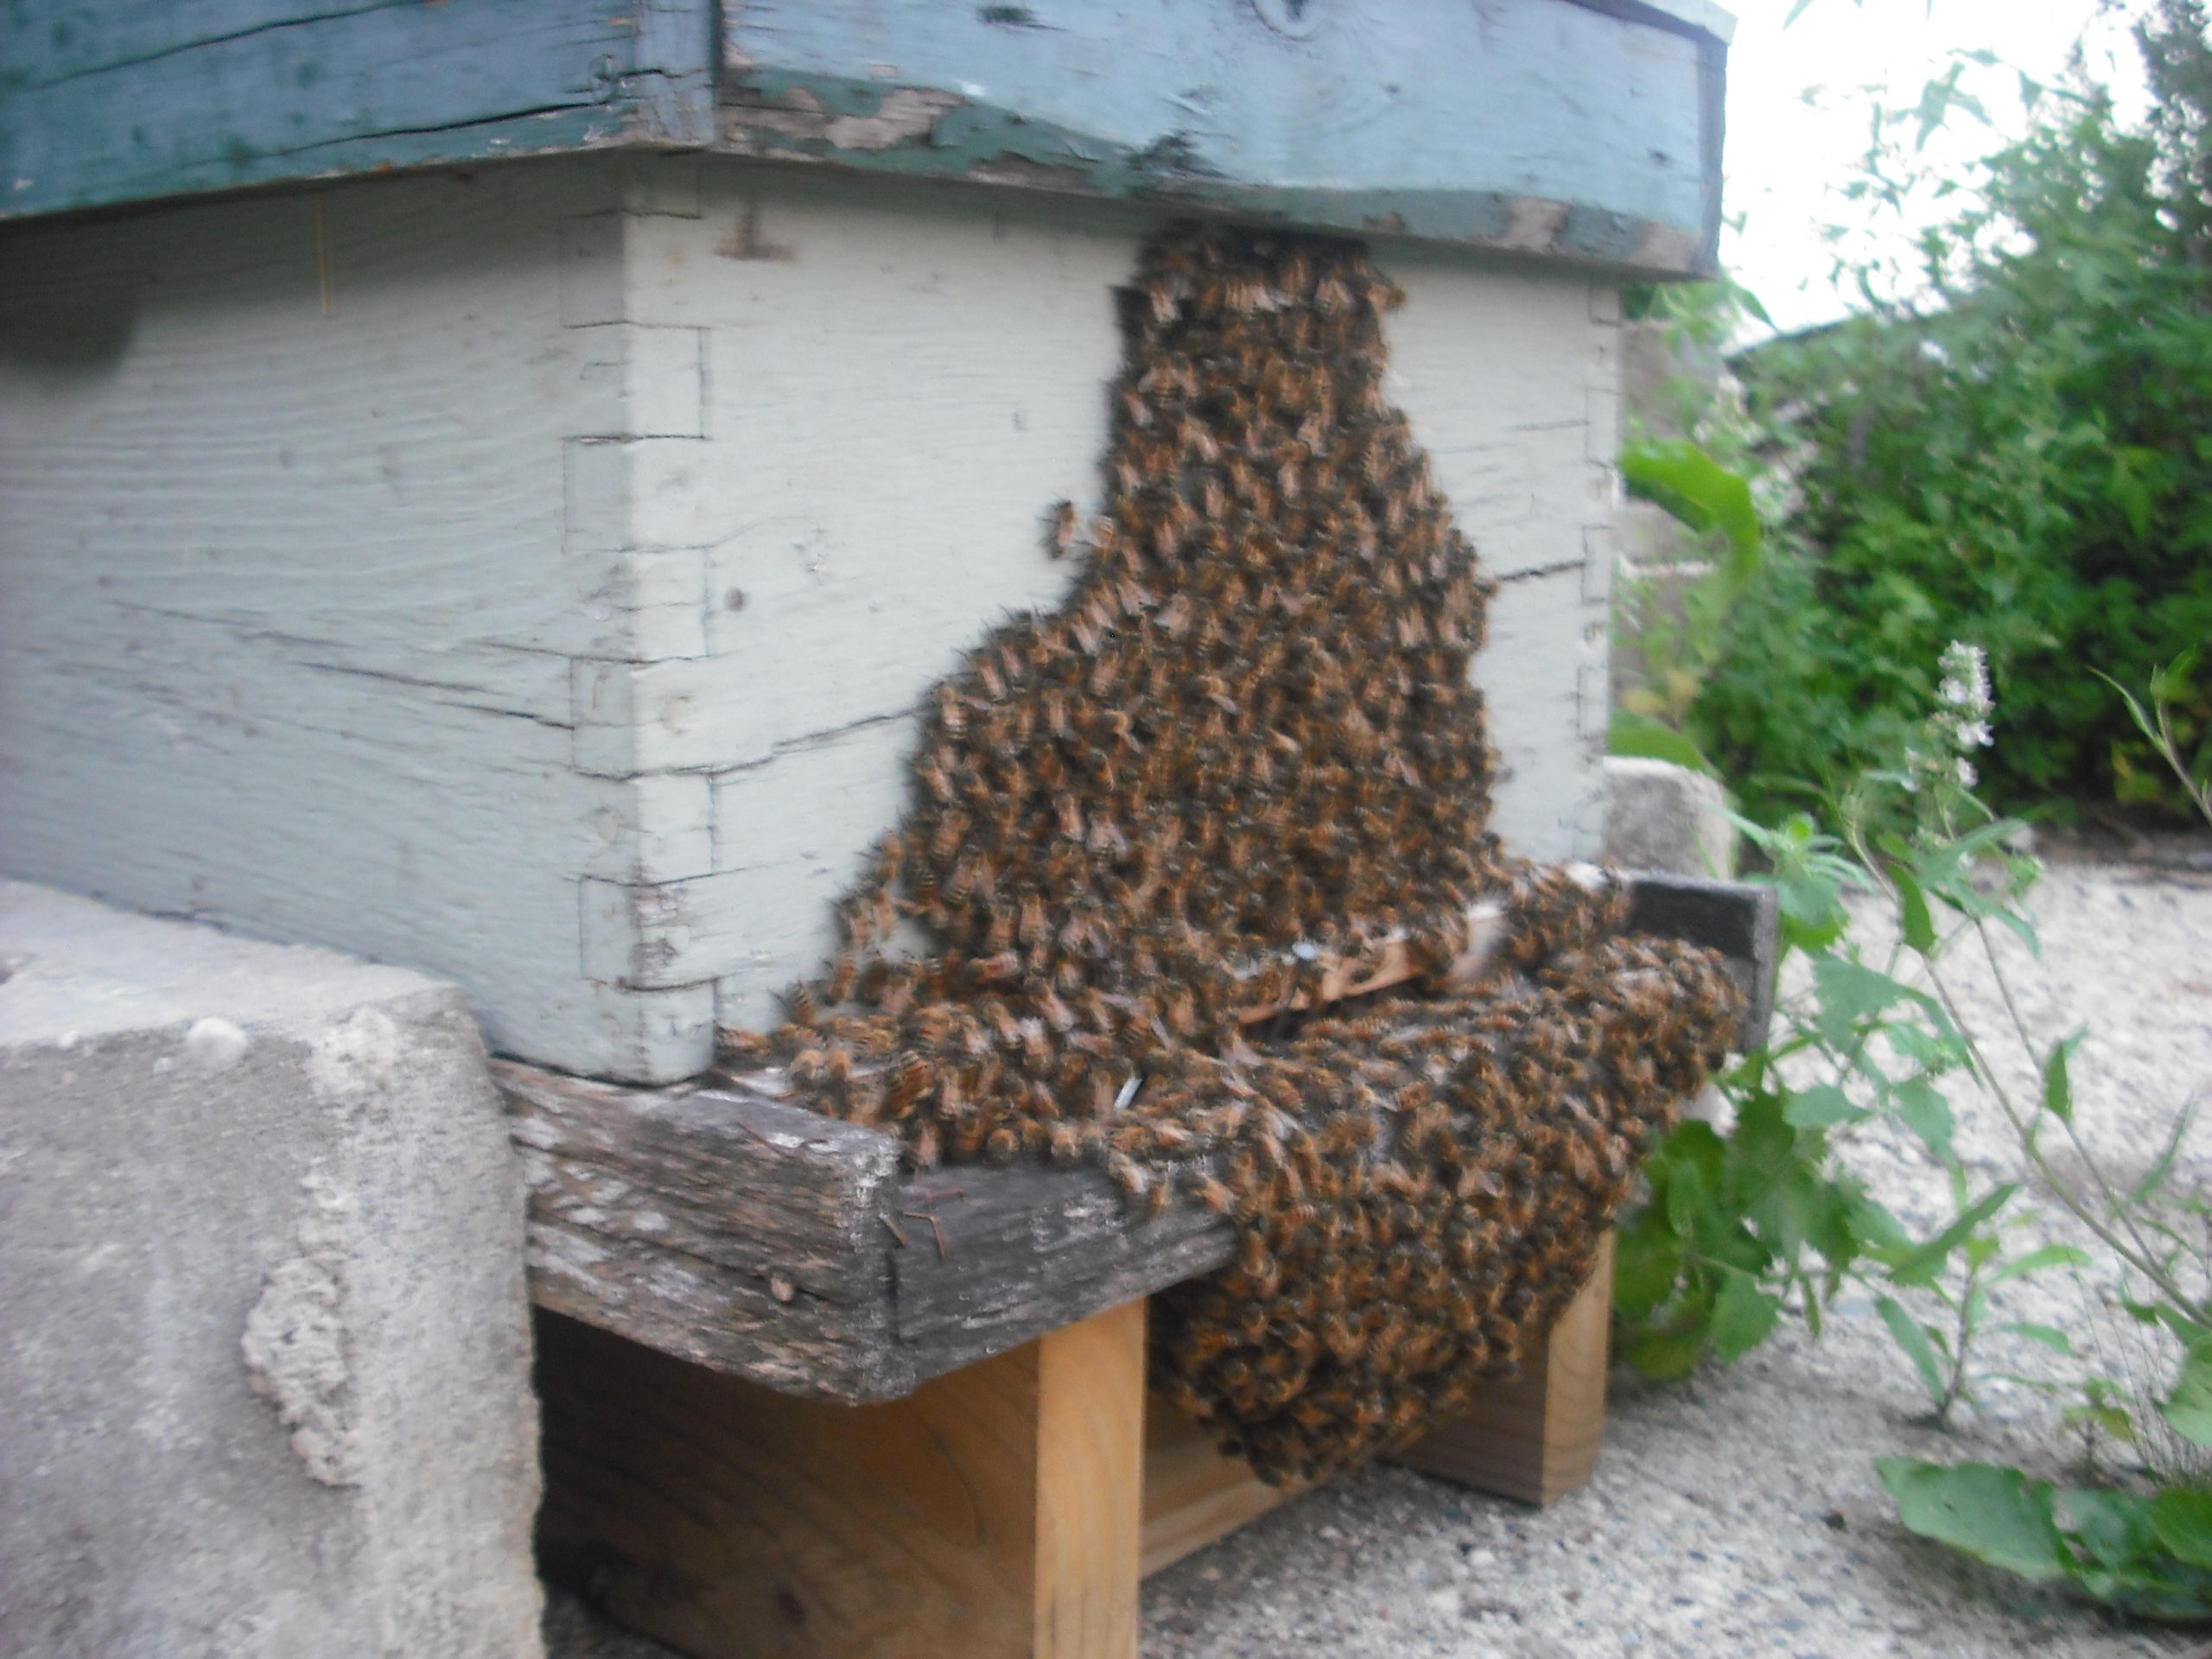
There is a cost involved, but to get started you do not need to buy every gadget and gizmo in the bee catalogues. I purchased a single deep hive from a nearby beekeeper for $50.00. This was the result of recognizing a large swarm in one of my backyard pine trees on June 26 of that first year. My intent was to find a beekeeper and give him the bees; but when he offered to buy them or sell me a used hive I purchased the basic well-used hive with ten drawn comb frames. And that is how I started my career in bee management which occurred during my second year of a second retirement. In my area of southeast Michigan basic hive components can be found for around $200.00. The hive basics would include a bottom board, a deep with eight or ten frames and foundation, an inner cover and outer telescoping cover for a Langstroth style hive. Components for a top bar hive can be had for a similar amount. If I had it to do over I would stick with an eight frame set-up as ten frame deeps can get to be quite heavy if the frames are filled with honey as is often the case approaching fall with a second deep. Deciding to give beekeeping a try I soon purchased a smoker, bee brush, hive tool, coveralls and hat veil for another $150. It didn’t take long that first summer before the bees had filled eight or nine frames with eggs, brood, pollen and nectar and I needed a second deep.
When adding this new deep and frames to the hive I realized just how well-used the barely holding together first deep was. I would say that in today’s market you could get started for under $1,000.00 assuming you are also buying a $150 – $200 three pound package of bees with a mated queen. At that time I knew nothing about bee management. I used the internet as an information resource, but had to be careful about what informative sources I relied on. Following the activities of a beekeeper in North Carolina or Georgia does not often equate to conditions in SE Michigan. I soon found reputable beekeepers at much the same latitude as my own or some a bit farther north which more closely matched my climate here in Michigan. I made a lot of mistakes my first winter, but was lucky in doing many things for the wrong reason that turned out OK and not hurting my bees. My mite management that first summer amounted to one application of Check-Mite strips. I guess I was lucky as I had no knowledge of testing for mites or how often to treat. This has become a very important piece of beekeeping management.
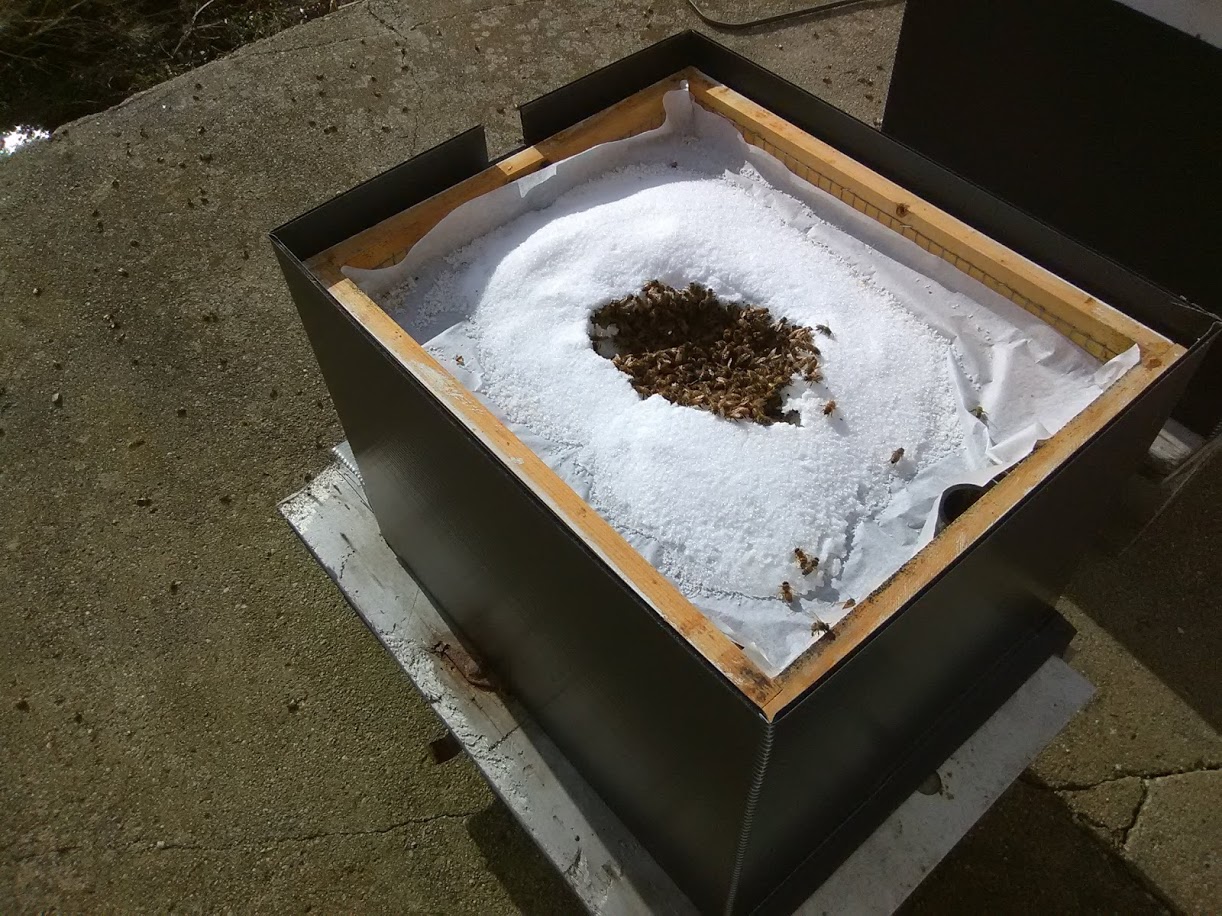
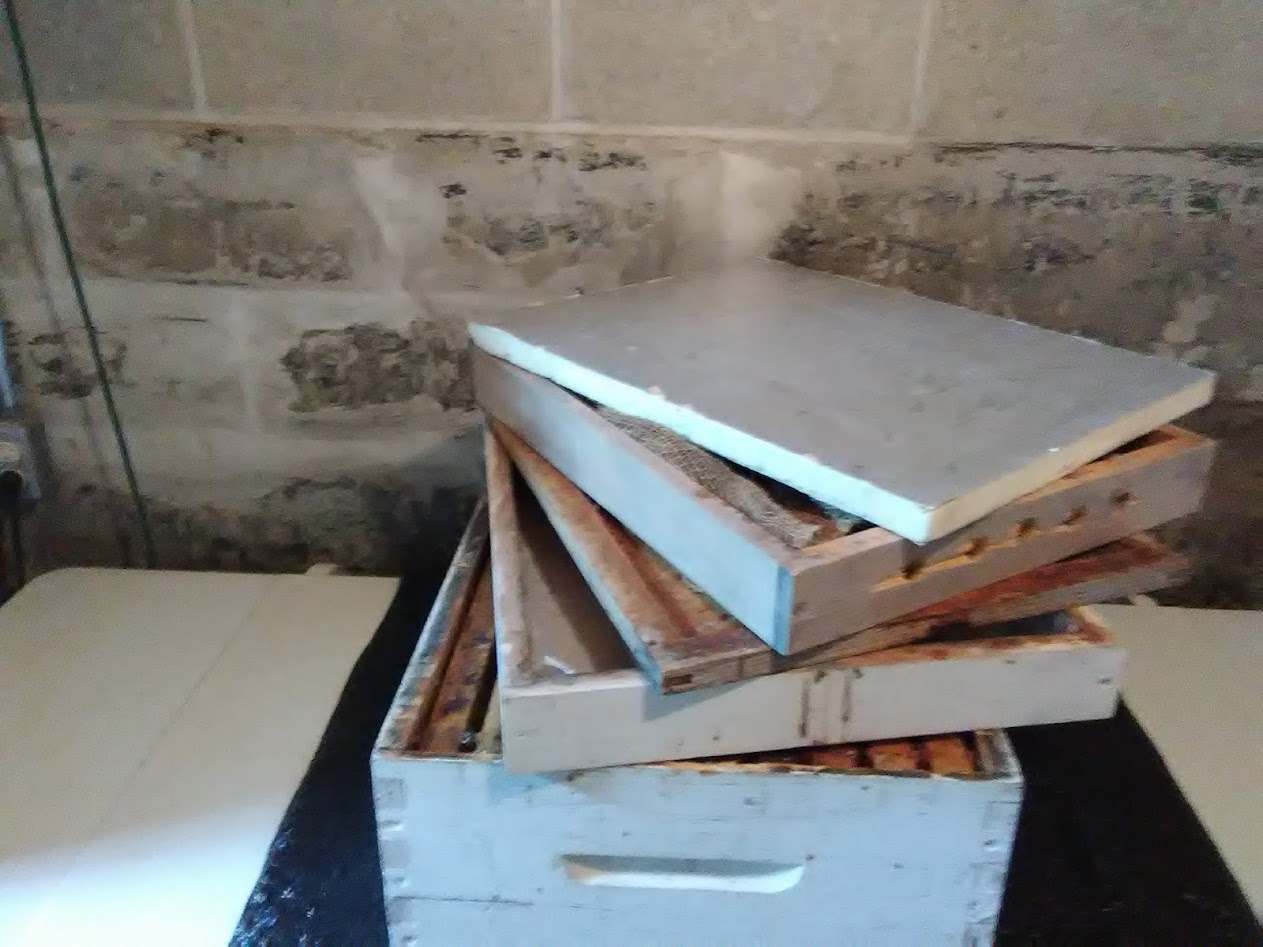
Feeding in Winter: I did feed my bees in February of that first winter. This is a late time to start winter feeding, but must have been soon enough that first year. The hive came into spring thriving. I now like to get supplemental granulated sugar on the hive by Christmas and continue to check it on those once a month or so days that get between the 45° to 50° or even 60° range. That first winter I made a hard candy board which held four to five pounds of candied sugar. I have since found a better way than dissolving, cooking and letting the mixture harden in the two to three inch spacer hard candy board with a center hole that I made to match my ten frame deeps. I now use a half inch hardware cloth stapled to the sides of a three inch spacer the same size as the width and length of my deeps. On this I place a piece of baking parchment folded up the sides an inch or so. I find the bees chew through the parchment in one or two spots and work from those spots.
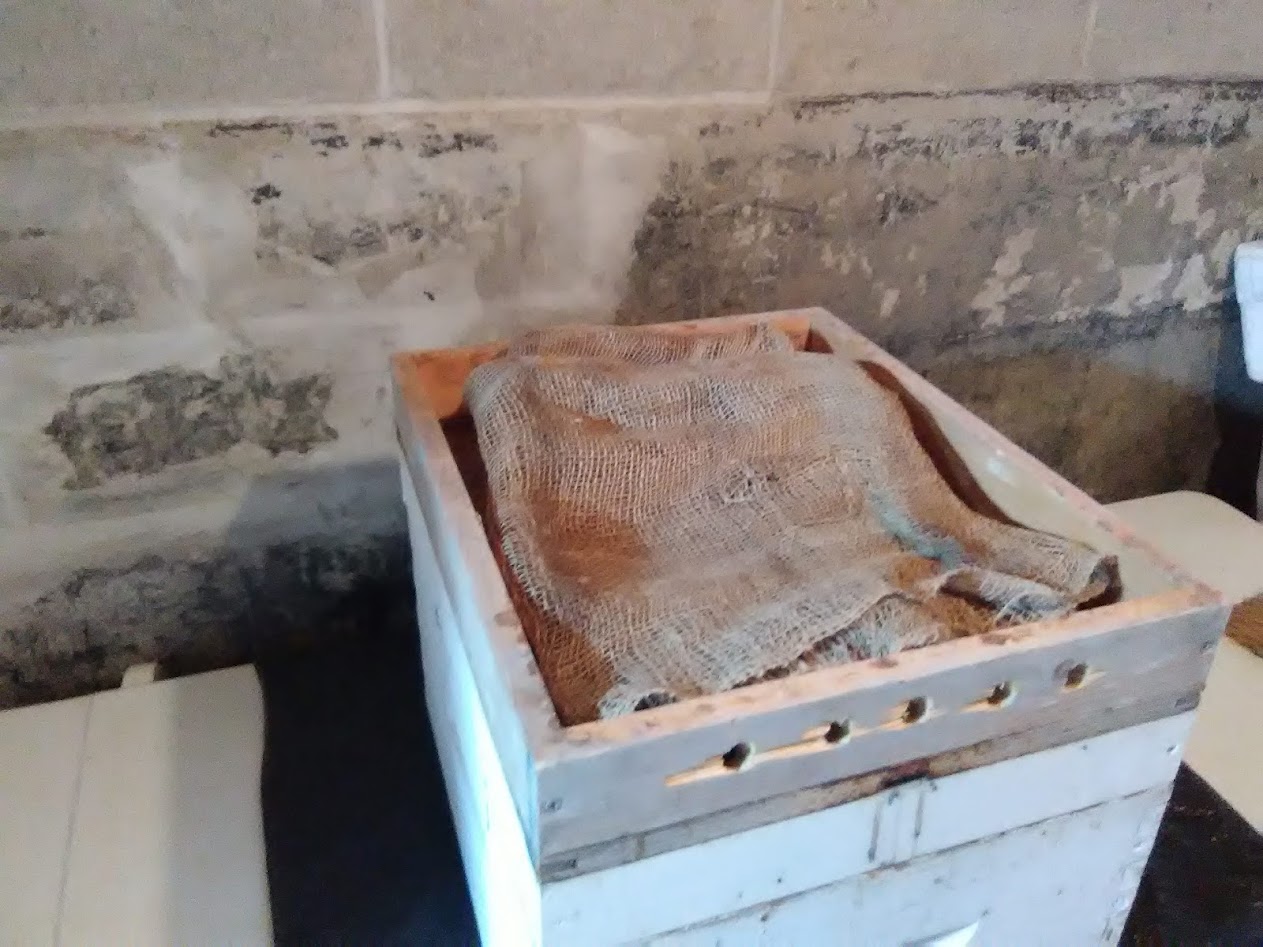
When using newspaper the bees tend to chew through most all of the paper and much of the granulated sugar placed on top falls through to the bottom board. Protein patties or supplements can be added to the granulated sugar if your local seasonal pollen supply is more limited which is not the case in Michigan. The inner cover is then placed over the feeder with a Vivaldi spacer on top of the inner cover. Although the granulated sugar absorbs a lot of moisture, the burlap in the Vivaldi spacer still gets quite wet in some hives. It is the damp moisture falling on bees that kills them, not cold temperatures, if the inside hive condensation is not controlled. My Vivaldi spacer is about three inches deep with a length and width the same as my deeps. It sits over the inner cover and the inner cover hole is enough to let condensation escape into a burlap layer within the Vivaldi spacer. Four or five half inch holes in the short sides of the Vivaldi space provide the ventilation that will normally keep the burlap dryer.
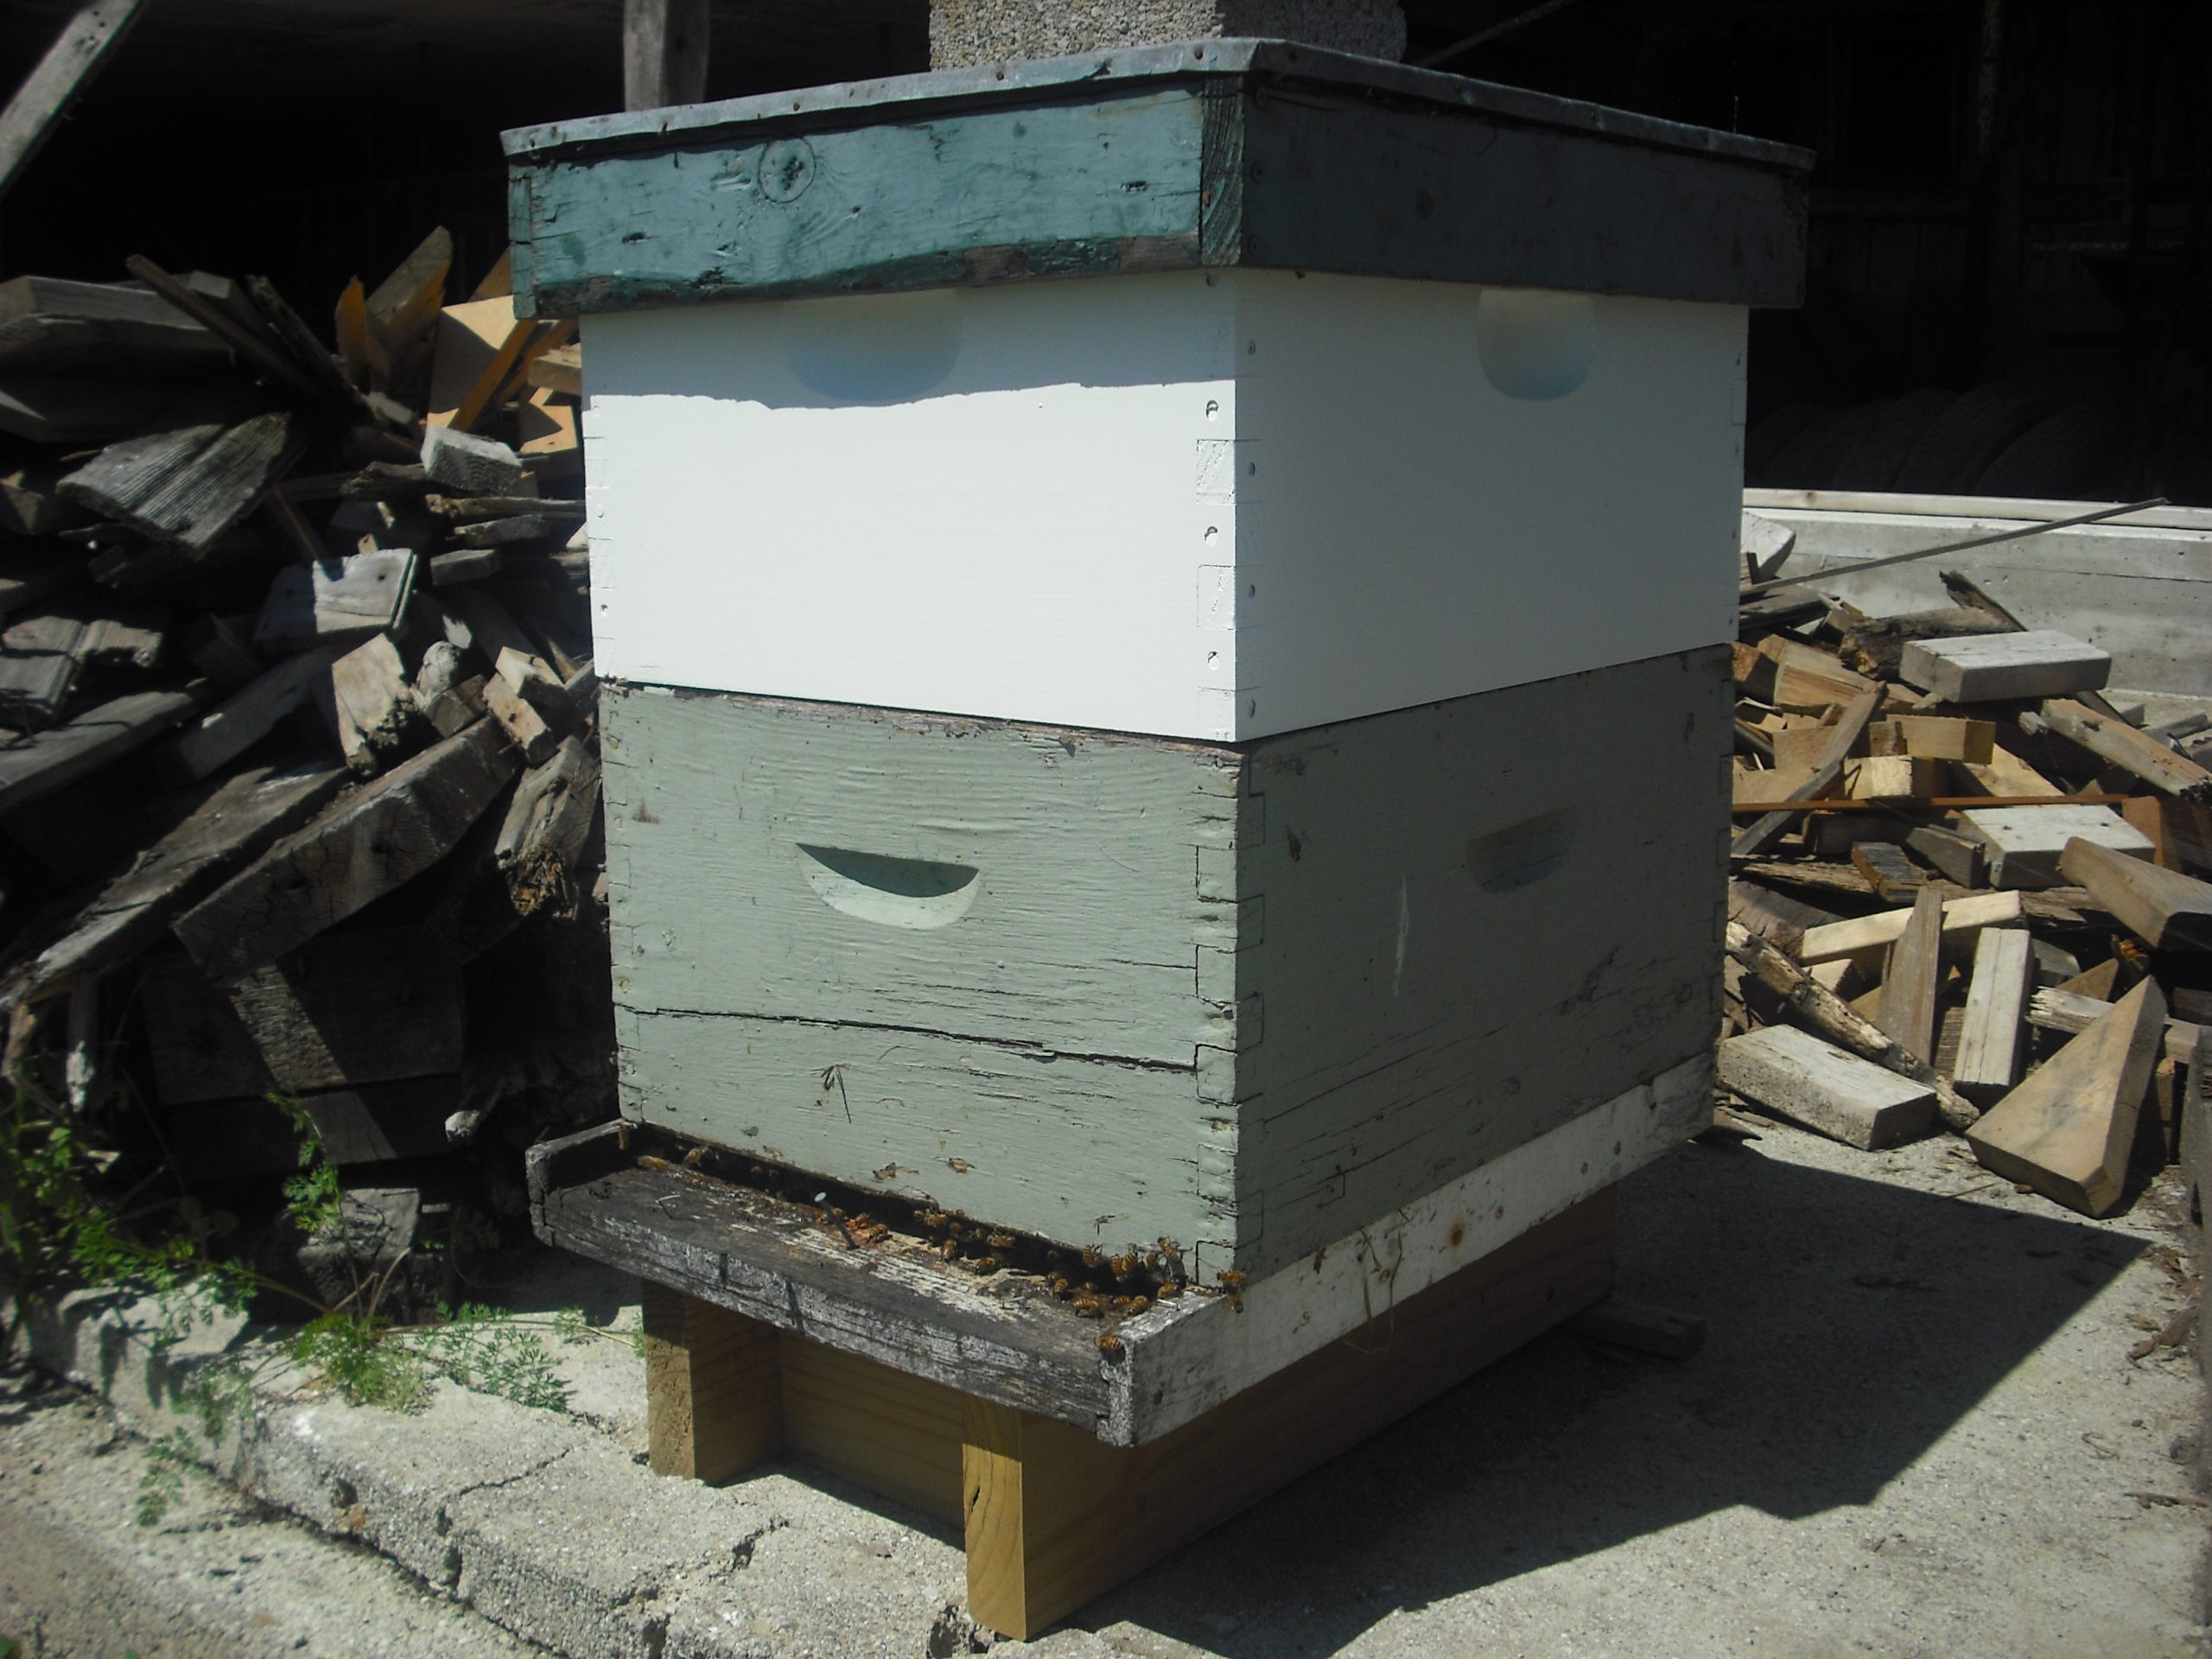
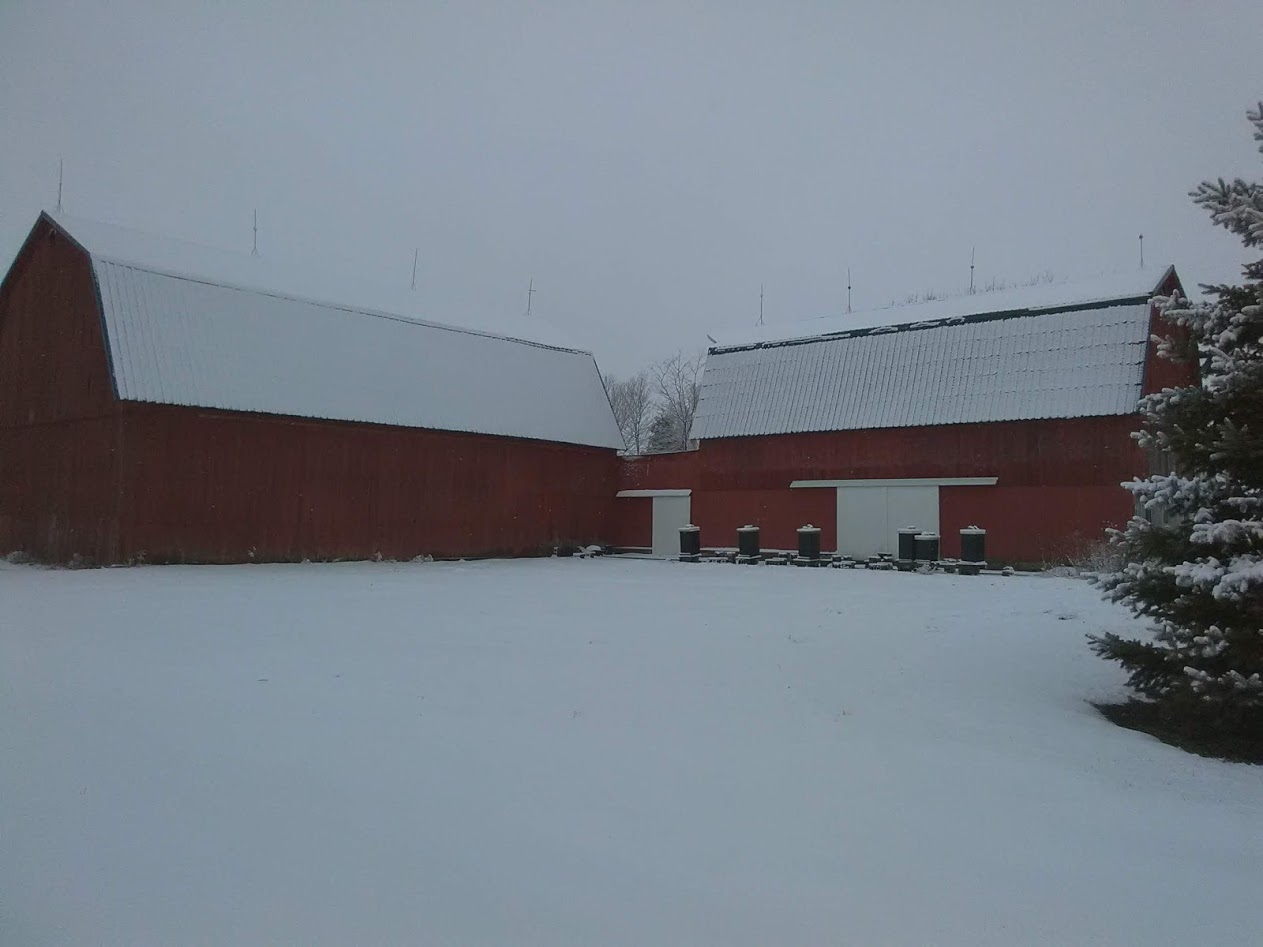
There have been occasions where I needed to replace wet burlap with dry if the condensation was that great. So the hive components above the top deep include the sugar feeder, inner cover, Vivaldi spacer and above that I keep a one inch thick piece of foam insulation which fits nicely in the telescoping outer cover all on the top of the hive. I have successfully gotten up to all nine of my hives through some nasty winters with this arrangement. In addition to the feeding, a good wind break is almost a necessity in our sometimes cold windy, Winters. I am fortunate in that I have two connected hip roof barns in an L shape that protect hives from the north and west winds.
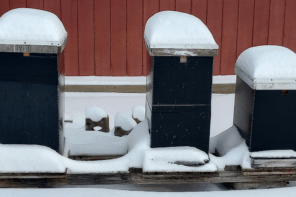
I have also kept bees on a son-in-law’s property in an open field only protected on the north and west by six foot tall scrub brush. Having any type wind break can only help the bee’s Winter survival. I also have found that a layer of insulation around the hive in Winter helps mitigate wild cold temperature swings. This could be a bee cozy sold in most bee catalogues, a wrap of stapled tar paper or just sheets of insulation. In my case I purchased several 4×8 foot sheets of Coroplast which is two layers of plastic separated by ribs spaced every ¼ inch. One sheet will cover about 2 ½ two deep hives. Coroplast can usually be ordered through a graphic arts or printing store as it is the same material most campaign signs are made of. I measured the Coroplast sides a quarter inch larger than the hive body sides and made folds with waterproof Gorilla tape holding the first side to the fourth. At the bottom an entrance flap is folded up while on the top a small hole is cut where the hive top entrance is. It’s a real joy to come into spring with some thriving hives, ready to be split, but only after our dandelions come into full bloom. I have learned that much of bee management is based on my environment and weather conditions rather than a strict adherence to calendar dates. There will be more on that in a later essay. For now these are things that have worked for me. Your bee management experience could vary based on your conditions, environment, experience or the state of your hives. Happy bee management.