


By: Kim Flottum
This article originally appeared in the Spring 2019 issue of BEEKeeping Your First Three Years
This is a crash course in getting started with your brand new beehive, brand new bees and brand new everything this Spring. It’s going to go fast, and I’ll skip some of the details. So, find a mentor, or better, work with an experienced beekeeper before you try this alone. Get a good beginner’s book (The Backyard Beekeeper is good) and read it. And absolutely join your local group and take the beginner’s course.
If you haven’t already, get bees ordered from a local supplier. Check with your beekeeping group if you don’t know a supplier. Call them now to get your order in. Bees are in short supply and sometimes you can’t get them. Order one, or better two 3# packages of Italians or Carniolans with a queen. The cost will be around $150 for each, give or take. From your local supplier, or one of the companies in this magazine get the equipment you’ll need. For each package you’ll need a hive – I recommend getting what’s called 8 frame equipment (10 frame equipment is a bit wider and heavier) – screened or solid (best) bottom board (the floor), brood nest box(es) (2, 10 frame deeps or 3, 8 frame medium boxes) and frames to fit (where the bees live and raise their young), 3 medium honey supers with frames (where they store their food, above the brood nest), inner cover, and cover. You can get the honey supers later. And you’ll need some kind of feeder. A pail, jars or top feeder all work, but you must have one. You should also have protein supplement ready when you install the bees. If you have the time and tools, you can get almost all of these unassembled and put them together yourself. You’ll save some money, but it’ll take a lot of time. My advice, always, is buy assembled boxes and assembled wooden frames with plastic foundation with beeswax already applied to make life easy. A couple coats of paint on everything that’s on the outside and your hive is ready for bees.
1. Have everything ready before you begin. Bees. Boxes. Rubber bands. Feeders and tools. Remove several frames for a space for the bees.
You’ll need a medium or large smoker and fuel, a regular hive tool, and protective gear. For gear, start with a full suit or jacket that you feel safe in. Doesn’t need to be bullet proof, but if you don’t feel safe you won’t work your bees. Make sure it has a zipper-on veil. They work. Get two pairs of gloves. One, the thinnest gloves you can find. Heavy duty leather gloves are clumsy and awkward. If you can’t pick up a quarter with your gloves on they are too heavy duty for ordinary bee work. You will need thicker gloves, maybe, if you do a lot of moving your hives, or work them when the weather isn’t friendly.
Smoker fuel can be burlap or compressed cotton fiber you buy from a supplier, untreated mulch chips, rotten wood from stumps, or long pine needles – the best fuel there is. Before you get bees, practice with your smoker. To light a smoker, use a crumpled half sheet of newspaper, light it, drop into the bottom of the smoker, pump a few times to get it going, drop in a tiny amount of fuel, pump, more fuel, pump, more fuel and you should have a good fire going, more fuel, more, pumping all the time until the fire is covered in fuel and smoking heavily. Make a fist and pack the fuel down so the smoker is about half full and solid. Close the top. Pump, pump, wait. Pump again. Your smoker should now burn for at least a half hour without going out. If not, you didn’t do it right and try again until you get it right. Nothing on earth is more frustrating, or dangerous than having an open hive, and no smoke. Practice makes perfect.
Get a solid hive stand located so it’s not close to your property line, in as much sun as possible, with a screen between it both your neighbors and the street if possible. Nervous neighbors and mischievous kids can be a problem if you are in town. Three cement blocks and 6′, 2″ x 4″s work well. Make it level, and it will easily hold 3 colonies, but only use it for 2, so you always have a place to set the cover and boxes when examining the colony.
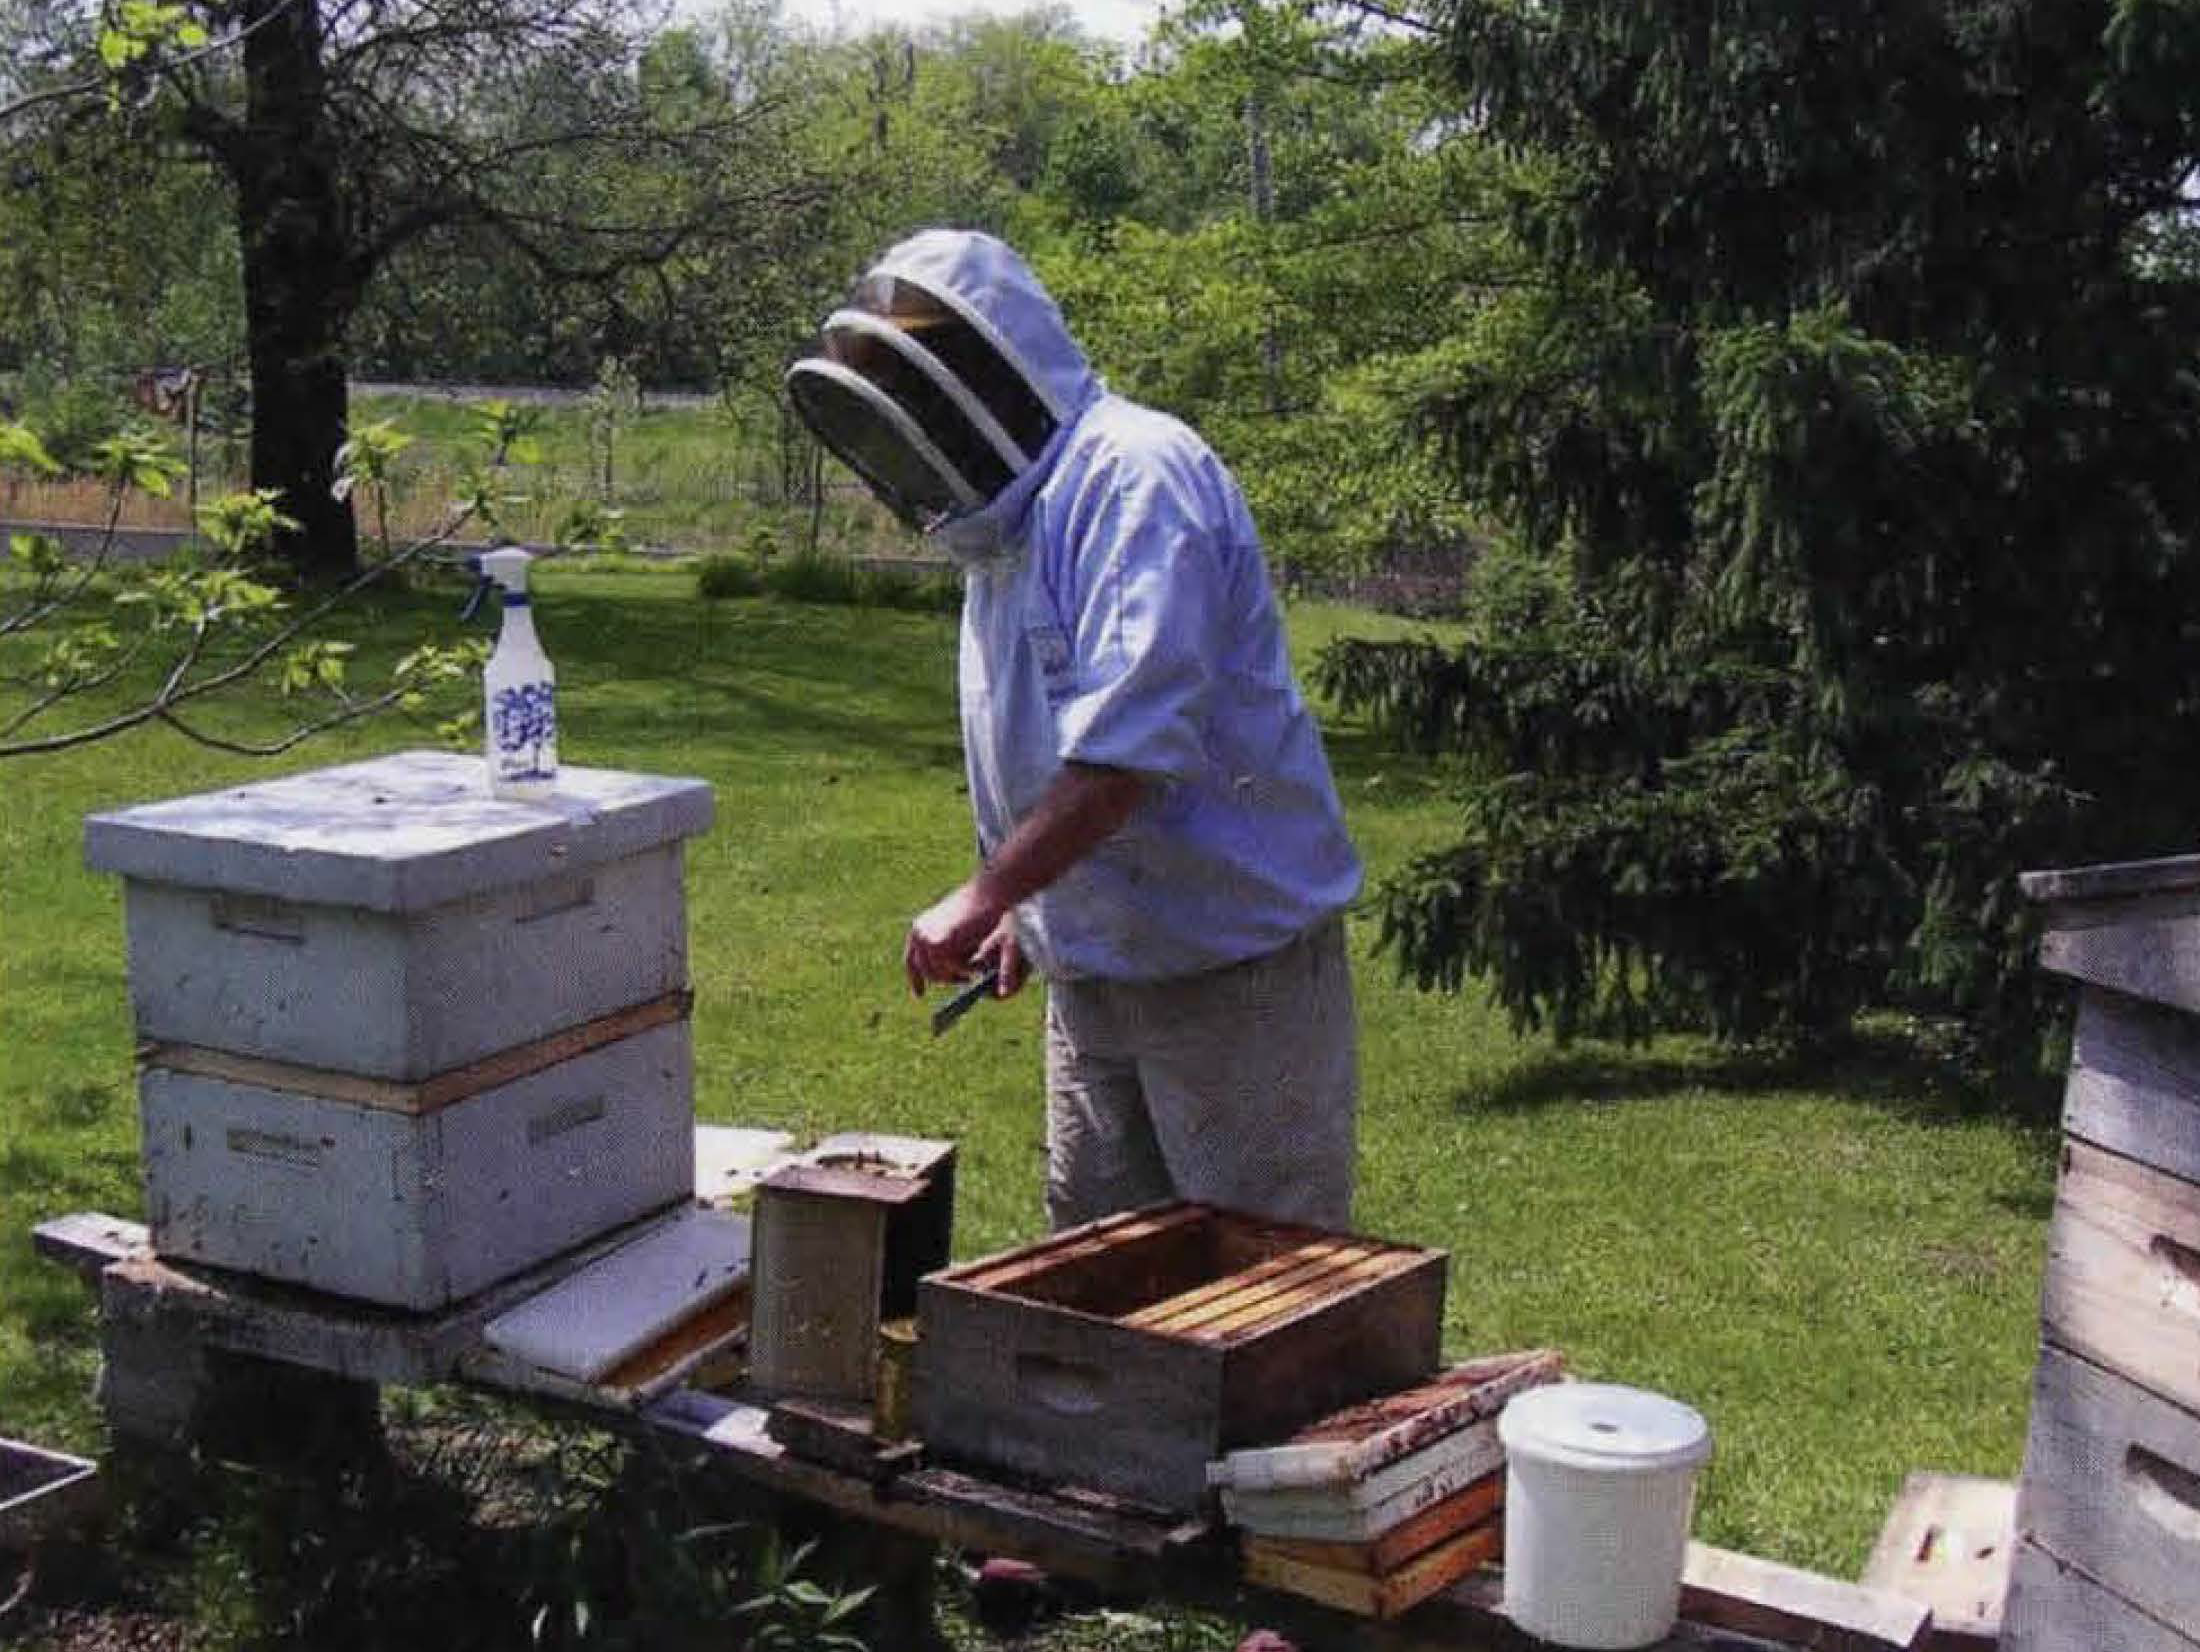
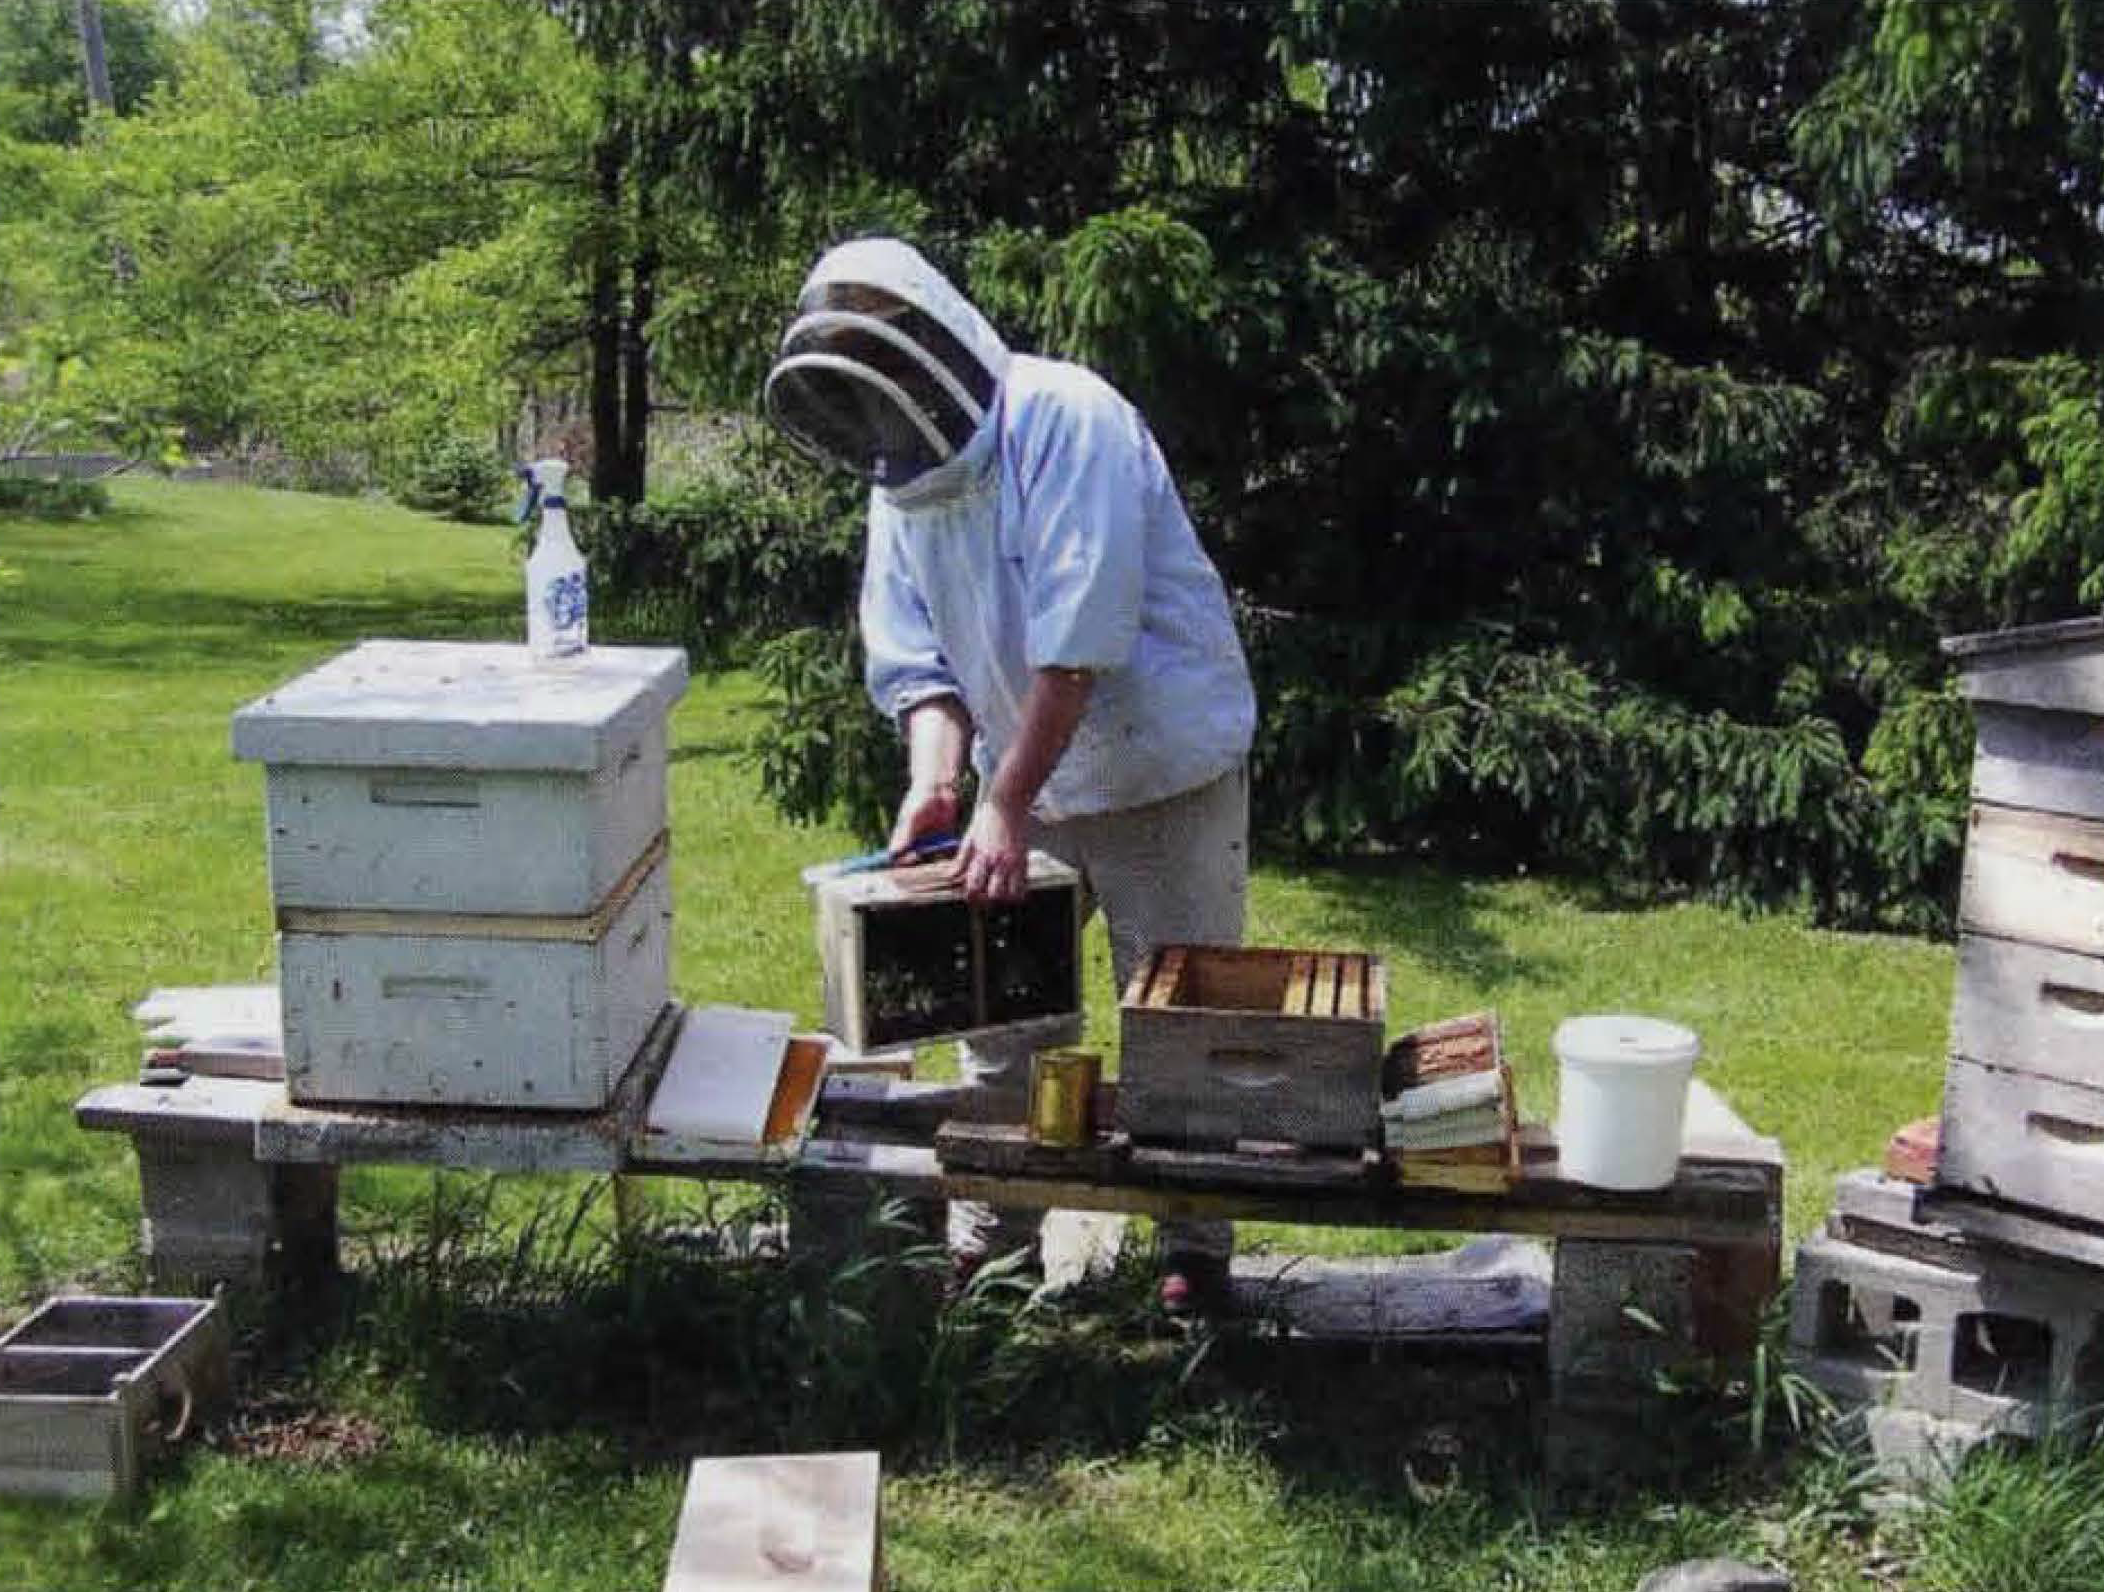
2. Thump the package, remove the cover, remove the queen and the feed can inside. Replace the cover.
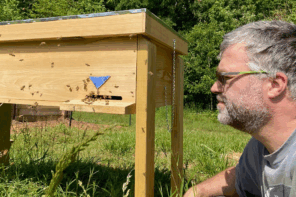
So, bee day. Hive ready, equipment ready, bee suit ready, smoker and hive tool ready, time to go get the bees. So how do you and the kids and a package of bees get home? The package may be perfect and no loose bees come along, and it may not. Don’t put it in the trunk, but bring a bag or net so that you can cover or contain the package so loose bees don’t get out. Some suppliers make a bag just for this. Make sure it’s loose and there’s good ventilation, because a bee in your hair at 60 miles per hour can be distracting. But overheated bees will die before you get home.
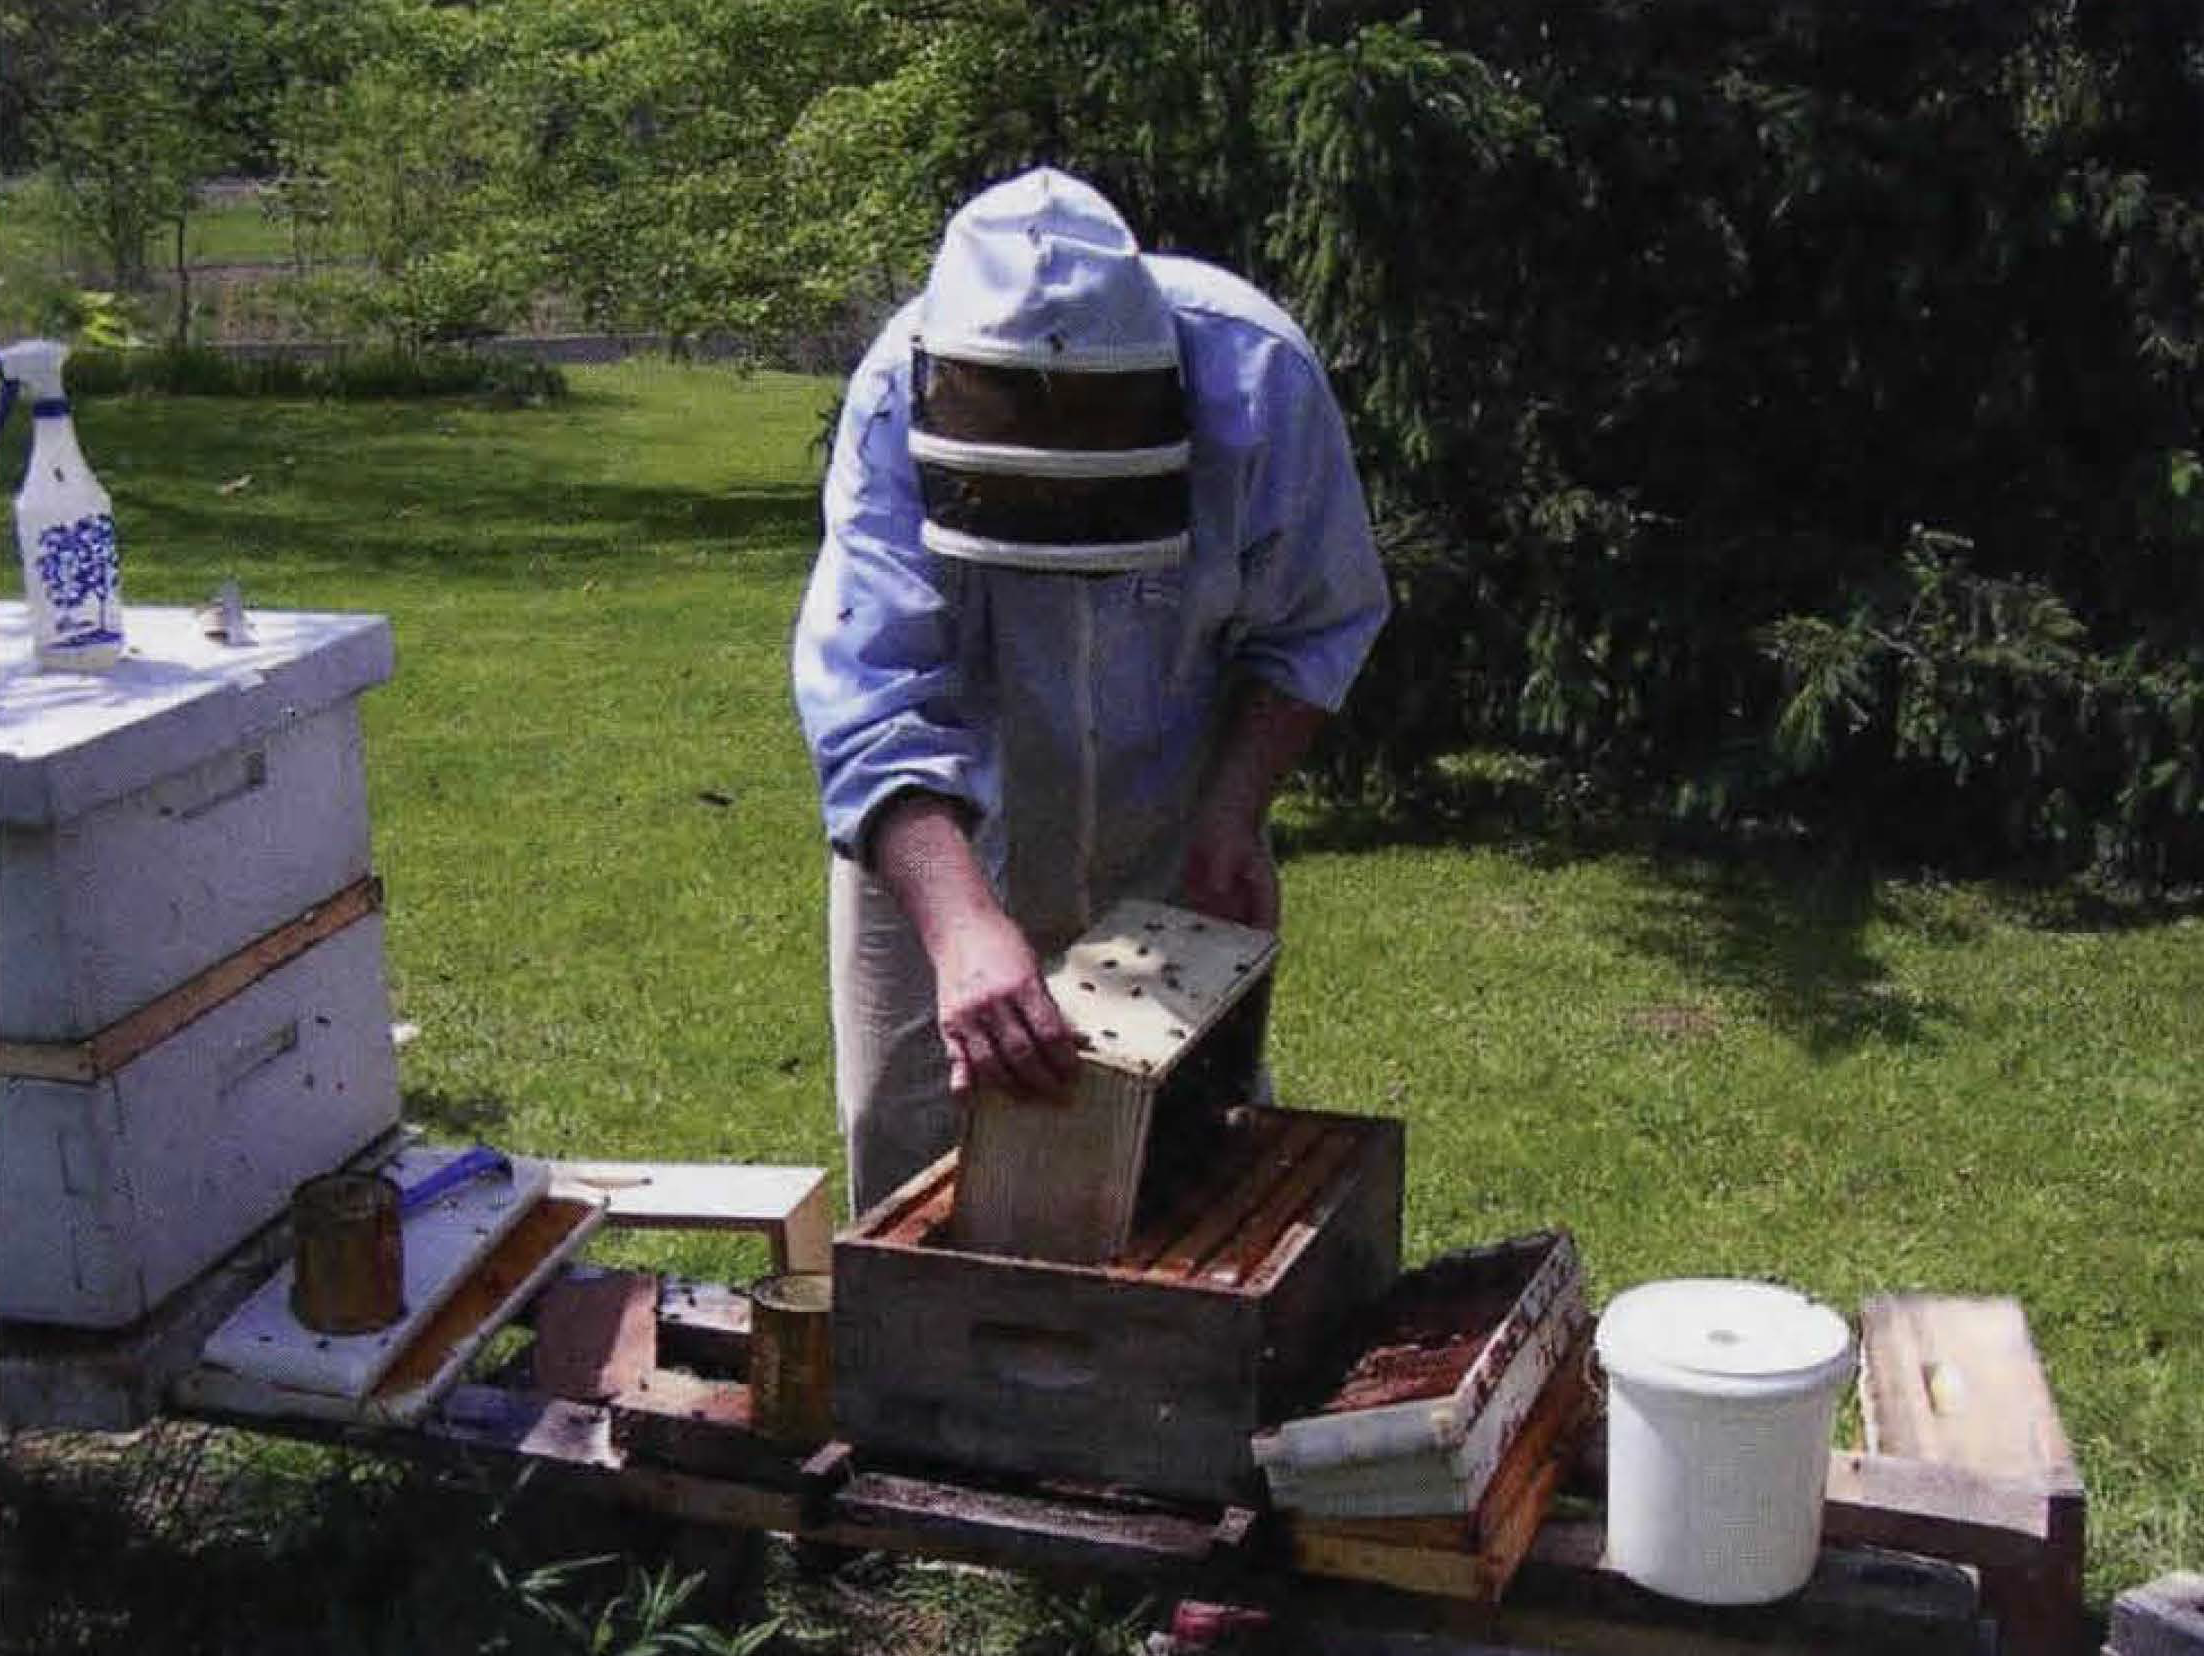
3. Remove the cover and slowly pour the bees into the hive. Put the package in front of the hive for the loose bees.
The photos on the bottom show the basics of installing your package once you get home, but before installation make sure they are well fed and safe. If the weather isn’t cooperating, use a new spray bottle to mist 1:1 sugar syrup on the package. This gives them ample food, and something to do, but you should get them installed ASAP.
If you get one of the new plastic packages they are made so that one end swings open and you can remove the bees from that outlet. You can leave the feeder can in place. If you get one of the older models, like the one shown below, you will shake the bees out of the hole on the top that holds the feeder can. For this one, you must remove the can cover, remove the can and queen and then replace the cover until ready.
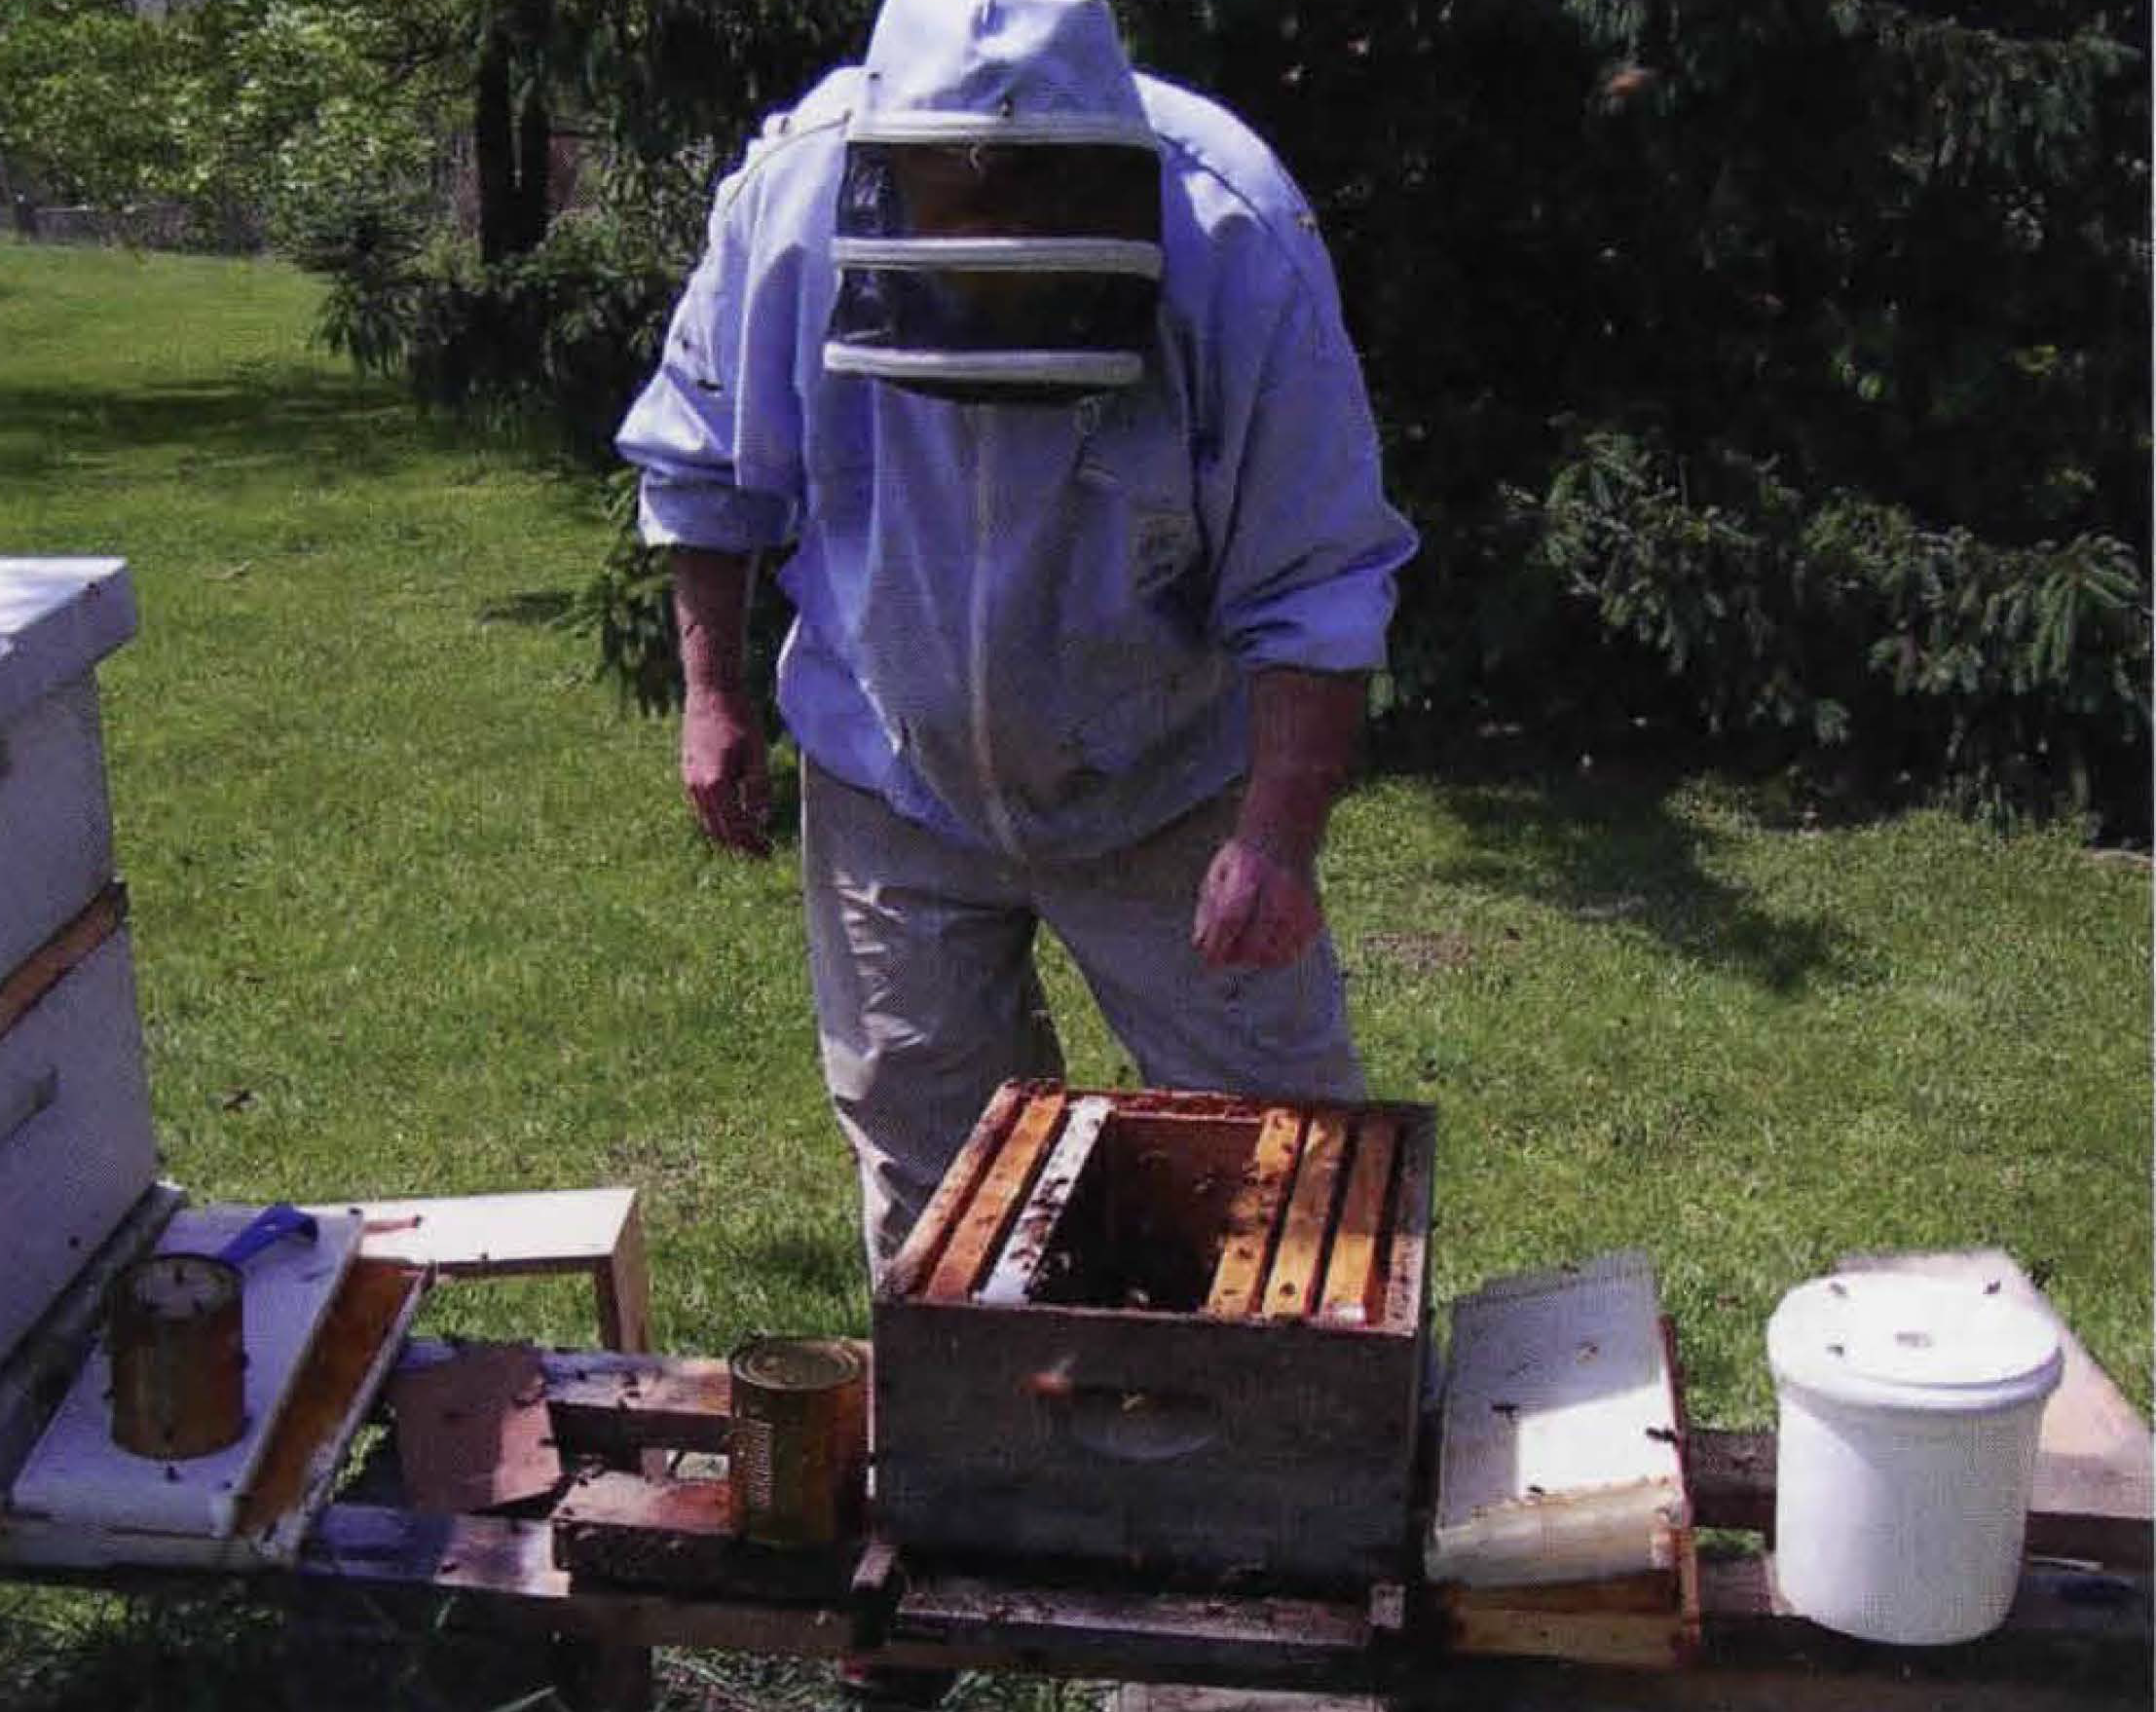
4. Fasten the queen to a frame near the top, slowly replace the frames, letting them settle rather than push them in.
First, make your hives ready. Remove 5 or 6 frames from the middle. If new frames have rubber bands ready to hold the queen cage. Lift the package, thump it down so all the bees go to the bottom, remove the can cover, remove the can and the queen cage, replace the cover. Put the queen in your pocket. Remove the cover, slowly pour the bees into the hole in your hive. Shake a bit, but don’t worry about getting them all. Put the package in front of the hive. Fasten the queen cage to a frame with the bands, slowly replace the frames, put the feeder and protein on top of the frames and cover with your extra boxes. Cover and you’re done. It’s that easy.
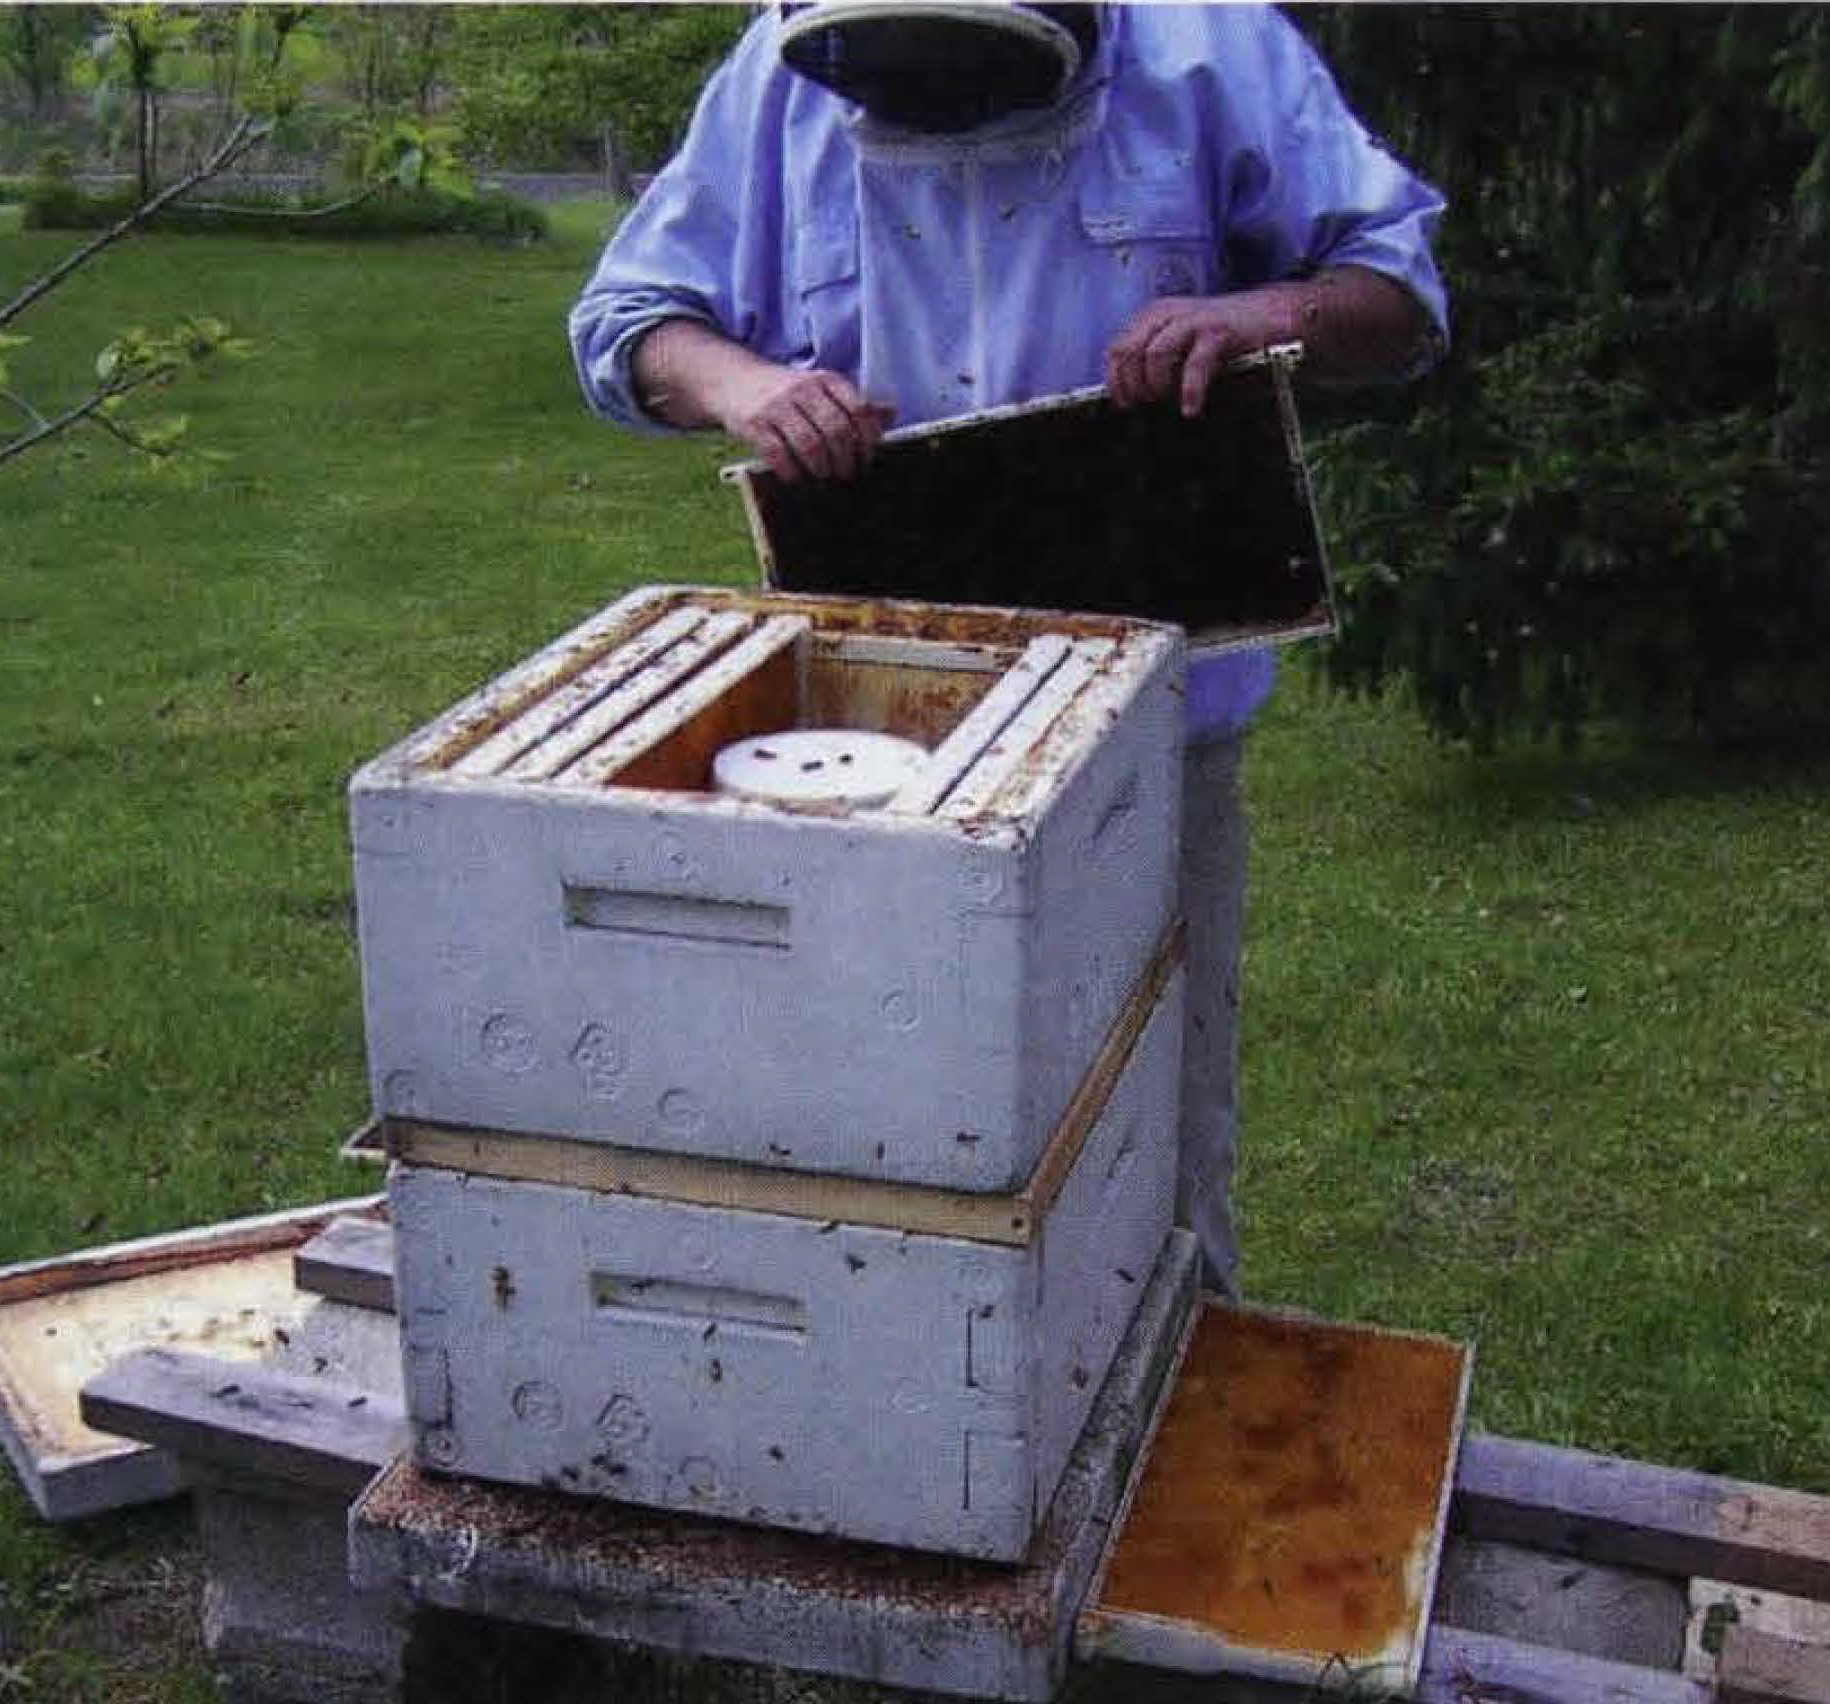
5. Add a feeder on top of the frames with a protein patty next to it, not on top of the queen, fill with extra frames, cover and you’re done.