


By: Jim Berndt
This article originally appeared in the Summer 2019 issue of BEEKeeping Your First Three Years
The primary goal for any new beekeepers should be to keep their bees alive through the first couple of years. But the amount of information new beekeepers are being asked to assimilate from books, blogs, classes, and from other beekeepers can seem overwhelming; trying to take it all in can be like drinking from a firehose! It is important to take a step back and understand that many bits of information and advice are helpful and interesting, but only a few are really essential. I have tried to condense what I consider the bare essentials of responsible beekeeping down to three things which must be done to give your bees the best chance of surviving that first year or two.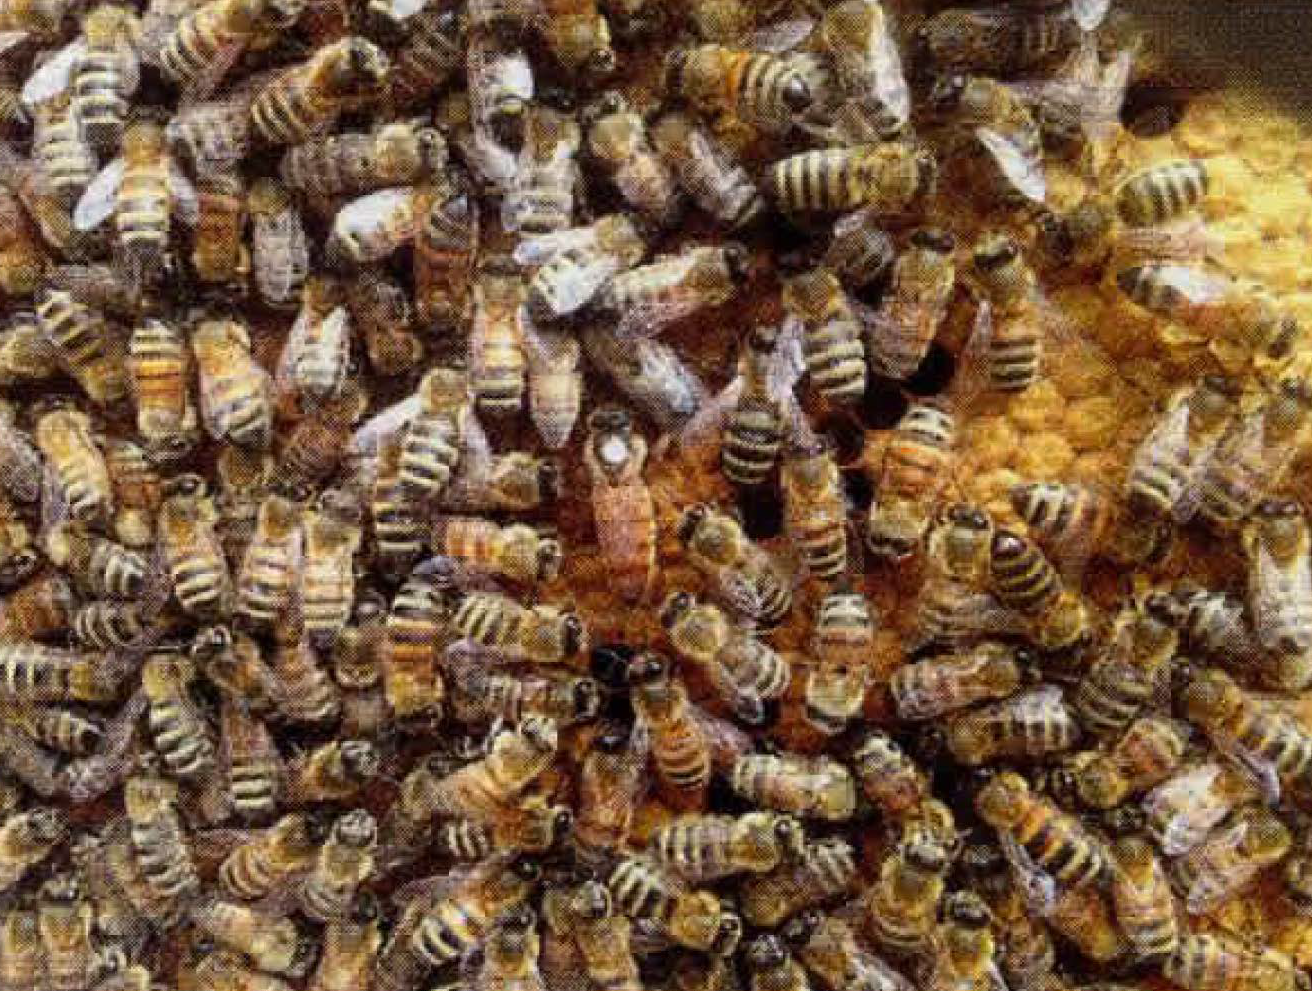
1. Your Hive Must be Queen-Right
Your hive is entirely dependent on having a healthy, laying queen for its long-term survival. She is the mother of all the other bees in the hive and is responsible for all reproduction. As worker bees only live an average of 42 days, she must lay enough eggs to replace the entire hive population every six weeks just to keep the number of bees stable, more during the spring population build up.
If you cannot find the queen it may lead you to believe that the hive is queenless. However, queens can be difficult to spot, even for experienced beekeepers. I usually make at least two complete passes through all of the combs, and the walls, and the floor of the brood box before admitting that I cannot find the queen. Having your queen marked with a dot of paint makes this process much easier.
If I cannot find the queen, the next step is to look in the brood combs for eggs. If I see eggs in the bottom of cells I know that the queen was there and laying within the last three days. That does not mean that she is still alive and well today, but it is a pretty good indication that all is well. If I cannot find the queen but see eggs I will close the hive up and come back in three days or more. Upon returning I will look to see if I can see any more eggs. If I find eggs on my return visit I can be reasonably sure that there is a laying queen in the hive.
Having a “queen-right” hive is more than just having a live queen in the hive. It also means that the queen is laying adequately and that her eggs are hatching into healthy larvae. A virgin (unmated) queen does a hive little good until she successfully mates and begins laying eggs. An older queen may have exhausted her supply of stored sperm and may only lay drone (unfertilized) eggs. A purchased queen installed with a package of bees or introduced to a queenless hive is only helpful once she is accepted by the hive and begins laying. So determining “queen-rightness” is more than just seeing a queen and eggs in the hive.
If you see a queen in the hive but do not see any brood, it is possible that the queen is a virgin who has not yet mated and begun laying. A mated queen, either provided with a package of bees or introduced to a queenless hive, may take several days, up to a week, to begin laying a noticeable numbers of eggs. If the queen does not begin laying after a week or so, it is probably time to take some action.
Either a drone-laying queen or laying workers will doom a hive since there is no worker brood being produced. If you see a queen in the hive (or not) but notice that all of the brood are drones, you may have a drone-laying queen. If the hive has been queenless for several weeks you may see spotty drone brood appearing on the brood combs and/or cells with multiple eggs. This indicates that the hive has developed laying workers. Laying workers develop in a hive when the queen pheromone, which suppresses the development of ovaries in workers, has been absent for a period of time (usually several weeks). Since these laying workers have not mated, they can only produce drone eggs.
The obvious solution for a hive that is not queen-right is to provide them with a new queen. There are many strategies for requeening a hive, but the details are beyond the scope of this article. In general, the strategies consist of either encouraging the hive to raise a new queen of their own or giving them a new queen. A hive that has recently become queenless is often able to raise an emergency queen if given a frame of young open brood from another hive. Alternatively, the beekeeper can provide the queenless colony with a ripe queen cell, a virgin, or a mated queen from another source. All of these strategies can be successful (and all can fail); this is a great opportunity for a new beekeeper to work closely with their mentor or another experienced beekeeper and learn about the requeening process.
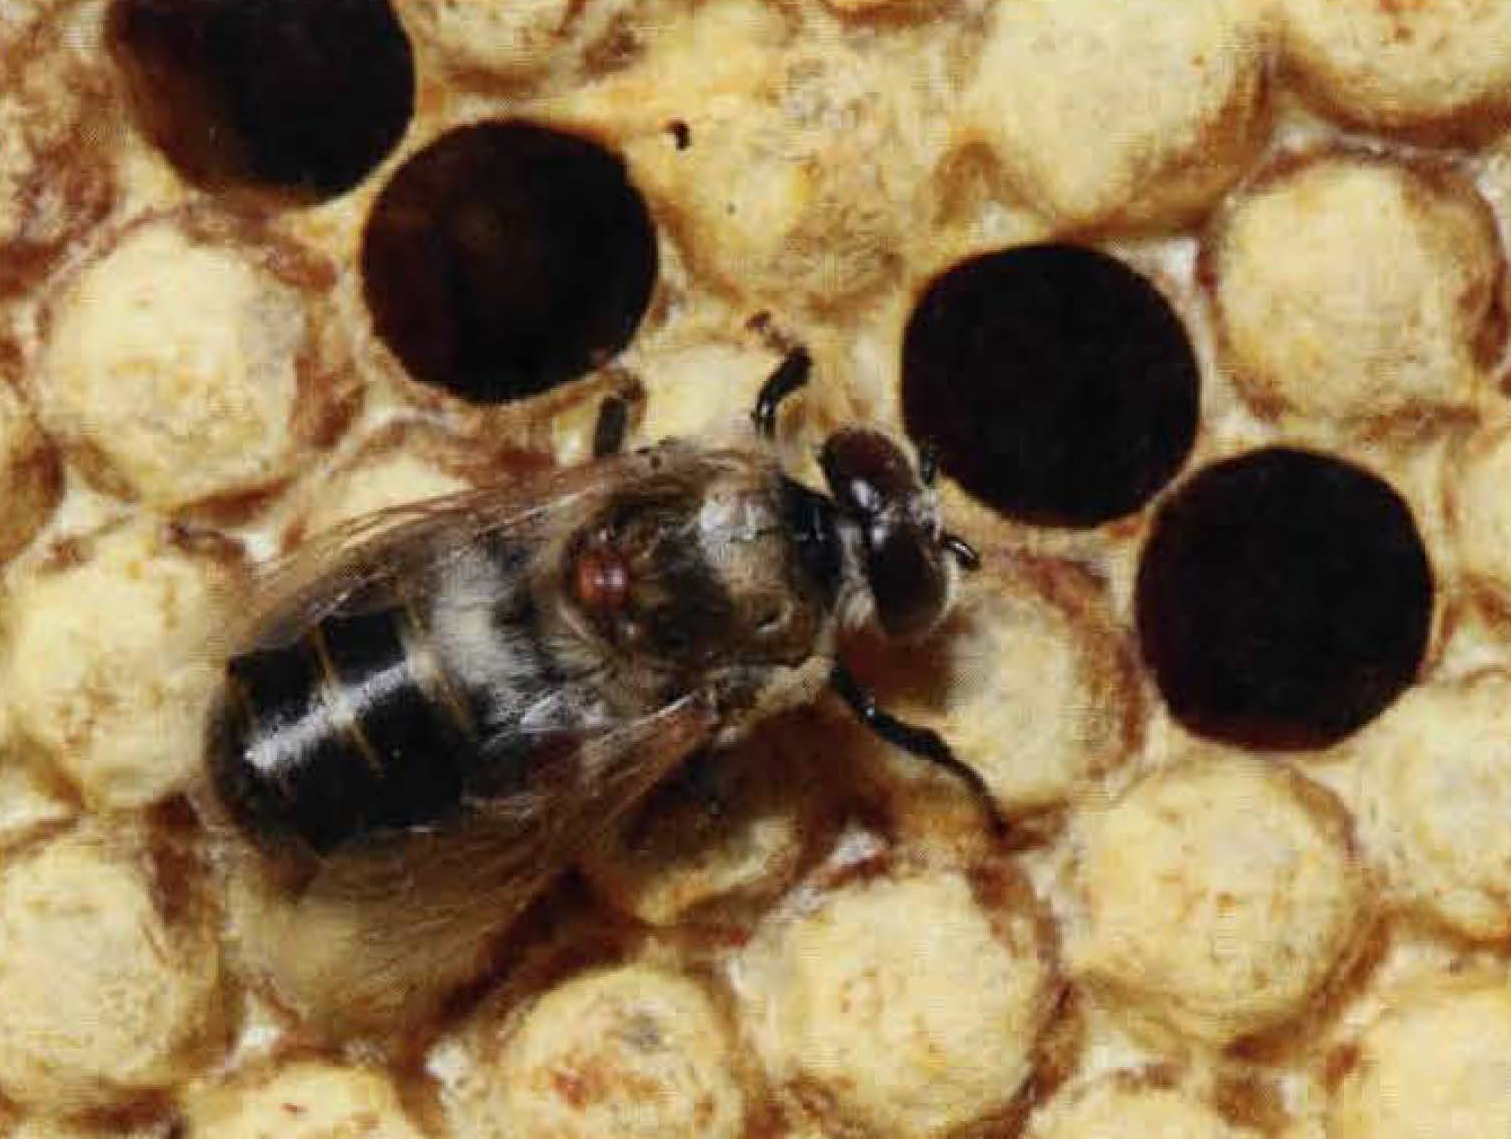
2. You Must Control Varroa
The Varroa mite (Varroa destructor) is the bane of modern beekeeping and is responsible for the death, either directly or indirectly, of more honey bee colonies than any other cause. This parasite weakens the bees, making the hive susceptible to viruses carried by the mites. If you do not control Varroa your hive will eventually succumb to this parasite.
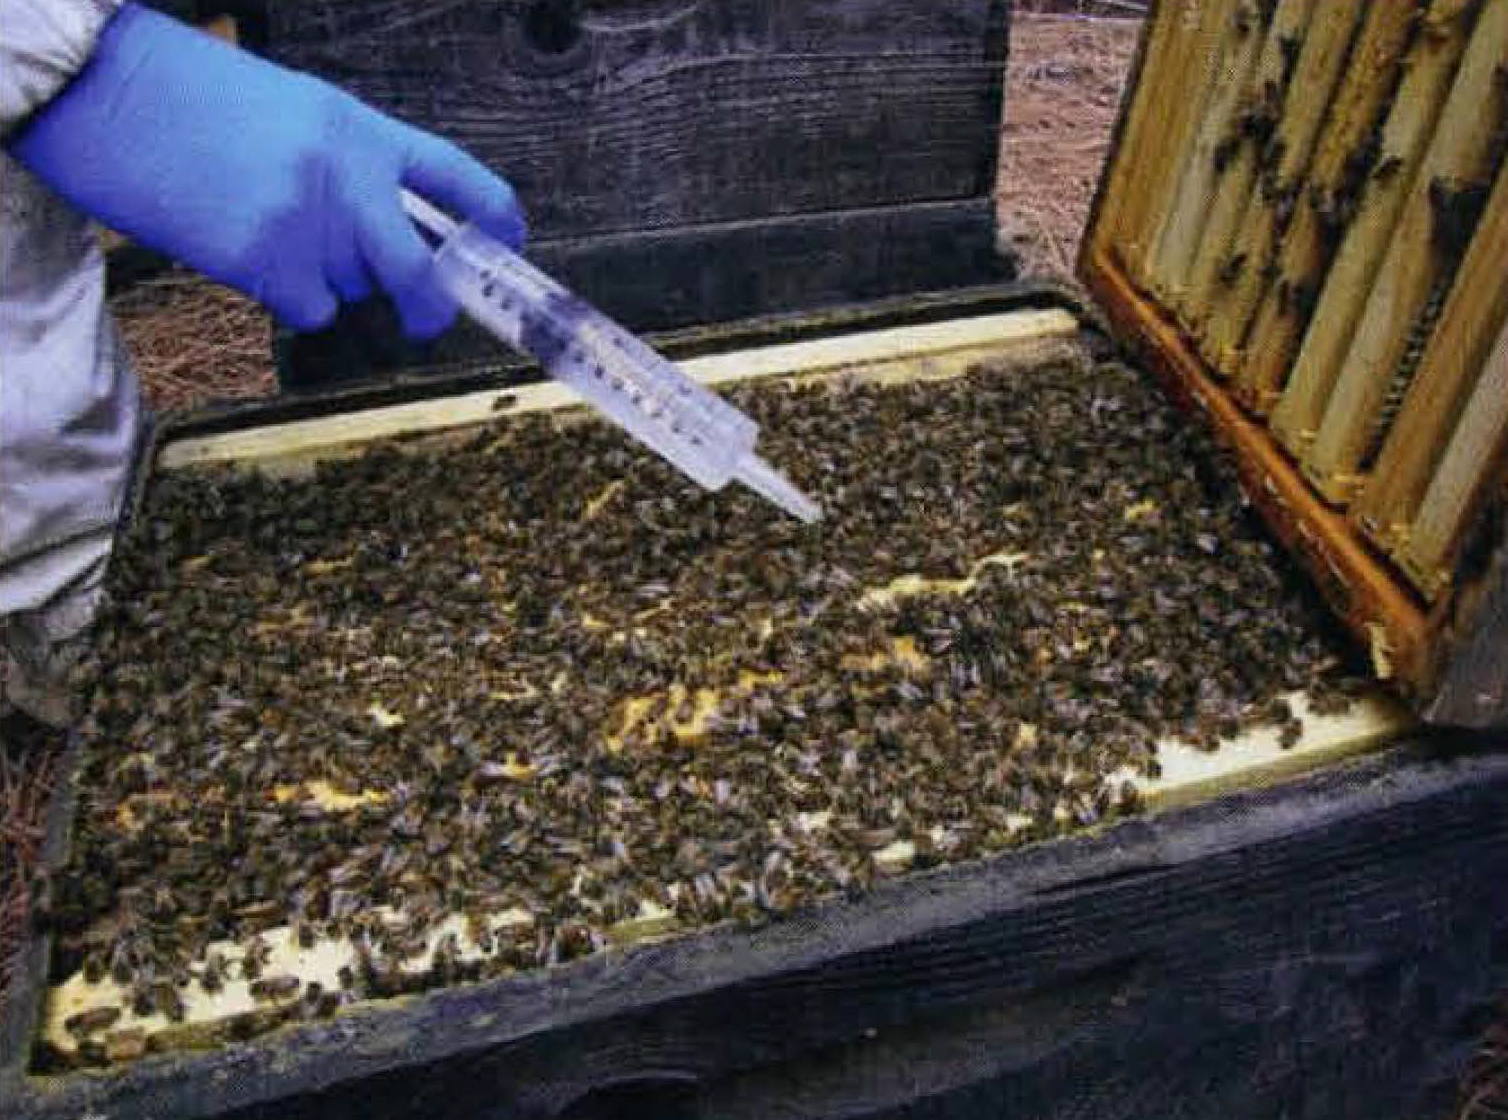
As insidious and dangerous as Varroa is, it does not make sense to manage what we do not understand. Varroa populations rise and fall over the course of the year and can vary considerably from hive to hive in the same yard. It makes sense then to start with an assessment of the problem by counting the number of mites in your hives. In my opinion, the best way to assess mite levels is to perform an alcohol wash of a sample of bees. For an alcohol wash, a sample of about 300 bees are rinsed in an alcohol solution (unfortunately this does kill them), the mites fall off the dead bees and the mites can then be counted. The number of mites counted is divided by three to give the number of mites per hundred bees. A similar test can be done with powdered sugar (this does not kill the bees), but it typically underestimates the number of mites. The details of how to perform these tests are widely available in beekeeping literature and on the web. The test is quick and simple to perform and is not beyond the ability of a beginning beekeeper. The threshold number of mites in a sample which indicates action should be taken varies somewhat from region to region and in the opinion of various people. If I find more than three mites per hundred bees in my samples, I take steps to reduce the mite population.
 Treatment for Varroa has gone through an evolution since the first Varroa mites appeared in the US in the 1980s. We initially used strong synthetic pesticides to eliminate mites, to which they quickly developed resistance. Since then, the concept of integrated pest management (IPM) has been considered the best-practice for mite management. IPM is the use of various management techniques to reduce mite populations, resorting to chemical treatment only as absolutely necessary. There are many management techniques such as brood breaks, splits, use of resistant stock, and culling of drone brood which can be effectively used to slow the growth of Varroa in a hive, sometimes to the point that chemical intervention is not necessary. If management techniques alone are not enough to keep the Varroa population down, there are a variety of chemical treatments available.
 Chemical treatments fall into the general categories of synthetic pesticides (fluvalinate, amitraz), acids (oxalic acid, formic acid, hop beta acids), and essential oils (thymol). All of these treatments have their advantages and disadvantages. The best thing for the new beekeeper is to work with a mentor or other experienced beekeeper, who shares your philosophy of beekeeping, to develop a Varroa treatment strategy for your hives. Beware of anyone who claims that there is only one “right” way to do things – there are many effective ways to manage Varroa (and bees in general), which path you choose will depend on your personal approach to beekeeping and how much time and effort you want to invest.
3. You Must Have Adequate Winter Stores
Winter comes every year; it is never a surprise! Some Winters are harsh and some are relatively mild and we do what we can to prepare our bees for the worst and hope for the best. All beekeeping is local, however almost all of the U.S. experiences a period of prolonged nectar and pollen dearth. For many of us that dearth corresponds to the cold of Winter. The strongest, healthiest, queen-right colony will not survive if it starves before the first Spring nectar flow.
The honey bee has adapted to these periods of nectar dearth by storing nectar as honey to consume when nectar sources are unavailable. As beekeepers we are thankful that the bees are as industrious as they are, since they are able to store a great deal more honey than they need to survive the Winter/dearth. That surplus honey is what we harvest for our own use. How much honey they will need to survive the Winter varies significantly with the local climate – bees in northern Minnesota will need significantly more Winter stores than a similar size hive in southern Florida. Talking with experienced local beekeepers will give you a good idea of what hives in your area typically need to make it successfully through the Winter. In my area of the Midwest, many beekeepers are successful taking hives through the Winter in two deep brood boxes, the top box of which is mostly full of honey. This translates to 80-100 pounds of honey per hive.
 Once you have an idea of how much honey your bees will need to get through the Winter, adjust your harvest expectations accordingly. It is better to underharvest than overharvest. After a few seasons you will develop a feel for how much honey you will need to leave your bees for Winter.
Feeding bees sugar is not ideal, but it is better than having them starve. Bees overwinter reasonably well on sugar but it is important to start feeding early in the Fall rather than later. Bees still need time to store and dry down the sugar syrup in the Fall for it to be useful for them as overwinter stores. I use the occasional warm day we get in January or February to take a quick peek under the cover of my hives. If I see bees through the hole of the inner cover, or if I am using a candy board and I see that it is partially consumed, then I know I need to do some emergency feeding. Mid-Winter feeding can be done with dry sugar or fondant to get the hive get through to the first nectar flow.
One of the things I love about beekeeping is that there is always something new to learn. As a new beekeeper it is important to walk before you run. Focusing on the essentials will give your hive a good chance of surviving the year. Make sure your hives remain queen-right and are producing good healthy brood which will build large colonies of healthy bees. Manage Varroa and the associated Varroa-vectored diseases to give your bees the best chance for staying healthy and strong through the season. Ensure that your large colony of healthy bees have plenty of food for the Winter so they will come into the following Spring strong and ready for the first nectar flow.
As you continue to add skills to your beekeeping repertoire you will learn about many alternate management techniques – some very good and some not so good. I encourage you to critically evaluate new information. Look to respected main-stream publications, classic beekeeping texts, university publications, and respected successful local beekeepers as primary sources of information. Learning about honey bees is a life-long process, but you don’t have to know it all right now. Take your time, absorb new information at your own pace and just remember to do
the essential things you must do to keep your colonies alive and healthy.
1 The Honey Bee Health Coalition provides a free document called “Tools for Varroa Management” which describes how to perform an alcohol wash or sugar shake to monitor Varroa populations. The guide is available at: https://honeybeehealthcoalition.org/wp-content/uploads/2022/08/HBHC-Guide_Varroa-Mgmt_8thEd-082422.pdf (link updated for 2024)